Integrating limit switches into your Raspberry Pi projects can significantly improve precision, safety, and automation capabilities. These simple yet effective components act as sensors to detect the physical limits of motion in mechanical systems, preventing damage and enabling repeatable operations. Whether you're building a 3D printer, a CNC machine, or a custom robotics setup, understanding how to connect and program limit switches with your Raspberry Pi is essential for achieving reliable performance.
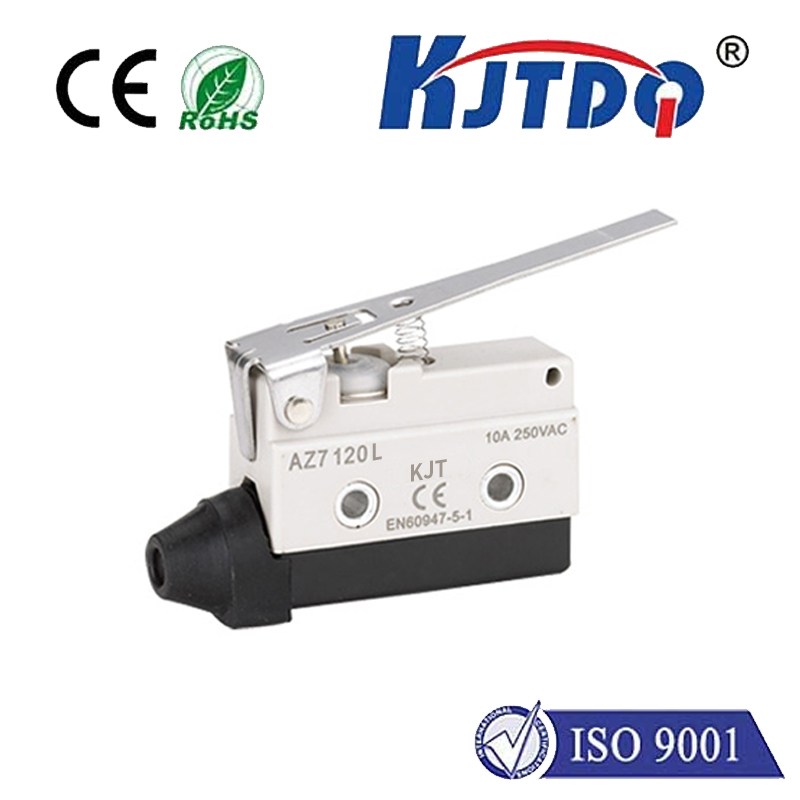
A limit switch typically consists of an actuator linked to a set of contacts. When an object contacts the actuator, the switch changes state—either opening or closing an electrical circuit. This change can be detected by the Raspberry Pi's GPIO (General Purpose Input/Output) pins, allowing the Pi to respond accordingly, such as stopping a motor or reversing direction. Common types include lever-arm, roller, and plunger switches, each suited for different applications based on force and environmental factors.
To get started, you'll need a Raspberry Pi board (like the Raspberry Pi 4 or Pi Zero), limit switches, jumper wires, and resistors for pull-up or pull-down configurations. Begin by wiring the switch to the GPIO pins: connect one terminal to a GPIO pin configured as input and the other to ground or 3.3V, depending on whether you use a pull-up or pull-down resistor. This setup ensures a stable reading when the switch is idle. For example, with a pull-down resistor, the pin reads LOW when the switch is open and HIGH when closed.
Programming the Raspberry Pi to handle limit switches involves using Python libraries like RPi.GPIO or gpiozero. Write a script to monitor the GPIO pin state continuously. When the switch is triggered, the script can execute actions like logging data, sending alerts, or controlling motors via PWM (Pulse Width Modulation). Implementing debouncing in code is crucial to avoid false triggers from mechanical vibrations. For advanced projects, combine multiple switches to define home positions or safe zones in multi-axis systems.
Practical applications abound. In DIY 3D printers, limit switches calibrate the print bed and nozzle positions, ensuring accurate layering. For home automation, they can secure doors or windows, sending notifications if opened unexpectedly. In robotics, they enable autonomous navigation by defining boundaries. Always test switches under real conditions to ensure durability—consider factors like moisture, dust, and mechanical stress. Opt for sealed switches in harsh environments.
Troubleshooting common issues involves checking wiring connections, verifying resistor values, and reviewing code logic. Use a multimeter to test switch continuity, and ensure the Raspberry Pi's power supply is stable to prevent erratic behavior. Community forums and documentation offer extensive support for debugging.
By incorporating limit switches, you elevate your Raspberry Pi projects from basic prototypes to robust, real-world solutions. They add a layer of interactivity and safety, making your creations more efficient and dependable. Start experimenting today to unlock new possibilities in automation and control.