Imagine your Raspberry Pi suddenly gaining the ability to “sense” the world around it – detecting when someone approaches, measuring distances, or triggering actions when objects get close. This isn’t science fiction; it’s readily achievable with the power of Raspberry Pi proximity sensor combinations. The Raspberry Pi, a marvel of accessible computing, transforms into an interactive hub when paired with simple yet powerful proximity sensors. Whether you’re building a smart security alert, an automatic hand sanitizer dispenser, or exploring robotics, understanding how to integrate these sensors opens a world of physical computing possibilities.
What Exactly is a Proximity Sensor? Why Pair It with Raspberry Pi?
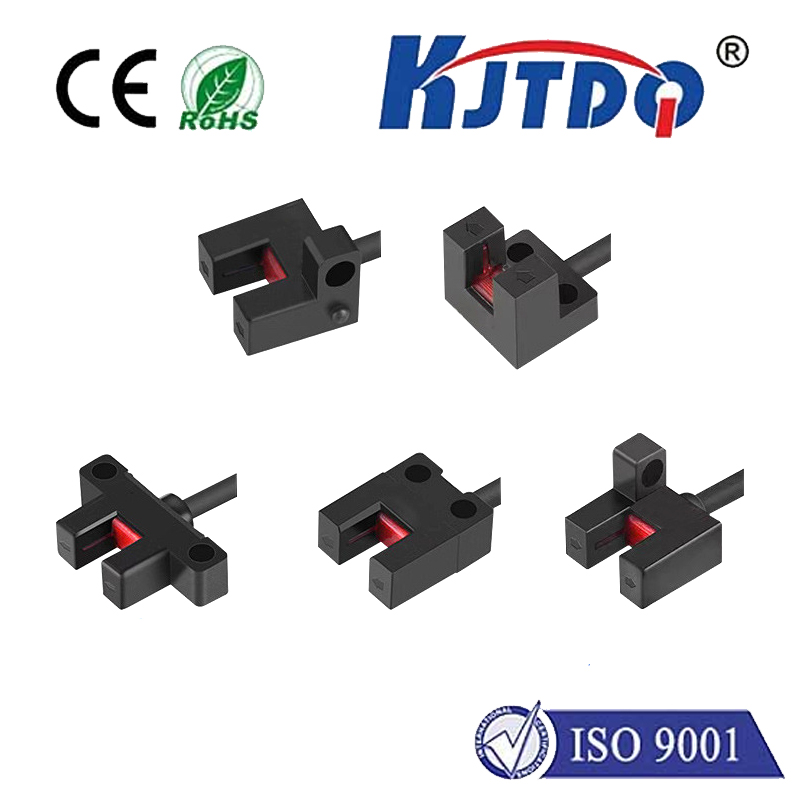
At its core, a proximity sensor detects the presence or absence of an object within a specific range without physical contact. Think of it as giving your Pi rudimentary “touchless vision.” Common types used with Raspberry Pi include:

The Raspberry Pi Advantage: Its GPIO (General Purpose Input/Output) pins provide the perfect interface to read signals from these sensors. Combine this with the Pi’s processing power, network connectivity, and ability to run Python scripts (or other languages), and you can make intelligent, connected projects. You can log data, send notifications, control motors, or display information based on sensor readings – the applications are limited only by your imagination.
Essential Hardware Hookup: Connecting Sensor to Pi
Before diving into code, proper physical connection is crucial. Safety first: Always power down your Pi (sudo halt then unplug) before wiring.
Bringing It to Life: The Power of Python
Python, with its simplicity and powerful libraries like RPi.GPIO or the more modern gpiozero, is the go-to language for Raspberry Pi proximity sensor projects. Here’s a conceptual breakdown for two common sensor types:
import RPi.GPIO as GPIO
import time
SENSOR_PIN = 17  # Replace with your GPIO number
GPIO.setmode(GPIO.BCM)
GPIO.setup(SENSOR_PIN, GPIO.IN, pull_up_down=GPIO.PUD_UP)  # Often pull-up is needed
try:
while True:
if GPIO.input(SENSOR_PIN) == GPIO.LOW:  # Object detected (LOW on TCRT5000)
print("Object Detected!")
# Alternatively, for PIR which usually goes HIGH on detection:
# if GPIO.input(SENSOR_PIN) == GPIO.HIGH:
#    print("Motion Detected!")
time.sleep(0.1)  # Short delay to avoid flooding
except KeyboardInterrupt:
GPIO.cleanup()
import RPi.GPIO as GPIO
import time
TRIG = 23  # Replace with your Trig GPIO number
ECHO = 24  # Replace with your Echo GPIO number (ensure level shifter!)
GPIO.setmode(GPIO.BCM)
GPIO.setup(TRIG, GPIO.OUT)
GPIO.setup(ECHO, GPIO.IN)
def measure_distance():
GPIO.output(TRIG, False)
time.sleep(0.000002)  # 2 microseconds settle time
GPIO.output(TRIG, True)
time.sleep(0.00001)   # 10 microsecond pulse
GPIO.output(TRIG, False)
while GPIO.input(ECHO) == 0:
pulse_start = time.time()
while GPIO.input(ECHO) == 1:
pulse_end = time.time()
pulse_duration = pulse_end - pulse_start
distance = pulse_duration * 17150  # Speed of sound (343m/s / 2) in cm
return distance
try:
while True:
dist = measure_distance()
print(f"Distance: {dist:.2f} cm")
time.sleep(0.5)
except KeyboardInterrupt:
GPIO.cleanup()
**Your DIY Proximity
