Unlocking the Potential of Laser Receiver Sensors with Arduino: A Comprehensive Guide In the world of electronics and DIY projects, combining laser receiver sensors with Arduino opens up a realm of possibilities. Whether you’re building a security system, a laser communication device, or an interactive art installation, understanding how these components work together is essential. This guide dives into the fundamentals of using laser receiver sensors with Arduino, offering practical insights and tips to help you get started.
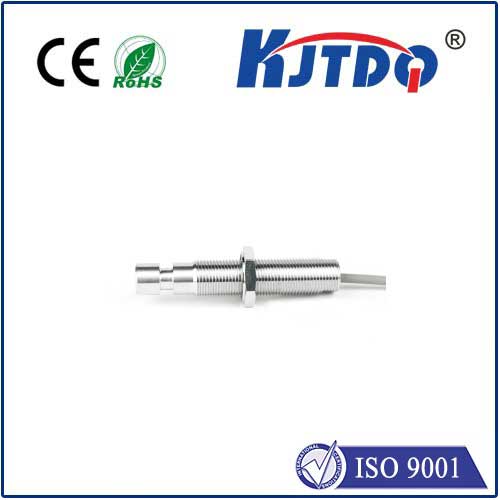
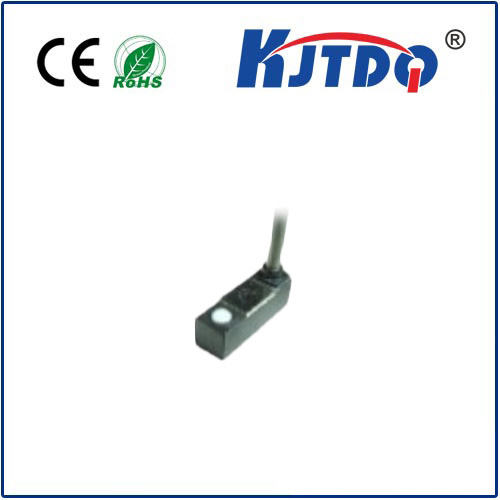
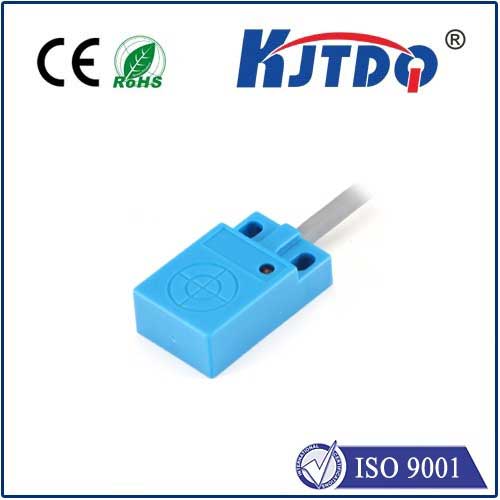
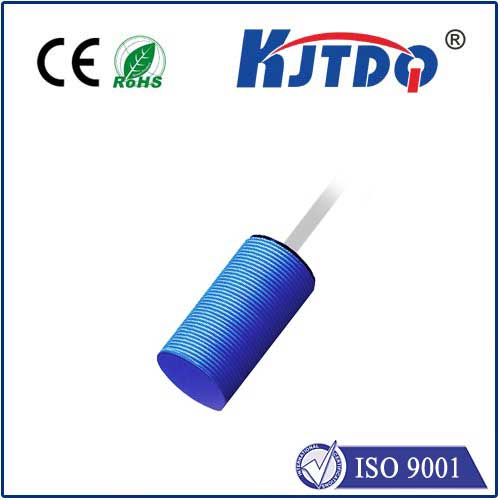
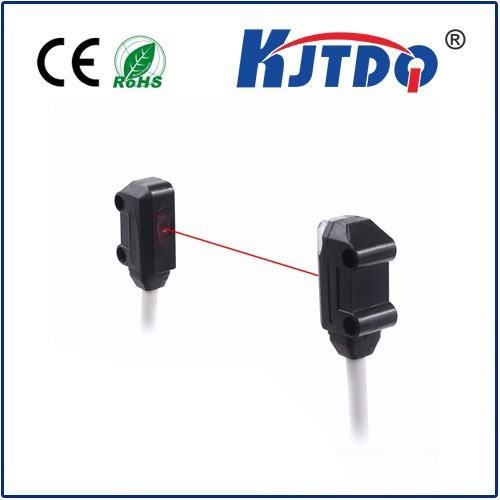
А.Лазерный приемный датчик is a device designed to detect laser light. It typically consists of a photodiode or phototransistor that converts light into an electrical signal. These sensors are highly sensitive and can detect even low-intensity laser beams, making them ideal for precise applications. When paired with an Arduino, a versatile microcontroller platform, laser receiver sensors can be used to create sophisticated projects. The Arduino processes the sensor’s output, allowing you to trigger actions, collect data, or control other devices.
Arduino is a popular choice for hobbyists and professionals alike due to its simplicity and flexibility. Here’s why it’s a perfect match for laser receiver sensors:
Ease of Programming: Arduino’s user-friendly IDE makes it easy to write and upload code.
Многогранный.: Arduino boards support a wide range of sensors, modules, and actuators.
Эффективно с точки зрения затрат: Arduino boards are affordable, making them accessible for beginners.
Community Support: A vast online community provides tutorials, libraries, and troubleshooting help.
To get started, you’ll need the following components:
Laser Diode Module: Emits a focused beam of light.
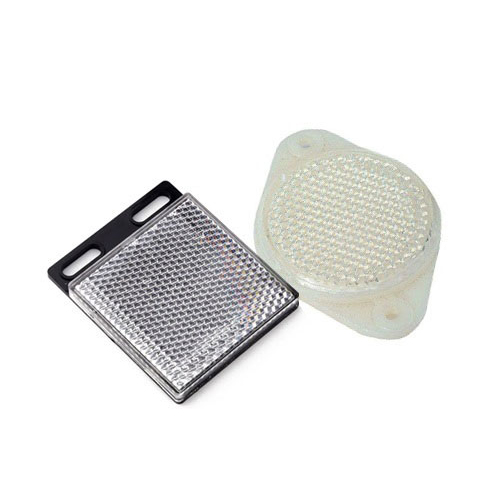
Laser Receiver Sensor: Detects the laser beam.
Arduino Board: Uno, Nano, or Mega are commonly used.
Jumper Wires and Breadboard: For connecting components.

Resistors and Capacitors: To stabilize the circuit if needed.
Connecting a laser receiver sensor to Arduino is straightforward. Here’s a step-by-step guide:
Connect the Laser Receiver Sensor:
int laserPin = 3;
int sensorPin = 2;
void setup() {
pinMode(laserPin, OUTPUT);
pinMode(sensorPin, INPUT);
Serial.begin(9600);
}
void loop() {
digitalWrite(laserPin, HIGH);
if (digitalRead(sensorPin) == HIGH) {
Serial.println("Laser detected!");
} else {
Serial.println("No laser detected.");
}
delay(100);
}
This code turns on the laser and checks if the sensor detects it. The results are displayed in the Serial Monitor.
The combination of laser receiver sensors and Arduino can be used in various projects:
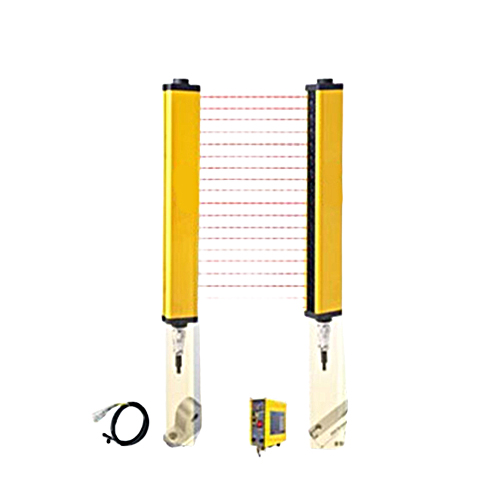
Система безопасности: Create a laser tripwire that triggers an alarm when the beam is interrupted.
Distance Measurement: Use laser sensors to measure distances with high accuracy.
Data Transmission: Build a simple laser communication system to send data wirelessly.
Interactive Displays: Design installations that respond to laser beams for artistic or educational purposes.
To ensure your project works smoothly, keep these tips in mind:
Alignment: Properly align the laser diode and receiver sensor for accurate detection.
Ambient Light: Minimize interference from ambient light by using a shielded setup or filtering techniques.
Power Supply: Ensure both the Arduino and the laser module receive stable power to avoid erratic behavior.
Calibration: Fine-tune the sensor’s sensitivity based on your project’s requirements.
Once you’re comfortable with the basics, consider exploring advanced techniques:
Analog Sensors: Use analog laser receiver sensors for more precise measurements.
PWM Control: Adjust the laser’s intensity using Arduino’s PWM (Pulse Width Modulation) capabilities.
Wireless Integration: Combine your setup with Bluetooth or Wi-Fi modules for remote control and monitoring.
If your project isn’t working as expected, here are some common issues and solutions:
No Detection: Check the alignment and ensure the laser is functioning.
False Triggers: Shield the sensor from ambient light or adjust its sensitivity.
Inconsistent Readings: Verify the power supply and connections.
To further enhance your skills, explore online resources, forums, and tutorials. Platforms like Arduino’s official website, Instructables, and YouTube offer a wealth of information. Additionally, experimenting with different sensors and modules can deepen your understanding of electronics. By mastering the use of laser receiver sensors with Arduino, you’ll unlock endless possibilities for innovation and creativity. Whether you’re a beginner or an experienced maker, this combination is a powerful tool for bringing your ideas to life.
