laser emit sensor arduino
- time:2025-03-18 10:42:08
- Нажмите:0
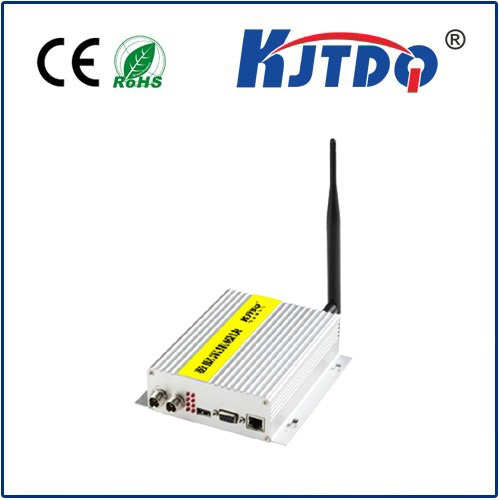
Title: Build a Laser Emission Detection System with Arduino: A Step-by-Step Guide
Imagine detecting the slightest movement in a dark room with pinpoint accuracy or measuring distances with laser precision—all using a device you built yourself. This is the power of combining laser emit sensors with Arduino, a versatile microcontroller platform. Whether you’re a hobbyist, educator, or engineer, this guide will show you how to create a responsive laser-based detection system that’s both affordable and customizable.
Why Combine Laser Emitters, Sensors, and Arduino?
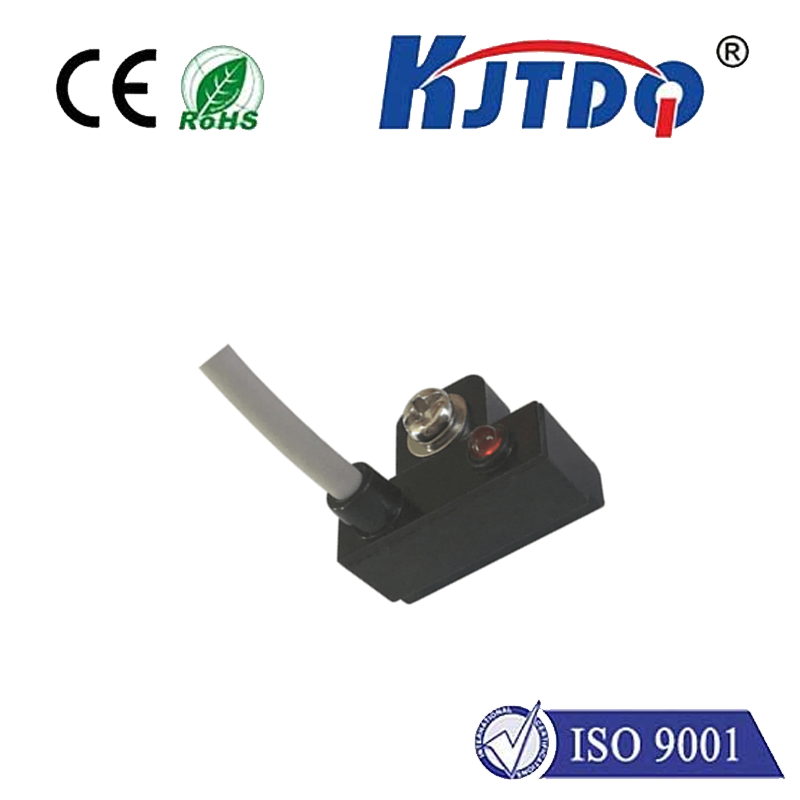
Laser technology has revolutionized fields like robotics, security, and automation. By integrating a лазерный излучающий датчик (a component that both emits and detects laser light) with an Arduino board, you unlock endless possibilities. Arduino’s programmability allows you to control laser emission timing, interpret sensor feedback, and trigger actions—like alarms or data logging—based on real-time conditions.
This combination is ideal for projects requiring:
- Precision motion detection (e.g., intruder alarms).
- Distance measurement (e.g., obstacle avoidance for robots).
- Alignment verification (e.g., industrial machinery calibration).
Components You’ll Need
Before diving into the build, gather these essentials:

- Arduino Uno or Nano: The brain of your system.
- Laser Diode Module: A low-power, 650nm red laser is safe and effective for most projects.
- Photoresistor or Photodiode: Detects reflected laser light.
- Resistors and Breadboard: For circuit assembly.
- Jumper Wires: To connect components.
- Optional: Buzzer, LED, or servo motor for output actions.
Step 1: Circuit Design and Connections
The core principle is straightforward: the laser emits light, which bounces off a target and returns to the sensor. The Arduino measures changes in the sensor’s output to determine if the laser beam is interrupted or reflected.
Wiring Guide:
- Connect the laser diode to a digital pin (e.g., D9) via a 220Ω resistor.
- Attach the photoresistor to an analog pin (e.g., A0) with a 10kΩ pull-down resistor.
- Power the Arduino via USB or a 9V battery.
![Circuit diagram placeholder: Laser connected to D9, photoresistor to A0.]
Step 2: Programming the Arduino
Upload this sample code to read sensor data and control the laser:
const int laserPin = 9;
const int sensorPin = A0;
void setup() {
pinMode(laserPin, OUTPUT);
Serial.begin(9600);
}
void loop() {
digitalWrite(laserPin, HIGH); // Activate laser
int sensorValue = analogRead(sensorPin); // Read reflected light
Serial.print("Sensor value: ");
Serial.println(sensorValue);
// Trigger action if beam is interrupted (e.g., object detected)
if (sensorValue
Key Notes:
- Calibrate the threshold value (e.g.,
500
) based on ambient light conditions.
- Use
Serial.println()
to debug and fine-tune sensitivity.
Step 3: Testing and Calibration
Place a reflective object (like white paper) in front of the laser and sensor. Observe the serial monitor:
- High values mean the laser is detected.
- Low values indicate the beam is blocked.
For reliability:
- Minimize ambient light interference by enclosing the sensor or using infrared lasers.
- Secure components to prevent misalignment.
Real-World Applications
- Smart Security Systems: Use a laser grid to detect intrusions. When the beam breaks, the Arduino triggers a camera or sends an alert.
- Precision Agriculture: Measure plant growth by tracking laser reflection changes over time.
- Interactive Art Installations: Create laser-activated sound or light effects.
Troubleshooting Common Issues
- Inconsistent Readings: Check wiring and ensure the laser aligns perfectly with the sensor.
- False Triggers: Add a delay in code to filter out brief interruptions.
- Weak Laser Visibility: Use a higher-power diode (but avoid Class 3B+ lasers without safety precautions).
Enhancing Your System
Take your project further with these upgrades:
- Add IoT Integration: Use Wi-Fi modules like ESP8266 to send alerts to your phone.
- Multi-Laser Arrays: Deploy multiple sensors for 360° coverage.
- Data Logging: Store detection events on an SD card for analysis.
By mastering laser emit sensors and Arduino, you’re not just building a gadget—you’re gaining skills applicable to robotics, automation, and beyond. Start small, experiment boldly, and let precise light-based control illuminate your next innovation.