A limit switch for Arduino serves as a fundamental component in countless electronics and automation projects, acting as a reliable sensor to detect the presence or absence of an object, or to define the boundaries of mechanical movement. These switches are essentially simple electromechanical devices that send a signal to the Arduino board when activated, typically by physical contact. Their integration opens doors to creating smarter, safer, and more interactive systems, from basic hobbyist setups to advanced robotic applications. Understanding how to effectively wire, program, and utilize a limit switch with an Arduino is a cornerstone skill for makers, engineers, and students alike.
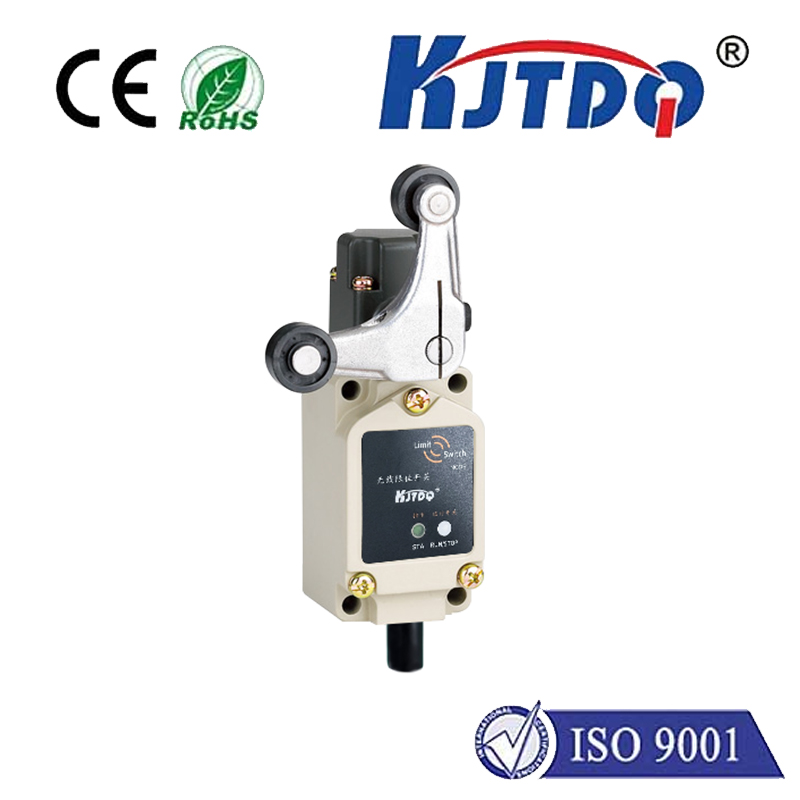
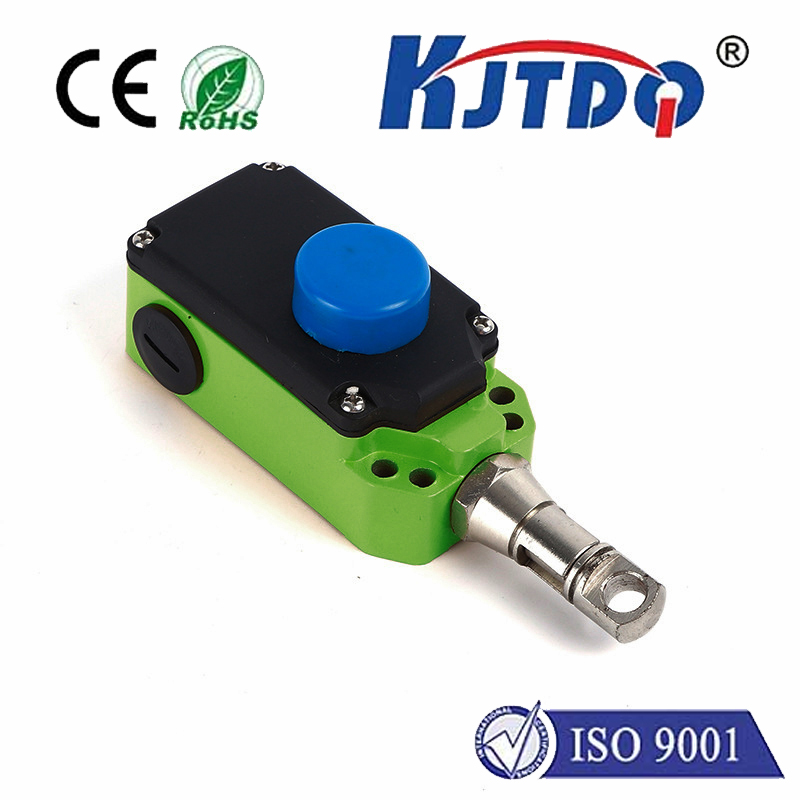
The core principle behind a limit switch is straightforward. It consists of an actuator (like a lever, roller, or plunger) linked to a set of electrical contacts. When the actuator is pressed or moved by an external object, the contacts change state—either opening or closing the circuit. In the context of Arduino, this state change is read as a digital input: typically a HIGH (5V) or LOW (0V) signal. For instance, a normally open (NO) switch closes the circuit when activated, sending a HIGH signal to a designated digital pin. The Arduino sketch can then be programmed to react to this signal—stopping a motor, changing a direction, counting objects, or triggering an event.
Wiring a limit switch to an Arduino is a simple process that reinforces basic electronics concepts. The common configuration involves connecting one terminal of the switch to the Arduino's 5V pin, and the other terminal to a digital input pin (e.g., pin 2). A pull-down resistor (commonly 10kΩ) is connected between the input pin and ground to ensure a stable LOW reading when the switch is open, preventing floating pin issues. When the switch is activated and the circuit closes, the input pin reads 5V, interpreted as HIGH. Alternatively, the Arduino's internal pull-up resistors can be enabled in software, simplifying the wiring by connecting the switch directly between the input pin and ground. This versatility makes physical integration quick and adaptable to various project constraints.
Programming the Arduino to respond to the limit switch involves using thedigitalRead() function within the main loop. After declaring the switch pin as an INPUT in thesetup() function, the sketch continuously monitors its state. A simpleif statement can then execute code based on whether the pin is HIGH or LOW. For example, a basic program might halt a connected stepper motor when the switch is pressed, preventing it from over-traveling and damaging components. Debouncing—a software technique to account for mechanical contact vibration—is often crucial for reliable operation. This can be implemented with a short delay or more advanced state-change detection logic to ensure a single press is registered as one event.
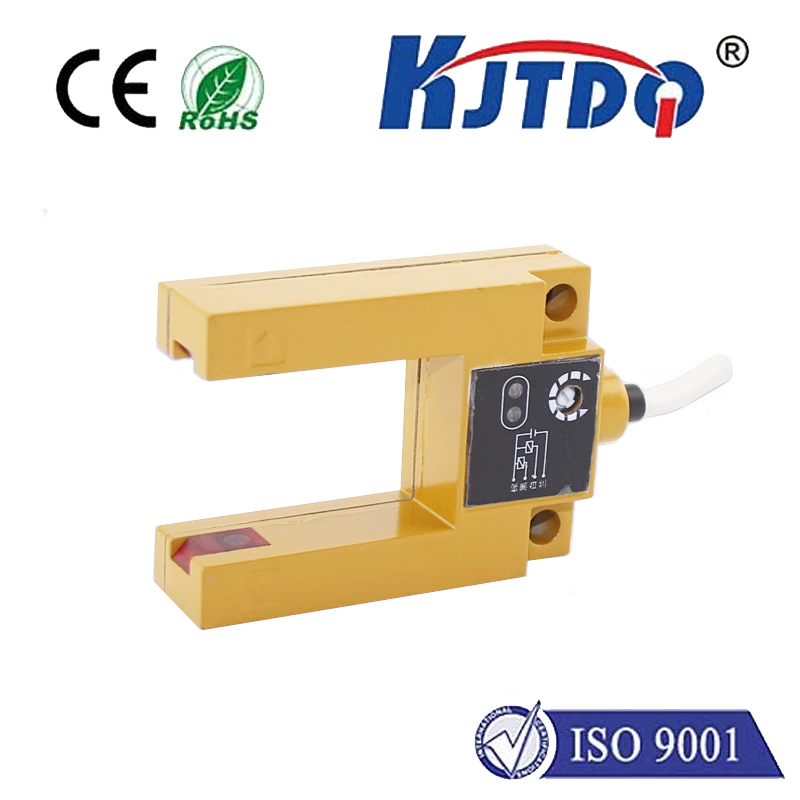
The practical applications for an Arduino limit switch are vast and span multiple disciplines. In robotics, limit switches are indispensable for homing sequences on CNC machines or 3D printers, ensuring an axis moves to a known reference point (the "home" position) at the start of operation. In home automation, they can be used as door or window sensors for security systems, sending an alert when opened. Industrial prototyping often employs them for conveyor belt object detection, sorting systems, or as safety interlocks to disable machinery when a guard is removed. Even in interactive art installations, a limit switch can be a hidden trigger, activating lights or sounds when a participant interacts with a physical element.
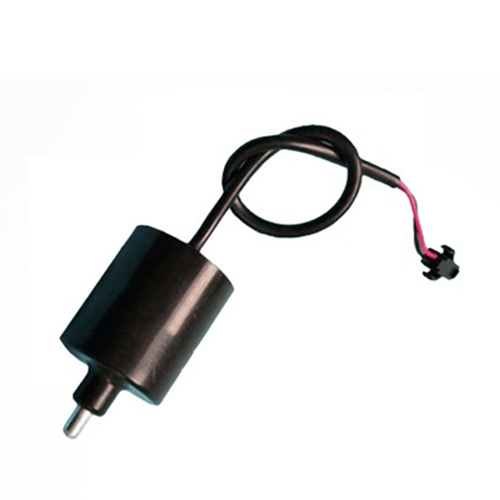
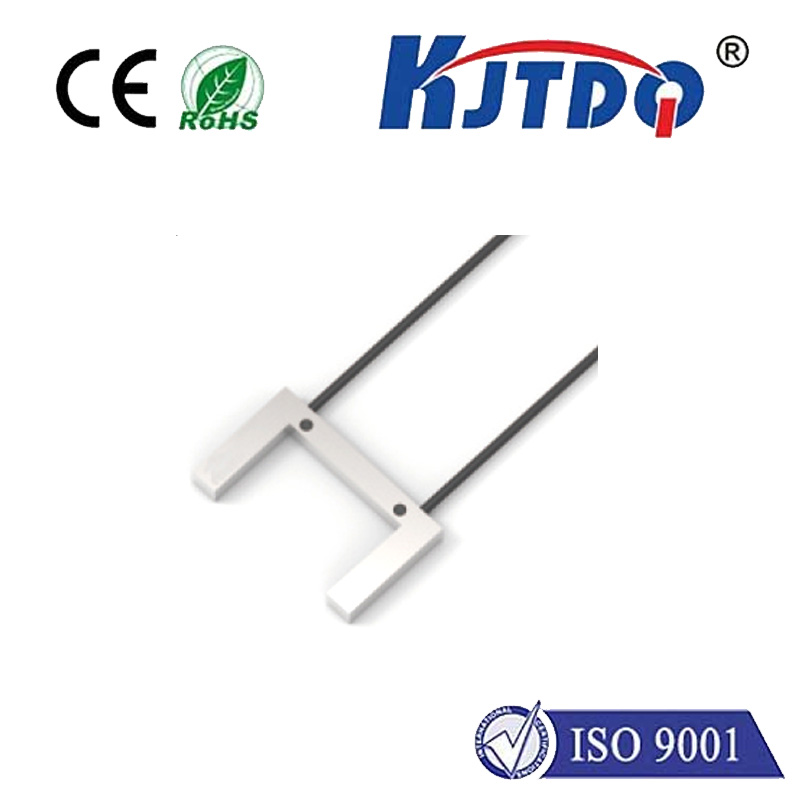
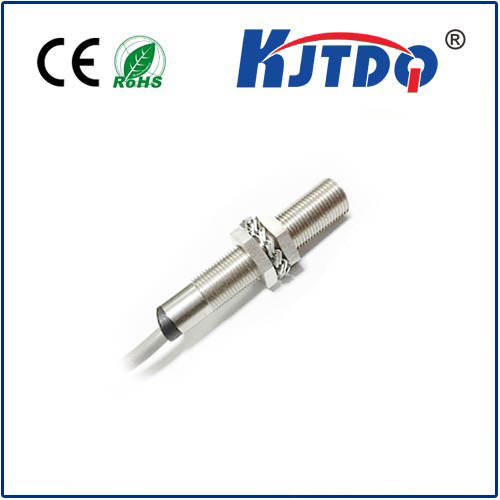
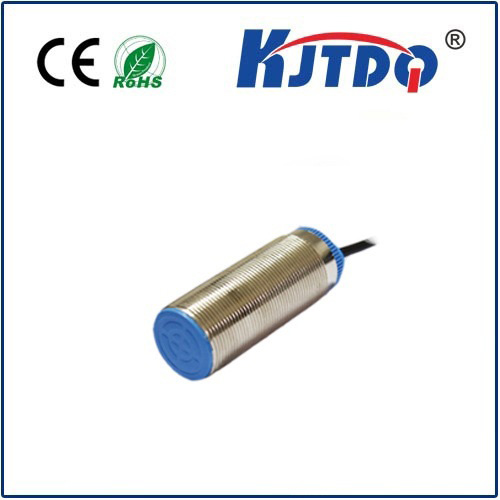
Selecting the right limit switch for your Arduino project depends on the specific environmental and mechanical demands. Factors like actuator type (lever, roller, or flush), electrical rating, physical size, and durability (IP rating for dust/water resistance) must be considered. For light-duty prototyping, small, inexpensive micro switches are perfectly adequate. For harsher environments or high-cycle applications, more robust industrial-grade switches are available. The beauty of the Arduino ecosystem is its compatibility with a wide range of these components, allowing scalability from simple proof-of-concept to finalized product.
Troubleshooting common issues is part of the development process. If a switch isn't working as expected, first verify the wiring and connections with a multimeter. Check that the Arduino is receiving a clean voltage signal when the switch is toggled. Review the code for correct pin assignments and logic. Remember that mechanical switches wear over time, so intermittent operation might signal a need for replacement. Online forums and the Arduino community are excellent resources for solving specific, nuanced problems encountered during integration.
Mastering the use of a limit switch with Arduino is more than just a technical exercise; it's about learning to bridge the physical and digital worlds. This component provides a simple, tactile, and reliable method for input, forming the basis for more complex sensor networks and control systems. By starting with this fundamental building block, developers and hobbyists build the confidence and skills necessary to tackle increasingly sophisticated automation challenges, laying a solid foundation for innovation in the ever-expanding universe of embedded electronics and IoT solutions.