In the world of electronics prototyping, bridging the gap between a conceptual circuit diagram and a tangible, functional device is a critical step. This is where tools like Fritzing become indispensable, offering a visual and intuitive platform for designing and documenting projects. Among the myriad components used in interactive and automated systems, the limit switch holds a fundamental role. Integrating a limit switch into a Fritzing project, however, can sometimes present challenges for makers and engineers. This guide delves into the practical aspects of effectively utilizing limit switches within the Fritzing ecosystem, ensuring your prototypes transition smoothly from virtual design to physical reality.
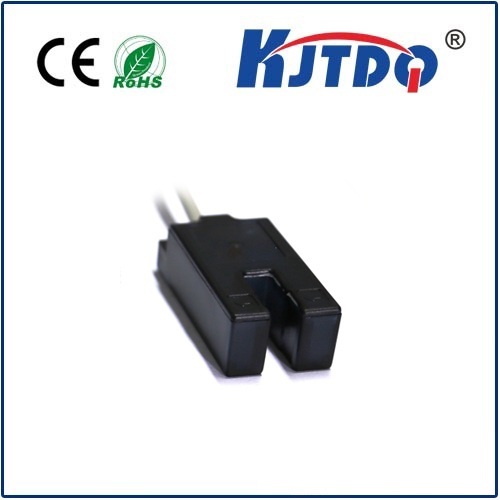
A limit switch is an electromechanical device designed to detect the presence or absence of an object, or to monitor the limits of mechanical motion. It typically consists of an actuator mechanically linked to a set of contacts. When an object contacts the actuator, the switch operates, either opening or closing the electrical connection. These switches are ubiquitous in applications ranging from 3D printers and CNC machines, where they define home positions and prevent over-travel, to simple interactive installations where a pressed button triggers an event. Understanding its basic operation—normally open (NO) or normally closed (NC) configurations—is the first step toward successful integration.
Fritzing excels at providing a visual representation of your breadboard, schematic, and PCB layout. To incorporate a limit switch, you first need its component graphic in your Fritzing parts library. While Fritzing comes with a broad collection of core parts, specific limit switch models might not be pre-installed. The solution lies in Fritzing's vibrant community. Users often create and share custom parts. You can search online for "Fritzing part" files for your specific switch model (e.g., a common lever-arm type). Downloading the.fzpz file and importing it into Fritzing via "Parts" > "Import..." instantly adds a professional, graphical representation of your component to the "Mine" parts bin.
With the component in your library, drag and drop it onto your breadboard view. Physically, a standard limit switch has three terminals: Common (COM), Normally Open (NO), and Normally Closed (NC). In Fritzing, your imported part should visually reflect these connections. The key to an accurate virtual prototype is wiring it correctly. For a common safety interlock setup using the NC terminal, you would connect the COM terminal to your microcontroller's input pin (e.g., digital pin 2 on an Arduino), and the NC terminal to the ground (GND) rail. This creates a circuit that is normally closed (reading LOW). When the switch is activated (pressed), the circuit opens, and the input pin, typically pulled HIGH internally or with an external resistor, reads HIGH. This state change is what your code monitors.
Accurate documentation is a cornerstone of professional prototyping. In Fritzing's Schematic view, ensure your limit switch symbol is correctly connected, showing the flow of the signal to the microcontroller input. The PCB view is crucial if you plan to fabricate a custom circuit board. Here, you can position the footprint of the limit switch, considering its mechanical size and mounting holes, and route traces from its pads to the corresponding microcontroller pins. This holistic view across all three perspectives—Breadboard, Schematic, and PCB—ensures your design is electrically sound and mechanically feasible.
The virtual design is only half the story. Translating your Fritzing diagram to a physical breadboard requires attention to detail. Use the color-coded wiring from Fritzing as a guide: red for power, black or blue for ground, and other colors for signals. Double-check that the physical switch's terminal layout matches your Fritzing part. A multimeter in continuity mode is invaluable for verifying the COM, NO, and NC terminals on the actual hardware. Common integration pitfalls include confusing NO and NC connections, forgetting pull-up or pull-down resistors for a clean digital read, and overlooking the debouncing of the mechanical switch in code, which can cause erratic readings.
On the software side, your code must reliably interpret the switch's state. A simple Arduino sketch would involve setting the connected pin as anINPUT_PULLUP, which uses the microcontroller's internal resistor to pull the pin HIGH when the NC circuit is open. In the loop, adigitalRead() function monitors the pin. The logic is often inverted in this configuration:LOW means the switch is not activated (circuit closed), andHIGH means it is activated (circuit open). Implementing a simple software debounce delay or a more robust state-change detection library ensures your system responds accurately to a single press, not electrical noise from the contacts.
Mastering the integration of components like the limit switch within Fritzing empowers you to create more robust, reliable, and well-documented prototypes. It streamlines the process from idea to implementation, reducing errors and saving valuable development time. By leveraging community parts, adhering to proper wiring conventions in both software and hardware, and utilizing Fritzing's multi-view documentation, you elevate the quality of your projects. Whether you're building an automated robot, a safety cutoff system, or an interactive art piece, a correctly implemented limit switch controlled by a clear Fritzing design provides a solid foundation for innovation and success.