In the intricate world of 3D printing, where digital designs are transformed into tangible objects layer by layer, reliability is paramount. Every component plays a crucial role, but few are as fundamentally critical to both the machine's safety and the print's success as the endstop switch. Often an overlooked hero, this simple device is the guardian of your printer's operational boundaries. This guide delves into the essential function, types, and maintenance of the endstop switch, explaining why it is indispensable for any serious 3D printing enthusiast or professional.
At its core, an endstop switch is a sensor that tells the printer's control board when a moving part, like the print head or the build plate, has reached the physical limit of its travel along an axis (X, Y, or Z). Imagine a 3D printer without these switches. The stepper motors would continue to drive the components indefinitely, leading to catastrophic collisions, stripped belts, bent rods, or burnt-out motors. The endstop switch prevents this by providing a definitive "home" position. During the homing sequence, which initiates every print, each axis moves until its switch is triggered. This action establishes a known, repeatable zero point from which all other movements are calculated. This process is not just about preventing damage; it is the foundation of print accuracy. A consistent home position ensures that every layer is deposited exactly where the digital model dictates.
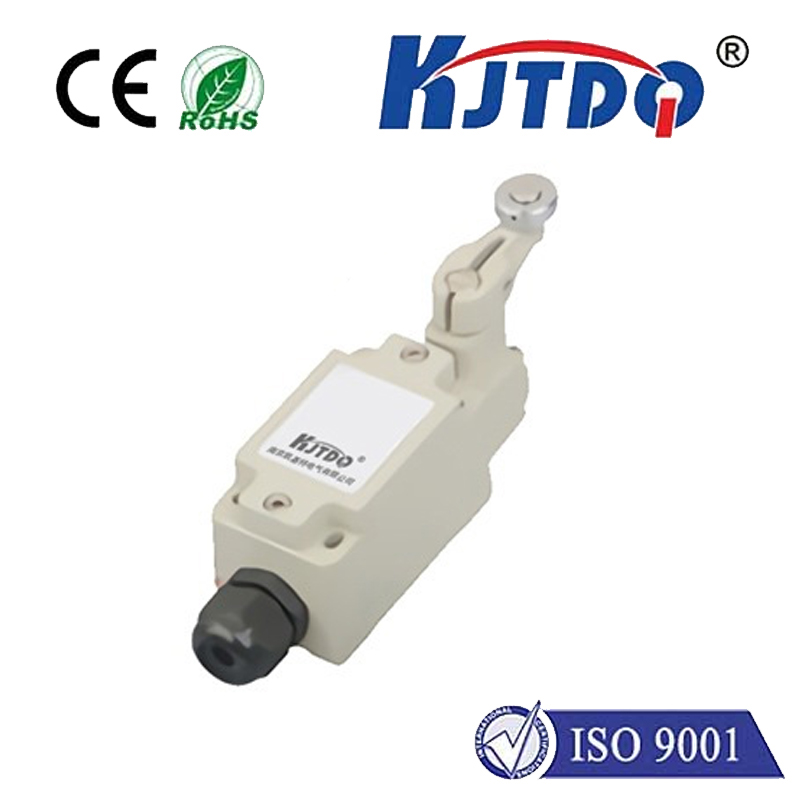
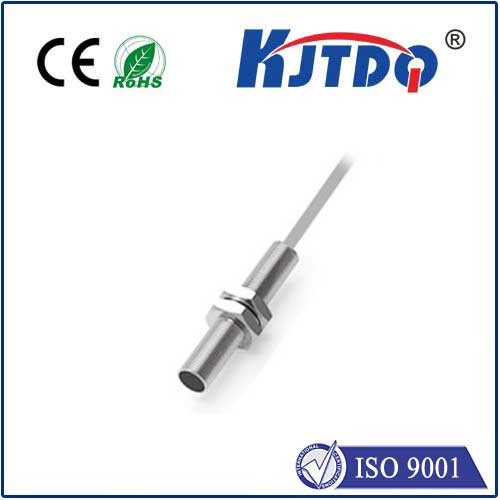
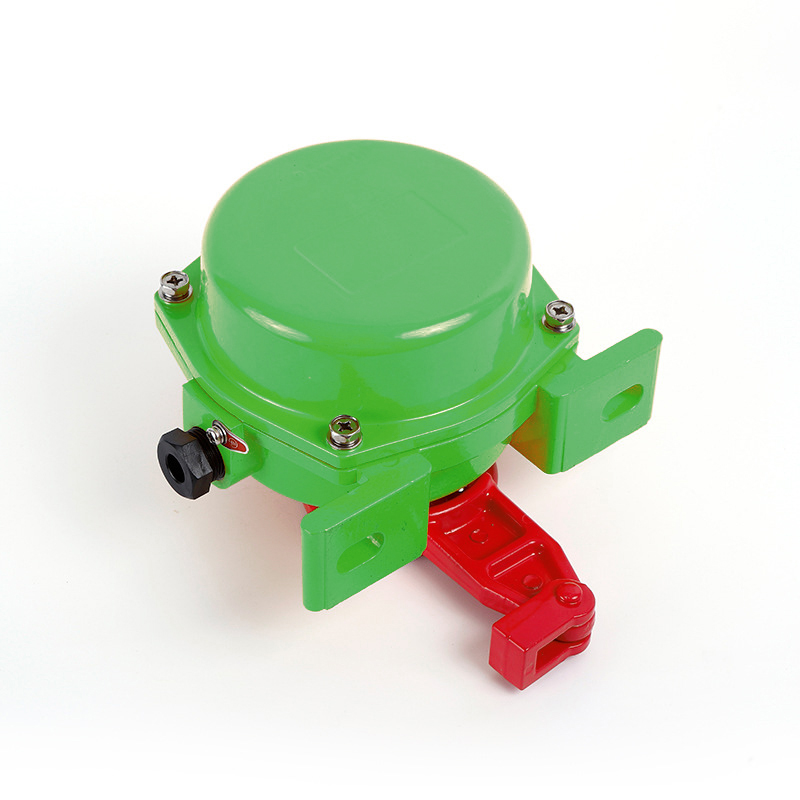
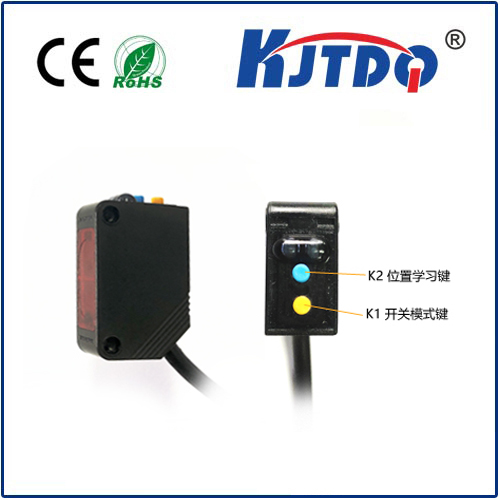
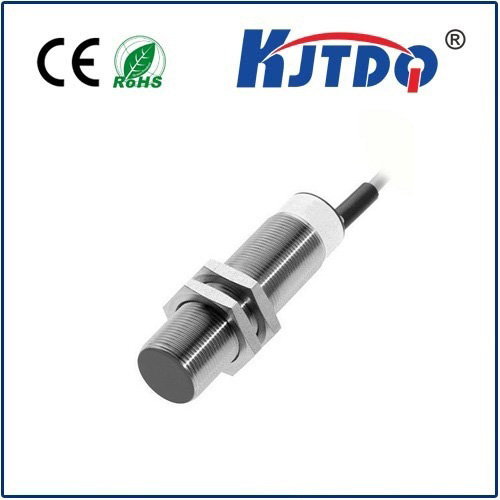
There are primarily two types of endstop switches commonly used in 3D printers: mechanical and optical. Mechanical switches are the most prevalent and cost-effective. They function like a simple button. When the moving carriage or bed presses against the switch's lever or plunger, it closes (or opens) an electrical circuit, sending a signal to the controller. Their advantages include durability, simplicity, and low cost. However, they are subject to physical wear over time and can potentially suffer from "bounce," a rapid opening and closing that might confuse the controller if not properly debounced in firmware. Optical endstop switches, on the other hand, use an infrared LED and a phototransistor. The signal is triggered when a flag attached to the moving part breaks the infrared beam. These switches are non-contact, meaning no physical pressure is required, leading to virtually no mechanical wear and higher potential precision. They are often favored in high-end or DIY printers where repeatability is key, though they are generally more sensitive to dust and ambient light.
The performance of your endstop switch directly impacts print quality. A faulty or misaligned switch can cause layer shifting, where layers are misaligned because the printer thinks it is in a different position than it actually is. It can also lead to prints being offset on the build plate or, in the case of a Z-axis switch failure, the nozzle crashing into the bed. Regular maintenance is straightforward but vital. For mechanical switches, periodically check the physical actuator for smooth operation and ensure the mounting is tight and aligned correctly. The switch should be triggered precisely when the carriage reaches the desired endpoint, not before or after. For optical switches, keep the LED and sensor lenses clean from dust and filament debris. Testing the switch functionality through your printer's control interface is a good pre-print habit.
Troubleshooting common endstop issues is a valuable skill. If your printer fails to home properly, displaying errors like "Homing failed" or "Printer halted kill() called!", the endstop is a primary suspect. First, check the physical connection. Is the switch's wire securely plugged into the mainboard? Next, inspect the switch itself. For a mechanical switch, you can often hear a distinct click. Using a multimeter to check for continuity change when the switch is pressed is a definitive test. For optical switches, observe if the LED is lit. Firmware configuration can also be a culprit; ensure the switch logic (whether it triggers as "open" or "closed") is correctly set in the printer's firmware, such as Marlin or Klipper.
In conclusion, the humble endstop switch is a cornerstone of 3D printer operation. It is a critical safety feature that protects your hardware investment and a precision instrument that ensures dimensional accuracy in your prints. Understanding its function, choosing the right type for your needs, and performing simple preventative maintenance can save you from frustrating print failures and costly repairs. Whether you are calibrating a new machine or optimizing an existing one, giving due attention to the endstop switches will pay dividends in reliability and print quality, making it a true essential component, the KJTDQ, in your 3D printing toolkit.