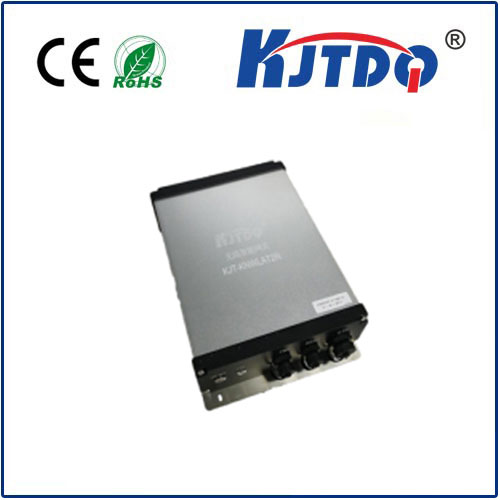
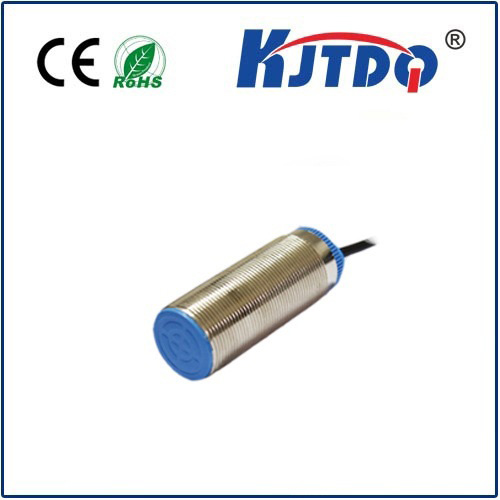
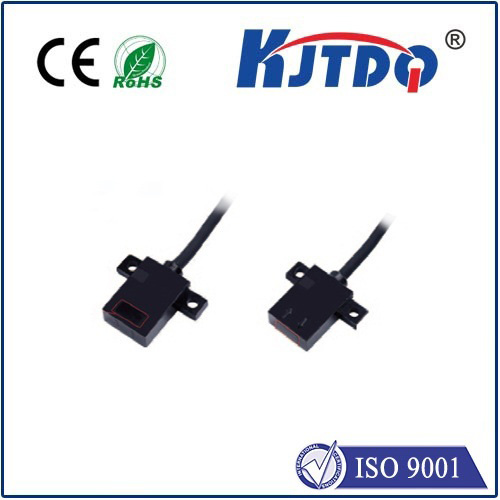
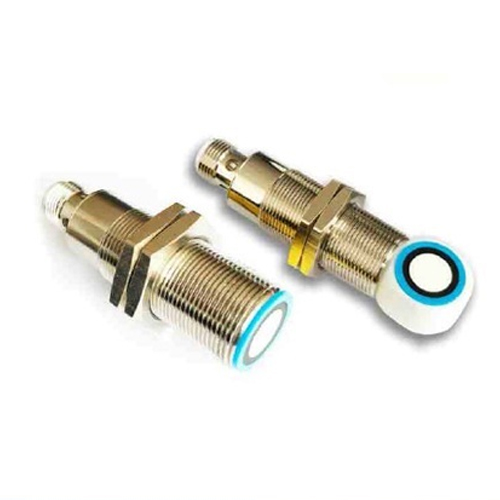
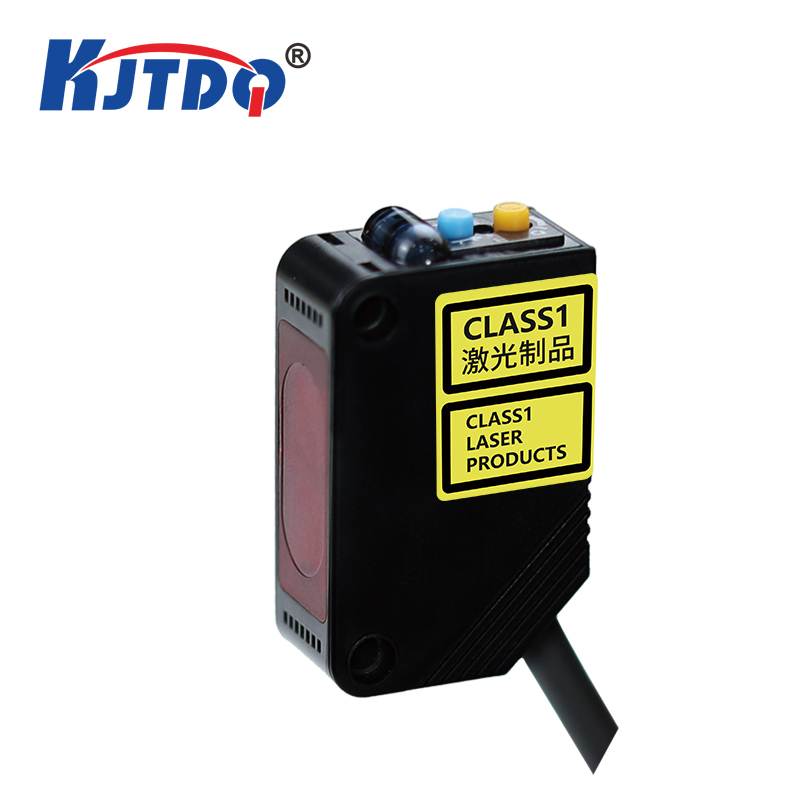
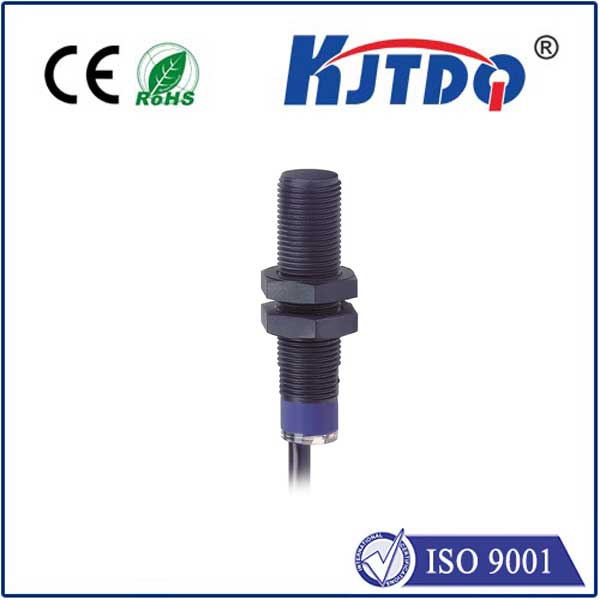
sick capacitive sensor
- time:2025-07-04 02:36:54
- Нажмите:0
Sick Capacitive Sensor? Diagnosing and Reviving Your Faulty Proximity Detector
A sudden halt on the production line. Erratic level readings in a critical tank. Phantom signals triggering alarms when nothing is there. These frustrating scenarios often point to one culprit: a sick capacitive sensor. Unlike its inductive counterpart, the capacitive sensor relies on changes in an electrostatic field to detect objects or levels, making it incredibly versatile for non-metallic targets but also susceptible to specific ailments. Understanding the symptoms and knowing the remedies is crucial for minimizing downtime and ensuring reliable operation in diverse industrial settings. So, what’s plaguing your sensor, and how can you nurse it back to health?
Understanding the Core: How Capacitive Sensors Work
Before diagnosing the sickness, recall the fundamentals. A capacitive sensor essentially creates an electrostatic field extending from its sensing face. Any object entering this field alters its capacitance – effectively its ability to store electrical charge. This change, whether caused by a solid material, liquid, or even a change in density, is detected and converted by the sensor’s electronics into a usable output signal (e.g., ON/OFF switch). This principle makes them excellent for detecting plastics, glass, wood, liquids, pellets, and even seeing through certain non-metallic container walls. However, this very sensitivity is also their Achilles’ heel when facing interference.
Recognizing the Symptoms: Is Your Sensor Truly Sick?

The signs of a malfunctioning capacitive sensor are often clear, though their root causes vary:
- False Triggering (Phantom Signals): This is perhaps the most common ailment. The sensor activates its output when no target is present or remains activated when the target moves away. Imagine a filling machine starting without a bottle in place or a conveyor stopping randomly.
- Failure to Detect (Missed Signals): The opposite problem: the target is present and within range, yet the sensor stubbornly refuses to activate. Pallets keep moving down the line unchecked, or a tank overflows because the high-level sensor didn’t trigger.
- Inconsistent Operation / Fluctuating Output: The sensor behaves erratically, sometimes detecting, sometimes not, or its output signal flickers when the target is stationary. This unreliability makes process control impossible.
- Reduced Sensing Range: The sensor only detects targets when they are significantly closer than its specified nominal range. A machine struggles as parts must now be pressed right against the sensor.
- Instability Near Sensing Threshold: The sensor output chatters rapidly (ON-OFF-ON-OFF) when an object is positioned right at the edge of its detection range. This causes erratic control signals.
Diagnosing the Root Cause: What’s Making It Sick?
Pinpointing the exact reason requires systematic troubleshooting:
- Contamination/Coating Buildup: The single most frequent cause of capacitive sensor sickness. Dust, dirt, oil, grease, water, or material residue (like powder or slurry) accumulating on the sensing face acts as an unintended target. It alters the field permanently, leading to false triggering or reduced range. Think of concrete dust on a bin level sensor or oil coating a proximity sensor.
- Environmental Interference: Capacitive sensors are inherently sensitive to changes in their electromagnetic environment. Key culprits include:
- Adjacent Sensors/Electrical Noise: Sensors placed too close together can interfere with each other’s fields. Nearby motors, VFDs (Variable Frequency Drives), solenoids, or welding equipment generate electrical noise that overwhelms the sensor’s sensitive circuitry. EMI/RFI (Electromagnetic/Radio Frequency Interference) is a common diagnosis.
- Ground Loops: Improper grounding can create stray currents that distort the sensor’s operation.
- Humidity/Temperature Fluctuations: Significant changes can affect the dielectric constant of the air or surrounding materials, impacting the sensing field, especially in high-precision applications.
- Improper Installation & Configuration:
- Mounting: Metal mounting brackets, conductive backplanes, or nearby grounded metal structures can extend or distort the sensing field unpredictably. Non-metallic mounting is often preferred.
- Sensitivity Setting: Most capacitive sensors have an adjustable sensitivity potentiometer or teach-in function. A setting too high makes the sensor hypersensitive to moisture, dust, or objects behind the target wall, causing false triggers. A setting too low prevents reliable detection (failure to detect).
- Incorrect Supply Voltage: Operating outside the sensor’s specified voltage range leads to erratic behavior or failure.
- Inadequate Shielding: Using unshielded cables in electrically noisy environments invites interference.
- Physical Damage: Impacts, crushing, chemical corrosion, or damaged cables/wiring can physically impair the sensor or its connection.
- Sensor Drift/Aging: Over extended periods (years), component aging within the sensor circuitry can cause slight shifts in its operating characteristics, potentially leading to reduced reliability or range. However, this is less common than environmental or setup issues.
The Cure: Treatments for Your Sick Sensor
Once diagnosed, here’s how to restore your sensor to health:
- Thorough Cleaning: The first line of defense. Gently clean the sensing face using a soft cloth dampened with a mild solvent compatible with the sensor housing (e.g., isopropyl alcohol). Remove all residue. Ensure the area is dry before re-powering. Implement regular cleaning schedules if buildup is a recurring issue.
- Tune the Sensitivity: Adjust the sensor’s sensitivity potentiometer. Follow the manufacturer’s procedure (manual adjustment or teach-in). For false triggering, decrease sensitivity. For failure to detect, increase sensitivity, but just enough for reliable detection without picking up background interference. Finding this sweet spot is critical.
- Mitigate Environmental Interference:
- Increase Separation: Increase the distance between capacitive sensors and between sensors and sources of noise (motors, VFDs, power lines).
- Use Shielded Cables: Ensure sensor cables are properly shielded and connect the shield to ground only at the controller end (avoid ground loops).
- Implement EMI Filters: Install ferrite cores or line filters on sensor power and signal cables near noise sources.
- Check Grounding: Verify the electrical system and machine frame are properly grounded according to best practices.
- Optimize Installation:
- Adjust Mounting: Increase the distance from metal structures or conductive surfaces. Use non-metallic mounting brackets.
- Isolate the Target: If detecting a liquid through a tank wall, ensure the mounting bracket doesn’t directly contact the metal wall surface behind the sensor. Use spacers if necessary.
- Ensure Correct Voltage: Verify the supply voltage matches the sensor’s specification using a multimeter.
- Inspect for Physical Damage: Examine the sensor body, cable, and connections for cracks, dents, corrosion, or fraying. Replace damaged components.
- Consider Sensor Features: If interference is chronic, explore sensors offering:
- Extended Range Teach-In: Allows setting the sensor to ignore the container wall, focusing solely on the target material inside.
- Higher Immunity Ratings: Look for sensors specifically designed for harsh EMC environments.
- Temperature Compensation: Critical for applications with wide temperature swings.
Prevention is the Best Medicine
While fixing a sick sensor is essential, preventing sickness saves time and money:
- Select the Right Sensor: Choose sensors with appropriate IP ratings (dust/water resistance), suitable temperature ranges, and EMC immunity for your environment.
- Install Thoughtfully: Plan sensor placement considering potential interference sources, mounting surfaces, and cable routing away from noise.
- Implement Regular Maintenance Schedules: Include sensor cleaning and function checks as part of routine PM.
- Document Settings: Record sensitivity settings after successful tuning for easier future troubleshooting or replacement.
А.