Mastering the VL53L0X Sensor with Arduino: A Comprehensive Guide The world of electronics and robotics is constantly evolving, and one of the most exciting advancements in recent years is the integration of time-of-flight (ToF) sensors into various applications. Among these, the VL53L0X sensor stands out as a compact, high-precision distance measurement tool. When paired with an Arduino, this sensor opens up a world of possibilities for hobbyists, engineers, and innovators. Whether you’re building a robot, creating a smart device, or experimenting with automation, understanding how to use the VL53L0X with Arduino is an essential skill. In this guide, we’ll dive deep into the VL53L0X sensor, explore its features, and walk you through the process of integrating it with an Arduino. By the end of this article, you’ll have a solid foundation to start your own projects with this powerful sensor.
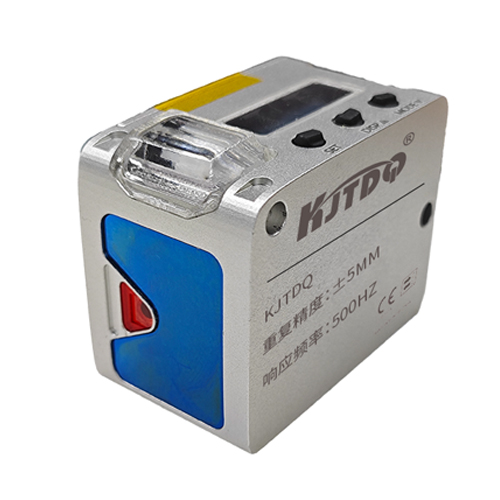
The VL53L0X is a laser-ranging sensor developed by STMicroelectronics. It uses Time-of-Flight technology to measure distances with remarkable accuracy. Unlike traditional infrared (IR) sensors, the VL53L0X emits a laser beam and calculates the time it takes for the light to bounce back from an object. This method allows it to measure distances up to 2 meters with millimeter-level precision. The sensor is incredibly compact, making it ideal for applications where space is limited. It also operates at a low voltage, which is perfect for battery-powered projects. With its I2C interface, the VL53L0X can easily communicate with microcontrollers like the Arduino.
The Arduino platform is a favorite among makers and developers due to its simplicity and versatility. Combining the VL53L0X with Arduino allows you to leverage the sensor’s precision while benefiting from Arduino’s ease of use. Here are some key reasons to consider this combination:
Before diving into the code, let’s go through the hardware setup. Here’s what you’ll need:
Arduino Uno (or any compatible Arduino board)
VL53L0X sensor
Breadboard and jumper wires

The VL53L0X uses an I2C interface, so you’ll need to connect it to the Arduino’s I2C pins. Here’s the wiring diagram:
VCC (VL53L0X) to 3.3V (Arduino)
GND (VL53L0X) to GND (Arduino)
SDA (VL53L0X) to A4 (Arduino)
SCL (VL53L0X) to A5 (Arduino) Note: The VL53L0X operates at 3.3V, so avoid connecting it directly to the Arduino’s 5V pin.
To simplify the programming process, you’ll need the VL53L0X Arduino library. Here’s how to install it:
Open the Arduino IDE.
Go to Sketch > Include Library > Manage Libraries.
Search for “VL53L0X” and install the library by Pololu.
With the hardware set up and the library installed, you’re ready to write the code. Here’s a basic example to get you started:
# Включая# Включая
VL53L0X sensor;
void setup() {
Serial.begin(9600);
Wire.begin();
sensor.init();
sensor.setTimeout(500);
if (!sensor.init()) {
Serial.println("Failed to detect and initialize sensor!");
while (1);
}
}
void loop() {
uint16_t distance = sensor.readRangeSingleMillimeters();
if (sensor.timeoutOccurred()) {
Serial.println("Timeout occurred!");
} else {
Serial.print("Distance: ");
Serial.print(distance);
Serial.println(" mm");
}
delay(100);
}
This code initializes the sensor and continuously reads the distance in millimeters, printing the results to the Serial Monitor.
The combination of the VL53L0X sensor and Arduino is incredibly versatile. Here are some practical applications where this setup shines:
To get the most out of your VL53L0X sensor, consider the following tips:
The VL53L0X offers several advanced features that you can explore as you become more comfortable with the basics:
By now, you should have a solid understanding of how to use the VL53L0X sensor with Arduino. Whether you’re a beginner or an experienced maker, this combination offers endless opportunities for creativity and innovation. So, grab your Arduino and VL53L0X sensor, and start building something amazing today!
