Проверка

Проверка

Проверка

Проверка

Проверка

Проверка
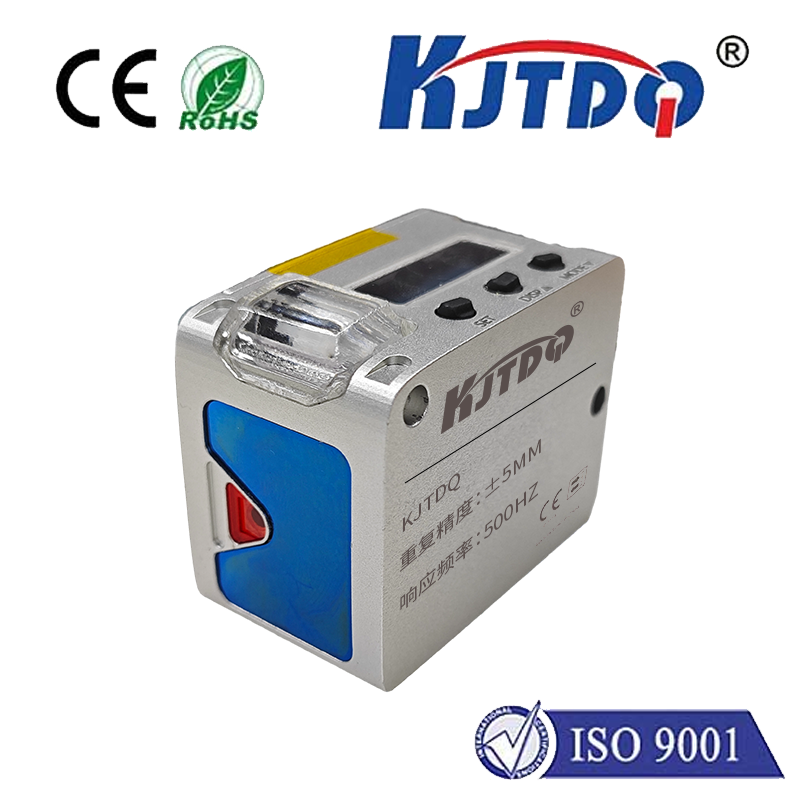
How to Integrate a VCSEL Sensor with Arduino for Precision Sensing In the ever-evolving world of electronics and IoT, precision sensing has become a cornerstone of innovation. Whether you’re working on a robotics project, a smart home device, or an advanced industrial application, integrating a VCSEL (Vertical Cavity Surface Emitting Laser) sensor with an Arduino microcontroller can unlock new levels of accuracy and efficiency. This article will guide you through the process, explaining the fundamentals of VCSEL technology, its applications, and how to seamlessly connect it to an Arduino for your next project.
А.VCSEL sensor is a cutting-edge optoelectronic device that emits laser light vertically from its surface. Unlike traditional edge-emitting lasers, VCSELs are compact, energy-efficient, and capable of producing highly focused beams. This makes them ideal for applications like distance measurement, gesture recognition, and 3D imaging. The key advantages of VCSEL sensors include:
Arduino is a versatile and user-friendly microcontroller platform that has become a favorite among hobbyists and professionals alike. Its simplicity, combined with a vast library of resources, makes it an excellent choice for interfacing with advanced sensors like VCSELs. By integrating a VCSEL sensor with an Arduino, you can:
Before starting, ensure you have the following:
An Arduino board (e.g., Arduino Uno, Nano, or Mega)
А.VCSEL sensor module (e.g., VL53L0X or similar)
Jumper wires for connections
А.breadboard (optional, for prototyping)

А.power supply (if needed)
Most VCSEL sensors communicate via I2C or SPI protocols. For this guide, we’ll focus on I2C, which is widely supported by Arduino. Here’s a typical pinout for a VCSEL sensor:
VCC: Connect to 3.3V or 5V (depending on the sensor’s requirements)
GND: Connect to ground
SCL: Connect to the Arduino’s SCL pin (A5 on Uno)
SDA: Connect to the Arduino’s SDA pin (A4 on Uno)
Follow these steps to connect the VCSEL sensor to the Arduino:
Connect the VCC pin of the sensor to the Arduino’s 3.3V or 5V pin.
Connect the GND pin of the sensor to the Arduino’s GND pin.
Connect the SCL pin of the sensor to the Arduino’s SCL pin (A5 on Uno).
Connect the SDA pin of the sensor to the Arduino’s SDA pin (A4 on Uno). Tip: Use a breadboard for a cleaner and more organized setup.
To simplify the coding process, install the appropriate library for your VCSEL sensor. For example, if you’re using the VL53L0X sensor, you can install the VL53L0X library via the Arduino IDE’s Library Manager.
Here’s a basic example to get you started:
# Включая# Включая
VL53L0X sensor;
void setup() {
Serial.begin(9600);
Wire.begin();
sensor.init();
sensor.setTimeout(500);
}
void loop() {
uint16_t distance = sensor.readRangeSingleMillimeters();
if (sensor.timeoutOccurred()) {
Serial.println("Timeout");
} else {
Serial.print("Distance: ");
Serial.print(distance);
Serial.println(" mm");
}
delay(100);
}
This code initializes the VCSEL sensor and continuously reads the distance measurements, printing them to the serial monitor.
The combination of VCSEL sensors and Arduino opens up a world of possibilities. Here are some practical applications:
By following this guide, you can successfully integrate a VCSEL sensor with an Arduino and harness the power of precision sensing in your projects. Whether you’re a beginner or an experienced developer, this combination offers endless opportunities for innovation and creativity.
