Title: Mastering Precision Measurement with Arduino and the VL53L0X Laser Sensor Imagine building a robot that navigates flawlessly through obstacles, a smart locker that detects package deliveries, or a gesture-controlled lighting system—all powered by a sensor no larger than a fingernail. The VL53L0X laser distance sensor paired with Arduino opens doors to projects that demand sub-millimeter accuracy and real-time responsiveness. In this guide, we’ll explore how this cutting-edge laser sensor works, how to integrate it with Arduino, and innovative applications that redefine what’s possible in DIY electronics.
The VL53L0X, developed by STMicroelectronics, is a time-of-flight (ToF) laser ranging sensor. Unlike infrared or ultrasonic sensors, it measures distance by calculating the time it takes for a laser pulse to bounce off a target and return. This method eliminates interference from ambient light and surface textures, delivering measurements up to 2 meters with ±3% accuracy. For Arduino enthusiasts, the sensor’s I2C interface and 3.3V/5V compatibility make it plug-and-play friendly. Whether you’re a hobbyist or a professional, the VL53L0X’s compact design and low power consumption (as low as 10mA in operation) make it ideal for portable or battery-powered projects.
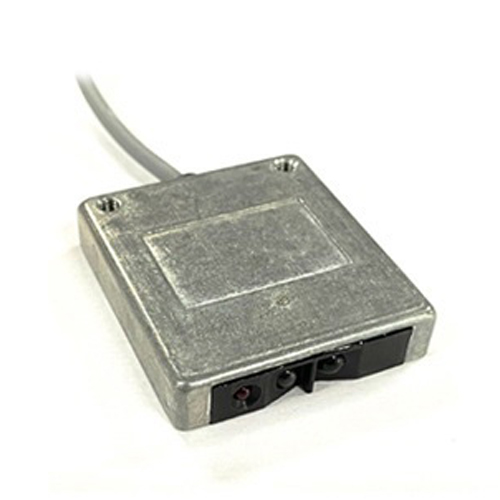
Wiring the VL53L0X to an Arduino board is straightforward:
Электричество: Connect VCC to Arduino’s 3.3V pin (or 5V if your sensor supports it).

Ground: Link GND to Arduino’s ground.
I2C Pins: Attach SDA to Arduino’s A4 (Uno) or 21 (Mega) and SCL to A5 (Uno) or 22 (Mega). Pro Tip: If using multiple I2C devices, assign unique addresses to avoid conflicts. The VL53L0X’s default address is 0x29, but this can be reprogrammed via its XSHUT pin.
Install the VL53L0X Library: Use the Arduino Library Manager to add the “VL53L0X” by Pololu library.
Upload a Test Sketch:
# Включая# Включая
VL53L0X sensor;
void setup() {
Serial.begin(9600);
sensor.init();
sensor.setTimeout(500);
}
void loop() {
Serial.print("Distance: ");
Serial.print(sensor.readRangeSingleMillimeters());
Serial.println(" mm");
delay(100);
}
This code initializes the sensor and prints distance measurements to the Serial Monitor. Adjust the timeout and sampling rate based on your project’s needs.
While the VL53L0X excels in accuracy, environmental factors can affect readings. Here’s how to mitigate common issues:
setMeasurementTimingBudget() and setLimitCheckEnable() functions.Arduino’s open-source ecosystem and vast community support simplify prototyping. With libraries tailored for the VL53L0X, even beginners can achieve professional-grade results. Additionally, Arduino boards like the Nano 33 IoT or MKR series add wireless capabilities, enabling IoT integrations without extra hardware. Did You Know? The VL53L0X consumes just 2μA in standby mode, making it perfect for solar-powered or energy-harvesting applications.
Wire.begin() in your sketch.As ToF sensors shrink in size and cost, they’re becoming ubiquitous in smartphones, drones, and smart home devices. By mastering the VL53L0X and Arduino, you’re not just building gadgets—you’re gaining skills applicable to robotics, automation, and IoT industries. What will you create next?