long range laser distance sensor arduino
- time:2025-03-20 02:25:23
- Нажмите:0
Long-Range Laser Distance Sensors with Arduino: Building Your Next Precision Measurement Project
Whether you’re designing a robotics navigation system, automating industrial processes, or experimenting with DIY surveying tools, combining a long-range laser distance sensor with an Arduino opens doors to high-accuracy, remote measurement solutions. These sensors, capable of detecting objects up to hundreds of meters away, are revolutionizing fields like automation, construction, and even hobbyist electronics. But how do you harness their power effectively? Let’s explore the seamless integration of laser rangefinders with Arduino, uncovering practical applications, wiring strategies, and code optimizations to elevate your projects.
Why Choose a Laser Distance Sensor for Arduino?
Traditional ultrasonic or infrared sensors have limitations in range and environmental adaptability. For instance, ultrasonic sensors struggle with accuracy beyond 5 meters and perform poorly in noisy environments. Laser-based sensors, on the other hand, use time-of-flight (ToF) or phase-shift measurement principles to deliver sub-millimeter precision over distances exceeding 100 meters. This makes them ideal for scenarios requiring:
- Industrial automation: Monitoring conveyor belt gaps or robotic arm positioning.
- Outdoor robotics: Enabling autonomous drones or vehicles to avoid obstacles.
- Surveying and mapping: Capturing 3D terrain data with minimal setup.
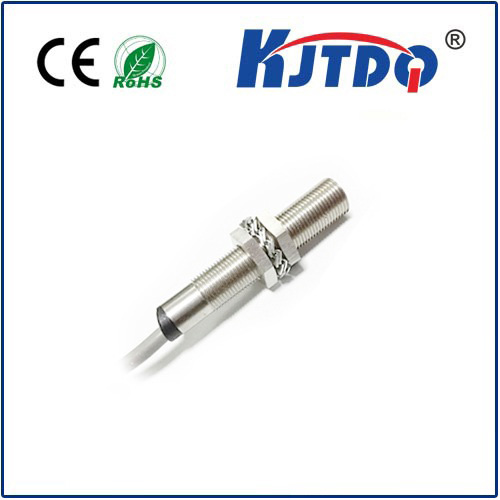
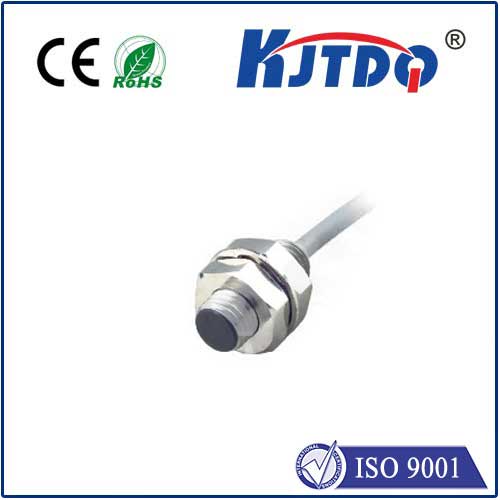
Popular models like the VL53L1X (up to 4 meters) or industrial-grade LiDAR Lite v4 (40+ meters) offer varying ranges and resolutions, but all share compatibility with Arduino’s I2C or UART interfaces.
Selecting the Right Sensor for Your Arduino Project
Not all laser distance sensors are created equal. Key factors to consider include:

- Range: For long-range needs (e.g., 50–200 meters), opt for ToF sensors like the TF-Luna or Benewake TF03.
- Точность: High-precision applications (e.g., assembly line QA) demand sensors with ±1mm error margins.
- Environmental resilience: Dust, rain, or fog? Look for IP67-rated models.
- Communication protocol: I2C is plug-and-play for Arduino, while UART offers faster data transfer.
For beginners, the VL53L0X (4m range) is a cost-effective starting point. Advanced users might prefer the TF03 LiDAR, which combines a 100-meter range with robust outdoor performance.
Step-by-Step Integration with Arduino
Let’s break down the process of connecting a laser sensor to an Arduino Uno:
Hardware Setup
- Power Requirements: Most sensors operate at 3.3V or 5V. Double-check voltage compatibility to avoid damaging the sensor.
- Монтаж проводов: For I2C sensors:
- Connect SDA to Arduino A4.
- Connect SCL to Arduino A5.
- Provide 3.3V/5V and ground.
Shielding: Use ferrite beads or twisted-pair cables to minimize EMI interference, especially in industrial settings.
Software Configuration
Install Libraries: Use Arduino IDE’s Library Manager to add sensor-specific libraries (e.g., VL53L0X by Pololu).
Sample Code:
# Включая# Включая
VL53L0X sensor;
void setup() {
Serial.begin(9600);
Wire.begin();
sensor.init();
sensor.setTimeout(500);
}
void loop() {
Serial.print("Distance: ");
Serial.print(sensor.readRangeSingleMillimeters());
Serial.println(" mm");
delay(100);
}
- Calibration: Adjust for ambient light or reflective surfaces using the sensor’s built-in offset settings.
Optimizing Performance for Long-Range Detection
To maximize reliability in real-world conditions:
- Reduce Sampling Rate: Lower the frequency of measurements to minimize noise.
- Filter Data: Implement a moving average or median filter in your code to smooth erratic readings.
- Angle Compensation: For angled surfaces, apply trigonometric corrections to distance values.
- Temperature Compensation: Industrial-grade sensors often include this feature to counter thermal drift.
Real-World Applications
- Smart Agriculture: Monitor water levels in irrigation canals up to 150 meters away.
- Drone Navigation: Equip UAVs with LiDAR for obstacle detection during autonomous flights.
- Warehouse Automation: Track inventory stack heights using a sensor network.
One innovator shared how they combined an Arduino Mega with a TF03 LiDAR to create a low-cost forest canopy analyzer, achieving 95% accuracy compared to commercial tools.
Troubleshooting Common Issues
- Inconsistent Readings: Check for reflective surfaces or obstructions in the laser path.
- I2C Communication Failures: Verify pull-up resistors (4.7kΩ) on SDA/SCL lines.
- Limited Range: Ensure the sensor’s lens is clean and aligned perpendicular to the target.
FAQs
Q: Can I use multiple laser sensors with one Arduino?
A: Yes! Assign unique I2C addresses to each sensor using the manufacturer’s guidelines.
Q: How does ambient light affect performance?
A: Direct sunlight can interfere. Use sensors with ambient light rejection or install protective shrouds.
Q: What’s the maximum update rate for a ToF sensor?
A: High-end models like the VL53L7CX support up to 60 Hz, ideal for dynamic applications.
By blending the precision of long-range laser sensors with Arduino’s versatility, you’re not just building a gadget—you’re crafting a solution that bridges the gap between theoretical accuracy and real-world usability.