Проверка
Проверка
Проверка
Проверка
Проверка
Проверка
DIY Laser Motion Sensor: Build Your Own Smart Security System on a Budget Imagine walking into a room where a hidden laser beam silently detects your movement, triggering an alarm or activating lights—all built by you. With the rise of smart home technology, creating a DIY laser motion sensor isn’t just a sci-fi fantasy; it’s an accessible project for tech enthusiasts and hobbyists. Whether you’re securing a workshop, monitoring pets, or experimenting with optics, this guide will walk you through building a functional laser motion sensor system using affordable, off-the-shelf components.
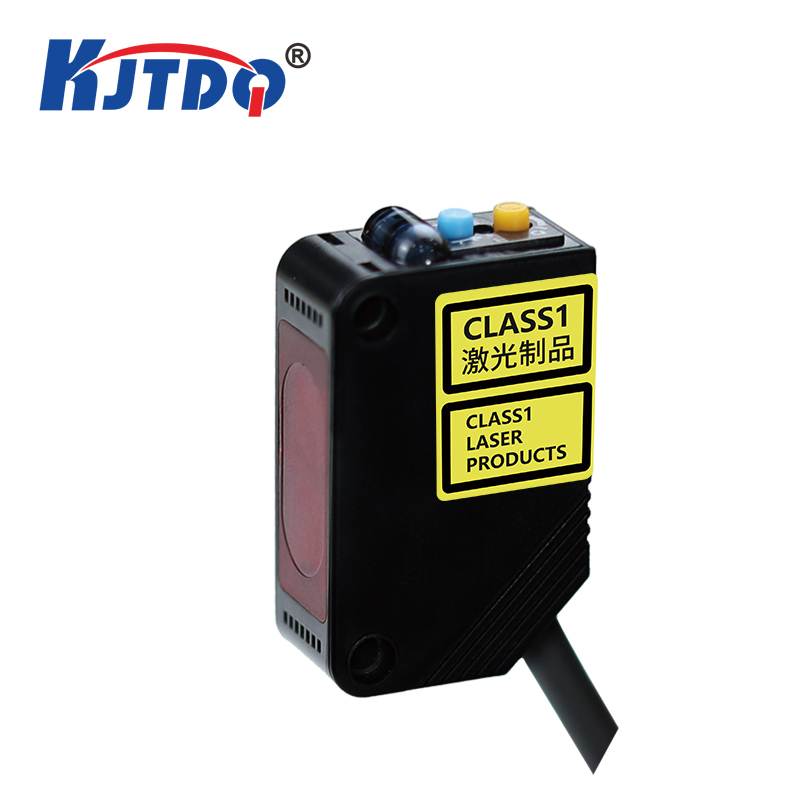
Laser motion sensors offer precision and reliability unmatched by traditional infrared (IR) sensors. Unlike passive IR systems, which detect heat changes, laser-based setups use interrupted light beams to identify movement, reducing false alarms. DIY projects like this also empower you to customize sensitivity, range, and responses—perfect for tailoring a security system to your needs without breaking the bank.
To build a basic laser motion sensor, you’ll need:

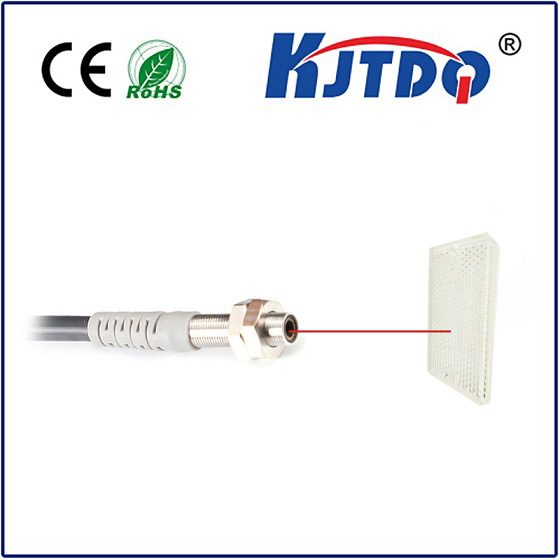
Start by mounting the laser diode and photoresistor opposite each other. Ensure the laser beam directly hits the photoresistor. When aligned, the LDR’s resistance drops, signaling an “idle” state. Any object interrupting the beam will spike resistance, triggering the sensor. Pro Tip: Use a lens to focus the laser beam for longer range (up to 10 meters).
Connect the photoresistor to the Arduino’s analog input pin. Add a 10kΩ resistor in series to create a voltage divider. The laser diode can be powered via a 5V pin with a current-limiting resistor (e.g., 220Ω). Link the buzzer/LED to a digital output pin for alerts.
Upload a simple Arduino sketch to monitor the photoresistor’s voltage. Here’s a snippet:
int sensorPin = A0;
int buzzerPin = 9;
void setup() {
pinMode(buzzerPin, OUTPUT);
}
void loop() {
int sensorValue = analogRead(sensorPin);
if (sensorValue
This code triggers the buzzer when the beam is blocked for more than a second.
Test the sensor in different lighting conditions. Adjust the threshold value in the code to avoid false triggers from ambient light. For outdoor use, consider adding a pulsed laser or infrared filter to combat interference.