Laser Displacement Sensor with Arduino: Building a DIY High-Precision Measurement System Imagine needing to measure the thickness of a hair, detect micro-level vibrations in a machine, or monitor the deformation of a 3D-printed object in real time—all with a budget-friendly DIY setup. This is where the fusion of a лазерный датчик смещения and Arduino becomes a game-changer. Combining affordability, flexibility, and precision, this duo opens doors to industrial-grade measurement applications for makers, engineers, and hobbyists alike.
Laser displacement sensors are non-contact devices that use triangulation or time-of-flight principles to measure distance with micron-level accuracy. Unlike traditional contact-based sensors, they excel in scenarios requiring speed, hygiene, or minimal interference. When paired with Arduino, a versatile open-source microcontroller platform, these sensors transform into customizable tools for robotics, quality control, automation, and more. The Arduino’s ability to process analog/digital signals, coupled with its extensive library support, makes it ideal for interpreting data from laser sensors. Whether you’re prototyping a smart factory solution or designing a DIY inspection tool, this combination balances cost-effectiveness and technical capability.
To build a functional system, you’ll need:

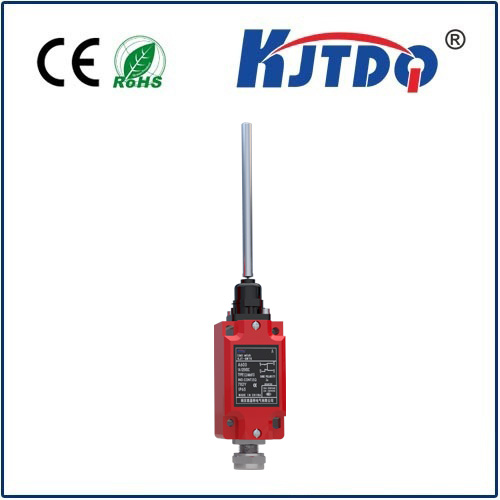
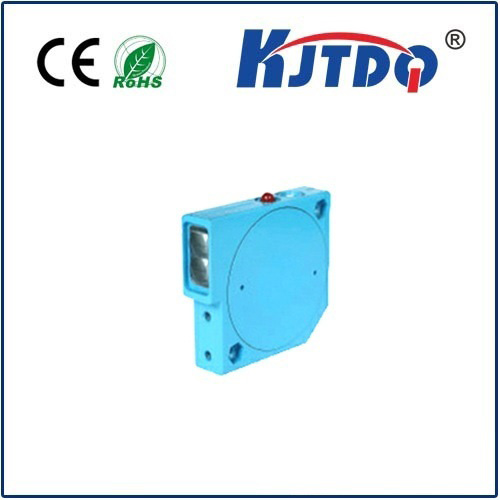
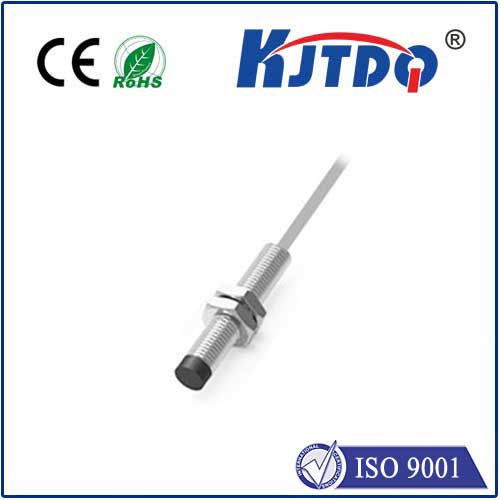
Most laser displacement sensors provide analog (0-5V or 4-20mA) or digital (RS232, USB) outputs. For Arduino, analog interfaces are simplest. For example, the HW-LD30 outputs 0-5V linearly corresponding to a 20-100mm measurement range.
Connect the sensor’s output to an Arduino analog pin (e.g., A0). If the sensor operates at higher voltages (e.g., 12V), use a voltage divider to scale it down. Add a capacitor (10µF) near the sensor’s power line to reduce noise. Sample Wiring:
Laser Sensor VCC → 5V (Arduino)
Laser Sensor GND → GND
Laser Sensor OUT → A0
Upload a basic code to map raw analog readings (0-1023) to real-world units (e.g., millimeters):
void setup() {
Serial.begin(9600);
}
void loop() {
int rawValue = analogRead(A0);
float voltage = rawValue * (5.0 / 1023.0);
float distance = map(voltage, 0, 5, 20, 100); // Adjust based on sensor specs
Serial.print("Distance: ");
Serial.print(distance);
Serial.println(" mm");
delay(100);
}
Calibrate using known reference points (e.g., measure a 50mm block and adjust the map() function).
delay().
By addressing these pitfalls, even beginners can achieve professional-grade results.With Arduino-compatible sensors shrinking in size (some now match a coin’s dimensions) and IoT integration rising, DIY laser measurement systems are poised to revolutionize fields like wearable tech and smart agriculture. Open-source libraries and AI-driven data analysis tools will further democratize high-precision sensing. Whether you’re a hobbyist or a professional, merging a лазерный датчик смещения with Arduino offers endless possibilities—turning intricate measurement tasks into achievable, affordable projects.