laser detector sensor arduino
- time:2025-03-18 09:56:43
- Нажмите:0
How to Build a Laser Detector Sensor System with Arduino: A Step-by-Step Guide
Imagine detecting invisible laser beams with a device you built yourself. Whether for security systems, DIY science experiments, or interactive art installations, combining a датчик лазерного детектора with an Arduino opens up a world of creative possibilities. In this guide, we’ll break down how to design, assemble, and program a reliable laser detection system using accessible components. By the end, you’ll have a functional prototype and the knowledge to adapt it for your unique projects.
Why Combine a Laser Detector Sensor with Arduino?
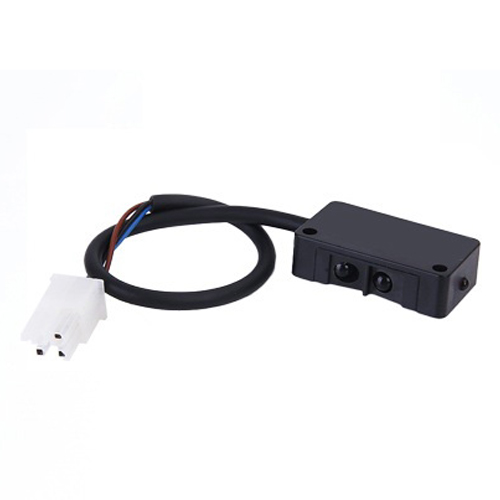
Arduino’s versatility makes it a favorite among hobbyists and engineers alike. When paired with a датчик лазерного детектора—typically a photoresistor (LDR) or photodiode—it becomes a powerful tool for detecting light variations. But why lasers? Lasers provide a focused, coherent beam that’s easy to detect and ideal for precision applications like:
- Intrusion detection systems (e.g., triggering an alarm when a laser beam is interrupted).
- Alignment tools for machinery or robotics.
- Interactive installations (e.g., laser harps or motion-activated displays).
The simplicity of Arduino’s programming environment ensures even beginners can bring these ideas to life.
Components You’ll Need
To build your laser detector sensor system, gather these essentials:
- Arduino Uno or Nano (or any compatible board).
- Laser module (650nm red lasers are common and affordable).
- Photoresistor (LDR) or photodiode.
- 10kΩ resistor for the LDR voltage divider circuit.
- Breadboard and jumper wires.
- Buzzer or LED (for alerts).
Step 1: Setting Up the Laser Detection Circuit
Как это работает?
The LDR’s resistance decreases when exposed to light. By placing it in a voltage divider circuit, you can measure this change using Arduino’s analog input. When the laser beam hits the LDR, the resistance drops, and the voltage at the analog pin rises. If the beam is interrupted, the voltage falls—a clear signal for Arduino to act.

Wiring Instructions
- Connect one leg of the LDR to Arduino’s 5V pin.
- Connect the other leg to Analog Pin A0 and to a 10kΩ resistor leading to GND.
- Attach the laser module to a separate power source or Arduino’s 5V pin (ensure it’s always on).
- Optional: Add a buzzer to Digital Pin 8 and GND for audible alerts.
Step 2: Programming the Arduino
Here’s a simple sketch to detect laser interruptions:
const int ldrPin = A0;
const int buzzerPin = 8;
int threshold = 500; // Adjust based on ambient light
void setup() {
pinMode(ldrPin, INPUT);
pinMode(buzzerPin, OUTPUT);
Serial.begin(9600);
}
void loop() {
int ldrValue = analogRead(ldrPin);
Serial.println(ldrValue);
if (ldrValue
Key Notes:
- Adjust the threshold using the Serial Monitor to account for ambient light.
- For better reliability, add software debouncing or averaging multiple readings.
Step 3: Testing and Calibration
- Power up the Arduino and aim the laser at the LDR.
- Open the Serial Monitor to observe the analog readings.
- Block the laser beam; the value should drop below the threshold, triggering the buzzer.
- Fine-tune the LDR’s position or threshold value if the response is inconsistent.
Advanced Applications and Modifications
1. Multi-Zone Detection
Add multiple LDRs to detect where a beam is interrupted. Use an array of sensors and map their inputs to specific actions.
2. Wireless Alerts
Replace the buzzer with a Wi-Fi module (e.g., ESP8266) to send notifications to your phone or computer.
3. Data Logging
Integrate an SD card module to record intrusion events with timestamps.
Troubleshooting Common Issues
- False Triggers: Ambient light can interfere. Use a laser-specific filter or enclose the LDR in a dark tube.
- Weak Signal: Ensure the laser and LDR are aligned precisely. Reduce distance or use a more powerful laser.
- Inconsistent Readings: Check wiring for loose connections and verify the voltage divider calculations.
Safety and Best Practices
- Avoid eye exposure: Even low-power lasers can cause harm.
- Power management: Use separate power supplies for the laser and Arduino if current draw exceeds limits.
- Secure mounting: Stabilize the laser and sensor to prevent misalignment from vibrations.
Final Thoughts
Building a laser detector sensor system with Arduino is a gateway to exploring optics, electronics, and automation. From basic security setups to complex interactive projects, the skills you’ve gained here can scale to meet your ambitions. Experiment, iterate, and most importantly—have fun making the invisible visible.
(Word count: 918)