How to Build a Laser Distance Sensor with Arduino: A Step-by-Step Guide In the world of DIY electronics, combining an Arduino with a laser distance sensor opens up a world of possibilities. Whether you’re building a smart robot, a precision measurement tool, or a security system, this combination is both cost-effective and versatile. In this guide, we’ll walk you through the process of setting up a laser distance sensor with Arduino, exploring its functionality, and providing practical tips for your projects.
Laser distance sensors are known for their accuracy and reliability in measuring distances. When paired with an Arduino, they become even more powerful, enabling you to integrate distance data into your projects with ease. The Arduino’s flexibility allows you to process the sensor’s data, display it, or use it to control other components. Whether you’re a hobbyist or a professional, this setup is ideal for applications like obstacle detection, 3D mapping, or even creating your own laser rangefinder.
Before diving into the setup, gather the following components:
Arduino Board (Uno, Nano, or any compatible board).
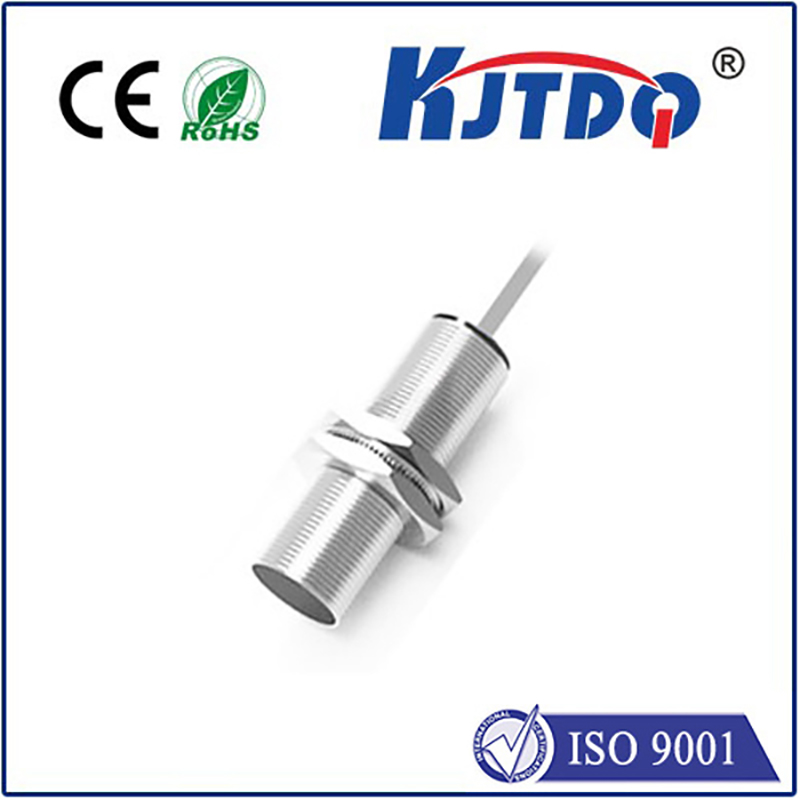
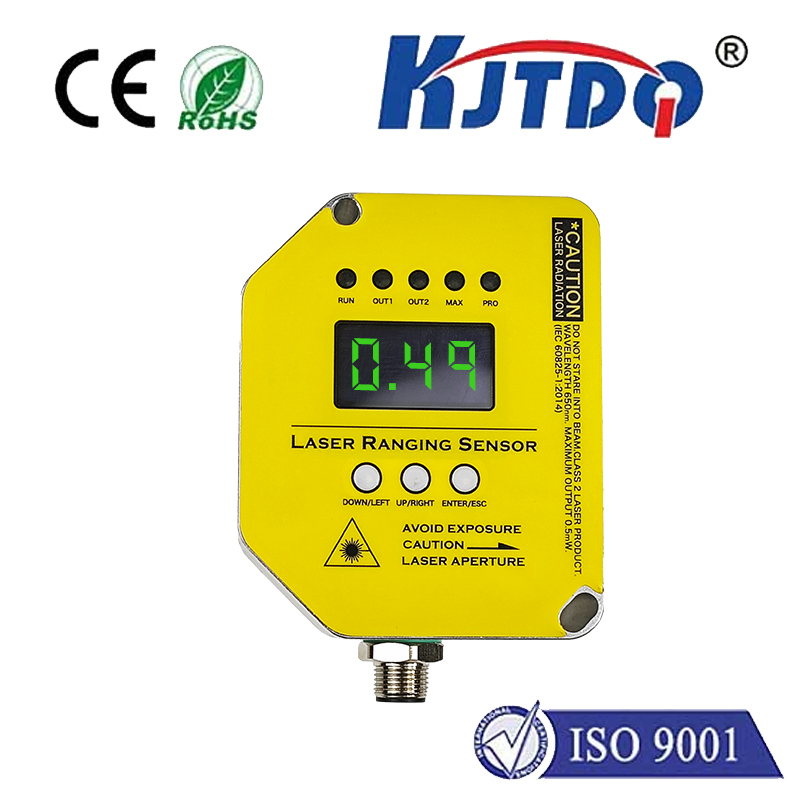
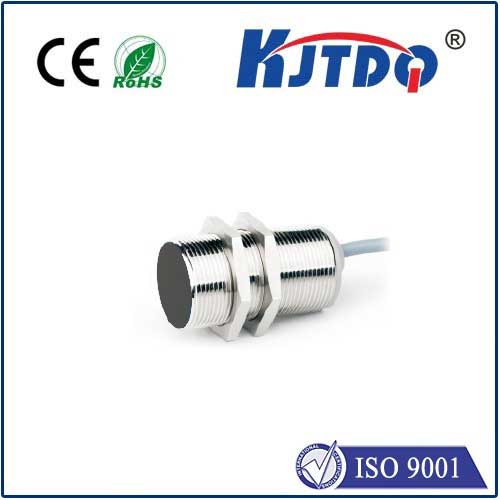
Laser Distance Sensor Module (e.g., VL53L0X, TF-Luna, or similar).
Breadboard and Jumper Wires for easy connections.
Power Supply (battery or USB cable).
Optional: Display Module (LCD or OLED) for real-time distance readings.
Laser distance sensors work by emitting a laser beam and measuring the time it takes for the light to reflect off an object and return to the sensor. This principle, known as Time of Flight (ToF), ensures high accuracy even at longer distances. Popular sensors like the VL53L0X are compact, affordable, and easy to integrate with Arduino. They typically communicate via I2C, making them straightforward to use.
Start by connecting the laser distance sensor to your Arduino. Most sensors have four pins: VCC, GND, SDA, and SCL. Here’s how to wire them:

VCC to Arduino’s 5V or 3.3V (check your sensor’s specifications).
GND to Arduino’s GND.
SDA to Arduino’s A4 (or SDA pin).
SCL to Arduino’s A5 (or SCL pin). If you’re using a display module, connect it as per its datasheet.
To communicate with your laser distance sensor, you’ll need to install the appropriate Arduino library. For the VL53L0X, the Adafruit_VL53L0X library is widely used. To install it:
Open the Arduino IDE.
Go to Sketch > Include Library > Manage Libraries.
Search for “Adafruit VL53L0X” and install it.
Once the library is installed, you can write a simple sketch to read distance data. Here’s an example for the VL53L0X:
# Включая# Включая
Adafruit_VL53L0X lox = Adafruit_VL53L0X();
void setup() {
Serial.begin(9600);
if (!lox.begin()) {
Serial.println(F("Failed to boot VL53L0X"));
while(1);
}
}
void loop() {
VL53L0X_RangingMeasurementData_t measure;
lox.rangingTest(&measure, false);
if (measure.RangeStatus != 4) {
Serial.print("Distance (mm): ");
Serial.println(measure.RangeMilliMeter);
} else {
Serial.println("Out of range");
}
delay(100);
}
This code initializes the sensor and prints the distance in millimeters to the Serial Monitor.
Upload the code to your Arduino and open the Serial Monitor (Ctrl+Shift+M). Point the sensor at an object and check the readings. If the values seem off, ensure the sensor is properly aligned and there’s no interference from ambient light.
Once your setup is working, you can explore a variety of projects:
Obstacle Avoidance Robot: Use the sensor to detect and navigate around obstacles.
Precision Measurement Tool: Build a portable device for measuring distances with high accuracy.
Security System: Create a laser tripwire that triggers an alarm when an object crosses the beam.
3D Scanning: Combine multiple sensors to map objects in three dimensions.
Power Supply: Ensure your sensor and Arduino are adequately powered. A low-power supply can lead to inaccurate readings.
Ambient Light: Avoid direct sunlight or bright lights, as they can interfere with the sensor’s performance.
Mounting: Securely mount the sensor to prevent vibrations or misalignment during use.
For advanced users, consider adding features like data logging, wireless communication, or integration with other sensors. The Arduino ecosystem offers endless possibilities for customization and expansion. By mastering the combination of an Arduino and a laser distance sensor, you’ll unlock a powerful tool for your electronics projects. Whether you’re measuring distances, detecting obstacles, or building something entirely new, this setup is a game-changer.