In the world of additive manufacturing, achieving consistent print quality relies heavily on the precise calibration of mechanical components. Among these, the limit switch plays a critical yet often overlooked role in ensuring dimensional accuracy and repeatability. A limit switch in a 3D printer is an electromechanical device that detects the physical boundaries of each axis—X, Y, and Z. It acts as a homing sensor, signaling the printer's control board when the print head or build platform reaches its zero position. This fundamental operation establishes a reliable reference point for all subsequent movements, directly influencing layer alignment, first-layer adhesion, and overall print fidelity.
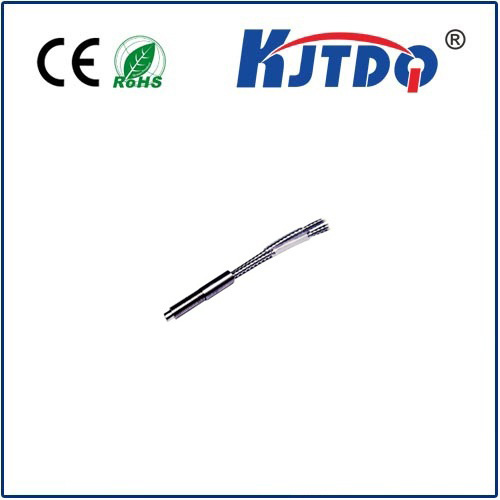
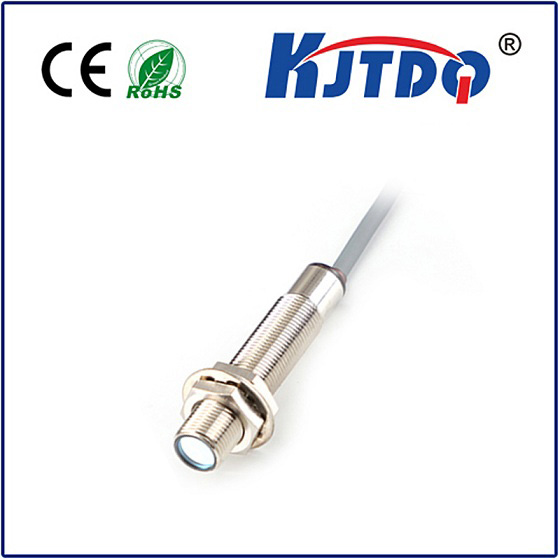
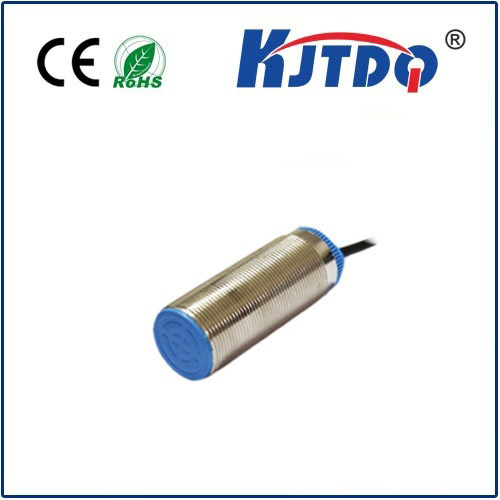
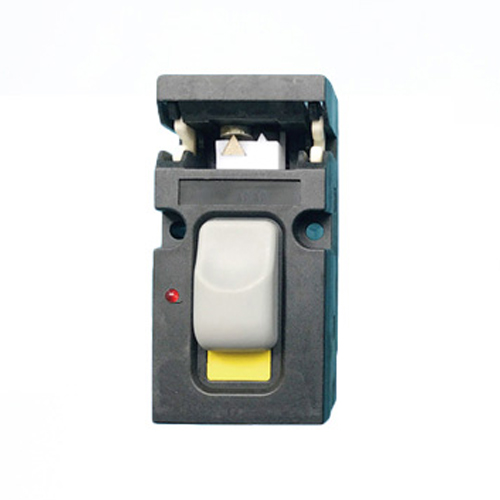
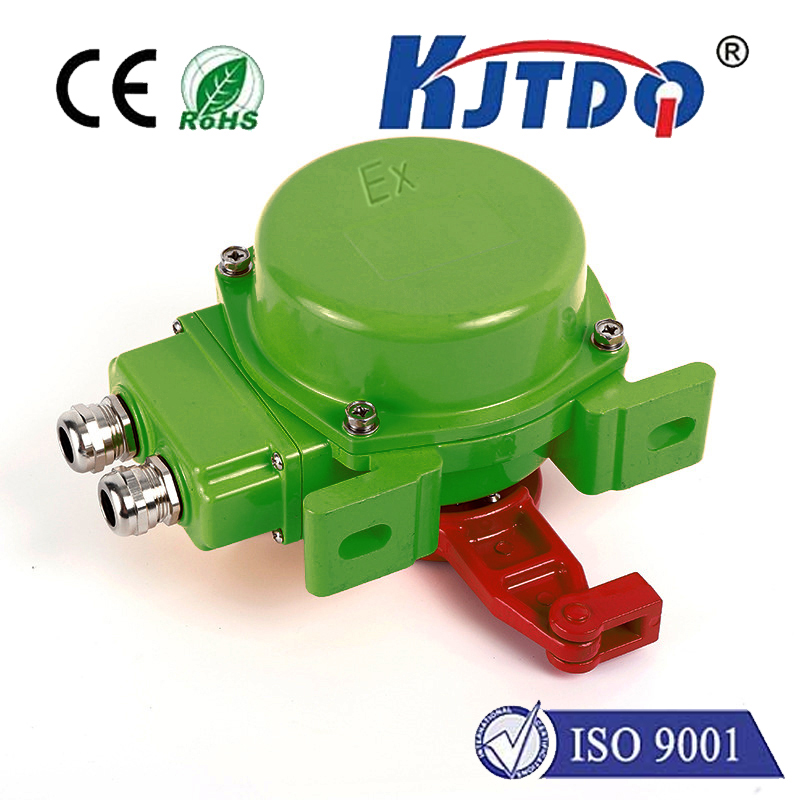
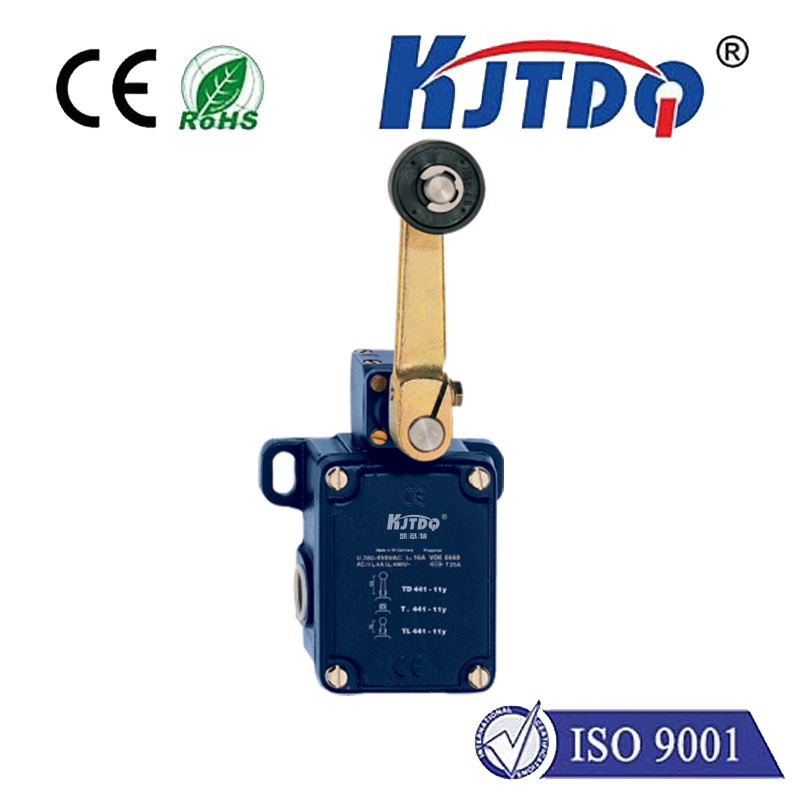
Without properly functioning limit switches, a printer may experience layer shifting, skewed geometries, or even collisions that damage hardware. The most common types include mechanical micro-switches, optical sensors, and Hall effect sensors. Mechanical switches, featuring a physical lever or plunger, are cost-effective and widely used in entry-level machines. Optical variants employ infrared beams to detect obstructions with higher precision, while Hall effect sensors use magnetic fields for non-contact detection, offering durability in dusty environments. Each type requires specific calibration routines to eliminate false triggers or missed signals that could compromise print integrity.
Installation and calibration demand meticulous attention. For the Z-axis switch, incorrect positioning can lead to nozzle crashes or insufficient bed adhesion. Users must ensure the switch activates precisely when the nozzle contacts the bed surface, accounting for variations in build plate thickness. X and Y-axis switches require alignment parallel to the motion rails to prevent premature triggering. Advanced users often implement software-based endstop adjustments in firmware like Marlin or Klipper to fine-tune trigger points, compensating for mechanical wear over time. Regular maintenance—clearing debris from switch mechanisms and verifying electrical connections—prevents intermittent failures that cause print abortions.
Emerging trends integrate smart limit switches with automated calibration systems. Some modern printers utilize sensorless homing, which deduces limits by monitoring motor stall current, though this method may lack the consistency of physical switches in high-torque scenarios. For DIY builders, selecting appropriate switches involves evaluating travel distance, actuation force, and electrical ratings to match the printer's kinematics. Upgrading from mechanical to optical switches can resolve issues related to switch bounce or mechanical wear, particularly in high-speed printing applications.
Troubleshooting common problems involves systematic checks. If a printer fails to home correctly, inspect the switch for physical damage, test continuity with a multimeter, and verify wiring to the control board. Firmware settings must correctly define switch polarity—normally open versus normally closed configurations. Inconsistent homing positions often stem from loose mounting brackets or vibration-induced slippage, necessitating mechanical securing with thread-locking compounds. For printers used in educational or industrial settings, implementing redundant limit switches or utilizing software endstops as backups enhances reliability during continuous operation.
Ultimately, the humble limit switch embodies the principle that precision in 3D printing derives from exacting control over fundamental mechanics. By understanding its function, maintaining its components, and calibrating it with care, users can transform sporadic printing results into consistently accurate creations. As printer designs evolve toward faster speeds and larger build volumes, the role of robust limit detection becomes increasingly pivotal, bridging the gap between digital models and physical reality with unwavering reliability.