Проверка
Проверка
Проверка
Проверка
Проверка
Проверка
For any 3D printing enthusiast using the Creality Ender 3, achieving that first perfect layer is a moment of triumph. However, inconsistent first layers, nozzle crashes into the build plate, or prints that seem slightly squished can quickly turn excitement into frustration. Often, the root of these common issues lies in a small but critical component: the Z axis limit switch. This unassuming device is the gatekeeper for your printer's vertical homing, telling the machine exactly where the Z-axis zero point is. A malfunctioning or poorly adjusted switch can throw off your entire print's dimensional accuracy from the very first moment.
The stock Z limit switch on the Ender 3 is a mechanical micro-switch. When the printer's gantry moves downward during the auto-homing sequence, a small tab on the gantry presses against the switch's lever arm. This physical contact triggers the switch, sending an electrical signal to the mainboard that says, "Stop! This is Z=0." It's a simple and generally effective system. However, over time, several problems can emerge. The mechanical lever can wear out or become less responsive. The mounting bracket can loosen or bend slightly through repeated use and vibrations. Even a tiny shift in the switch's position—less than a millimeter—can translate to a significant first-layer adhesion problem. Manually adjusting the switch's position by loosening its screws and sliding it up or down is the traditional fix, but it can be imprecise and tedious, often requiring multiple test prints to get right.
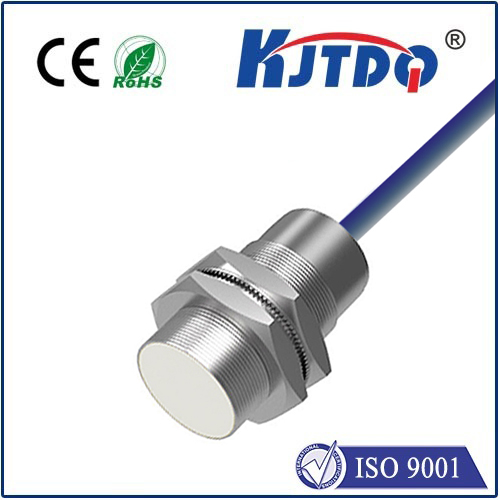
This is where upgrading or properly optimizing your Creality Ender 3's Z axis limit switch becomes a valuable investment in print quality and reliability. One popular upgrade is to install a sensor with higher precision and consistency. For instance, some users opt for a non-contact inductive or capacitive sensor. These sensors detect the metal build plate or a dedicated metal flag without physical touch, eliminating mechanical wear and providing extremely repeatable triggering. The installation requires some wiring and firmware configuration, but the payoff is a highly reliable and maintenance-free Z-home position.
For those who prefer to enhance the existing mechanical switch, there are effective modifications. Printing a simple adjustable mount from PLA or PETG allows for fine-tuning the switch's height with a thumbscrew, making live adjustments during bed leveling much easier than fiddling with loose screws. Another common hack is to replace the stock lever arm with a printed, more robust version or to add a small nut or spacer to the actuator tab on the gantry for a more positive engagement. Ensuring the switch is securely mounted to a stable part of the frame and that its wiring connector is firmly seated on the mainboard are also crucial, often overlooked, steps for reliable operation.
Regardless of whether you stick with the stock part or upgrade, the calibration process is key. After any adjustment or installation, you must recalibrate your Z-offset. This is the software value that tells the printer the precise distance between the triggered switch position and the actual nozzle tip touching the bed. Modern firmwares like Marlin make this process straightforward through the LCD menu, allowing you to "babystep" the Z-axis during a first-layer test print until the extrusion is perfectly squished. A well-tuned Z limit switch combined with an accurate Z-offset ensures your nozzle starts at the exact same height every single time, forming the foundation for successful, dimensionally accurate prints.
In conclusion, while it may be one of the smallest parts on your Creality Ender 3, the Z axis limit switch plays an outsized role in your 3D printing success. Addressing its setup, condition, and potential for improvement is not just troubleshooting; it's a fundamental step in mastering your machine. By ensuring this switch is precise, stable, and reliable, you eliminate a major variable, leading to better first layers, fewer failed prints, and a much more enjoyable and consistent 3D printing experience. Don't let this tiny component limit your printing potential.