Проверка
Проверка
Проверка
Проверка
Проверка
Проверка
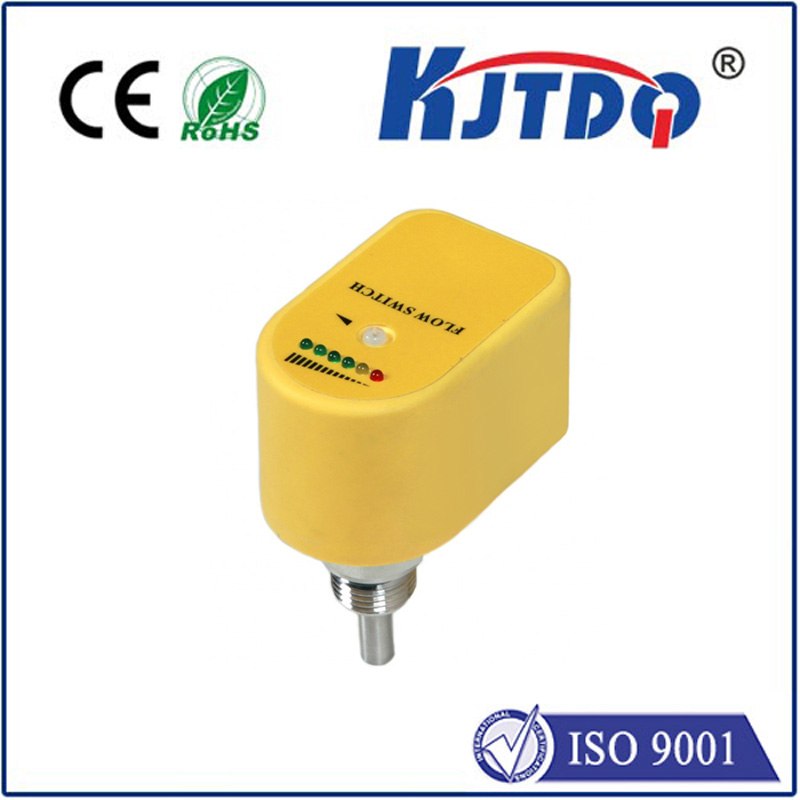
In the world of robotics, CNC machines, and automated systems, achieving precise and repeatable movement is paramount. A common challenge is preventing a motor-driven axis from moving beyond its intended physical boundaries, which could damage the mechanism or the motor itself. This is where the simple yet powerful combination of a limit switch, a stepper motor, and an Arduino microcontroller comes into play. By integrating a limit switch, you can create a reliable homing routine and establish hard stops, ensuring your projects operate safely and accurately every time.
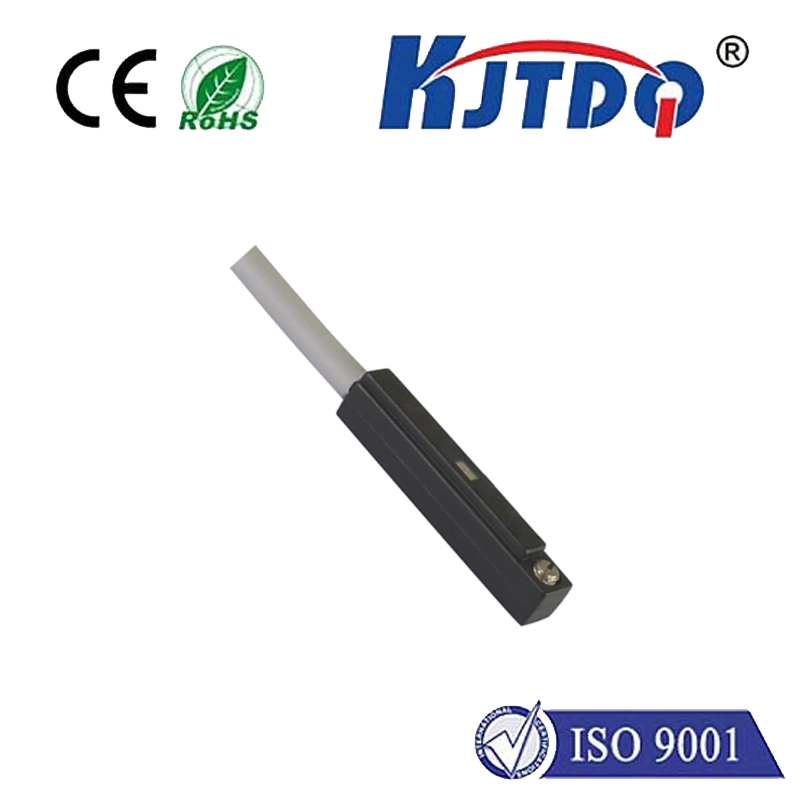
A stepper motor is an excellent choice for precision motion control because it moves in discrete steps, allowing for exact positioning without the need for a feedback sensor under normal conditions. However, to define a known starting point (the "home" position), external feedback is required. This is the primary role of the limit switch. A limit switch is a mechanical sensor with an actuator lever, button, or plunger. When the moving part of your machine contacts the actuator, the switch's internal contacts change state—typically from open to closed or vice-versa—sending a clear electrical signal to the Arduino.
Let's delve into a practical setup. You will need an Arduino board (like the Uno), a stepper motor (such as a NEMA 17), a compatible stepper motor driver (like the A4988 or DRV8825), a limit switch (a basic micro switch is perfect), jumper wires, and a suitable power supply for the motor. First, connect the stepper motor to its driver module, and then connect the driver's step, direction, and enable pins to designated digital pins on the Arduino. Power the driver logic from the Arduino's 5V pin and provide a separate power source to the driver for the motor.
The crucial part is wiring the limit switch. One terminal of the switch connects to the Arduino's ground (GND). The other terminal connects to a specific digital input pin on the Arduino (e.g., pin 2). For reliable reading, you should also enable the Arduino's internal pull-up resistor for that pin. This configuration means the pin will normally read HIGH when the switch is not pressed. When the moving carriage hits the switch and presses the actuator, the circuit closes to ground, and the pin reads LOW. This LOW signal is your "stop" or "home found" command.
The real intelligence is in the Arduino sketch. Your code needs to accomplish two main tasks: moving the motor and monitoring the switch. You can use the popular AccelStepper library for smooth motor control. In the main loop, you would typically command the motor to move continuously in one direction. Simultaneously, you constantly check the state of the digital pin connected to the limit switch using adigitalRead() function. When the pin goes LOW, you immediately stop the motor. A simple but effective homing routine would look like this: slowly move the motor towards the limit switch until it is triggered, record that position as zero (home), and then move a short distance away from the switch to release it. This establishes a consistent reference point for all future movements.
Why is this combination so effective? It adds a layer of deterministic safety. Unlike software limits alone, a physical limit switch acts as a fail-safe. Even if a software bug causes the motor to run indefinitely, the hardware switch will interrupt the motion. Furthermore, it solves the problem of positional drift. Stepper motors can lose steps under high load or if they stall. By homing the system at the start of each operation using the limit switch, you recalibrate to an absolute physical position, eliminating cumulative errors.
Consider applications beyond simple homing. You can use two limit switches—one at each end of an axis—to define both minimum and maximum travel limits. The logic remains the same: move until a switch is triggered, then stop or reverse direction. This is essential for devices like 3D printers and plotters. Another advanced technique involves using the interrupt feature of the Arduino. Instead of polling the switch pin in the loop, you can attach an interrupt to it. This means the Arduino will immediately pause its main program and run a special Interrupt Service Routine (ISR) the moment the switch is pressed, allowing for even faster and more reliable stopping.
In conclusion, integrating a limit switch with a stepper motor controlled by an Arduino is a fundamental skill for building robust automated projects. It bridges the gap between open-loop control and the need for a reliable physical reference point. This setup enhances safety, improves accuracy through repeatable homing, and is scalable from simple one-axis systems to complex multi-axis machines. By mastering this basic building block, you lay the groundwork for more sophisticated projects involving full coordinate systems, automated calibration sequences, and industrial-grade reliability, all achievable with these affordable and accessible components.