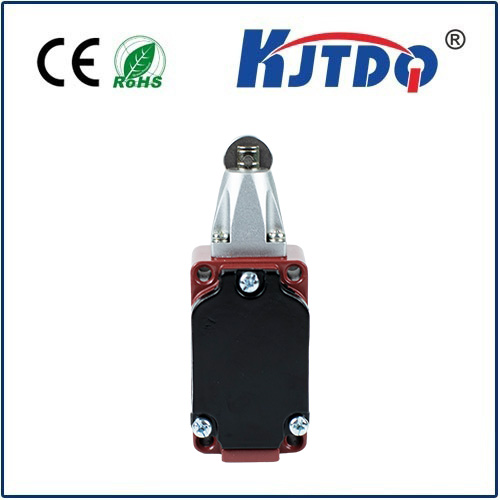
Connecting a micro switch to an Arduino opens up a world of possibilities for physical computing projects, from simple button inputs to complex control systems. A micro switch, also known as a miniature snap-action switch, is a type of momentary switch known for its precise operation, durability, and audible "click." Its compact size and reliable performance make it a popular choice for limit sensing, safety interlocks, and user input in DIY electronics and prototyping.
The fundamental principle behind integrating a micro switch with an Arduino involves reading the state of the switch (open or closed) as a digital input. A typical micro switch has three terminals: Common (C), Normally Open (NO), and Normally Closed (NC). For a basic push-button style input, the common and normally open terminals are most frequently used.
To set up the circuit, you will need an Arduino board (like the Uno), a micro switch, a 10k ohm resistor (acting as a pull-down or pull-up resistor), and connecting wires. Here is a standard connection method using a pull-down resistor. Connect one side of the micro switch (the Common terminal) to the 5V pin on the Arduino. Connect the other side (the Normally Open terminal) to a digital input pin, for example, pin 2. Then, connect a 10k ohm resistor between that same input pin (pin 2) and the GND (ground) pin on the Arduino. This resistor ensures the pin reads a LOW (0V) state when the switch is not pressed, preventing a "floating" pin with an undefined value.
With the hardware connected, the next step is to write the Arduino sketch. The code is straightforward. First, in thesetup() function, you initialize the serial communication for monitoring and set the digital pin connected to the switch as an input usingpinMode(pin, INPUT). Then, in theloop() function, you continuously read the state of that pin usingdigitalRead(pin). This function will returnHIGH (when the switch is pressed and 5V is connected to the pin) orLOW (when the switch is released and the resistor pulls the pin to ground). You can then use anif statement to trigger actions, such as turning on an LED, sending a serial message, or controlling a motor.
A crucial aspect of working with mechanical switches is debouncing. When a micro switch is pressed or released, its metal contacts can physically bounce, causing the Arduino to read multiple rapid transitions between HIGH and LOW in a few milliseconds. This can lead to a single press being registered multiple times. Implementing software debouncing solves this. A simple method is to read the switch state, wait for a short delay (e.g., 5-50 milliseconds), read the state again, and only accept the input if the state is stable. More robust methods involve using timers or theBounce2 library, which handles the timing logic efficiently.
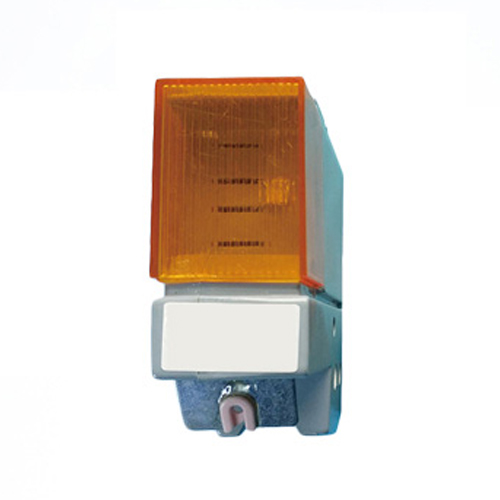
Beyond simple detection, micro switches are invaluable for precise positional control. A common application is as a limit switch. For instance, in a motorized sliding door or a 3D printer, a micro switch can be placed at the end of a track. When the moving part touches and presses the switch's actuator, the Arduino detects this and immediately commands the motor to stop, preventing damage from over-travel. This requires a reliable connection and proper placement of the switch for accurate triggering.
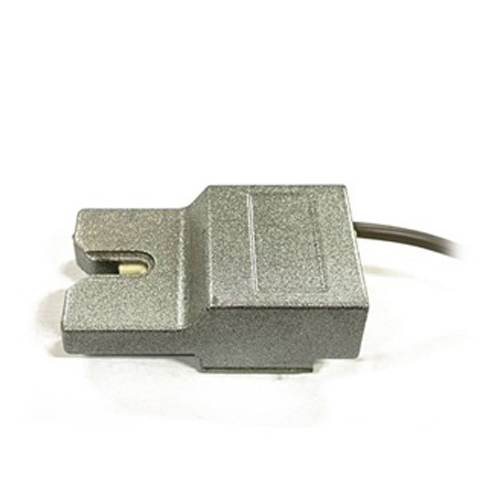
For projects requiring detection of very small movements or precise alignment, the micro switch's snap-action mechanism provides consistent performance. When integrating, ensure the switch's actuator (lever, roller, or plunger) is correctly aligned with the moving part it needs to sense. The mounting must be secure to prevent misalignment from vibrations or repeated use.
Troubleshooting common issues often involves checking connections with a multimeter. If the Arduino readings are erratic, verify the solder joints on the switch terminals and the integrity of the pull-up/pull-down resistor. Ensure the switch is functioning correctly by testing continuity between its terminals when pressed and released. Also, confirm that your code's debounce logic is adequate; increasing the debounce delay can often stabilize readings from older or heavily used switches.
Experimenting with a micro switch and Arduino provides hands-on experience with fundamental digital input, interrupt programming, and mechanical-electrical interface design. Start with a basic push-button project, then progress to building a safety cut-off for a small fan or a position-based controller for a servo motor. The combination of this robust hardware component and the flexible Arduino platform empowers creators to build interactive and responsive devices with confidence and precision.