Проверка
Проверка
Проверка
Проверка
Проверка
Проверка
Setting up a home switch in Mach3 is a critical step for any CNC router or milling machine operator. This simple device acts as a reference point, telling your machine exactly where "zero" is on each axis. Without a properly configured home switch, your machine lacks a consistent starting position, leading to potential misalignments, wasted material, and even tool crashes. For hobbyists and small workshop owners, understanding and installing a home switch can transform machine reliability and precision.
The core function of a home switch, often a limit switch or proximity sensor, is to send a signal to the Mach3 software when the machine's carriage touches it. Mach3 then records this precise location as the home position. Every time you command the machine to "Ref All Home" or perform a similar homing routine, it will move each axis until it triggers the respective switch, establishing a repeatable datum. This process eliminates cumulative errors from manual positioning.
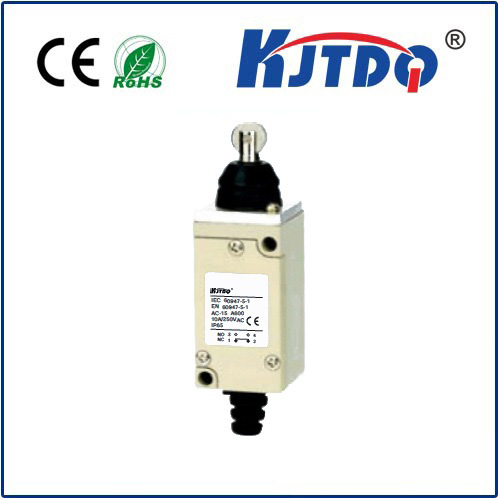
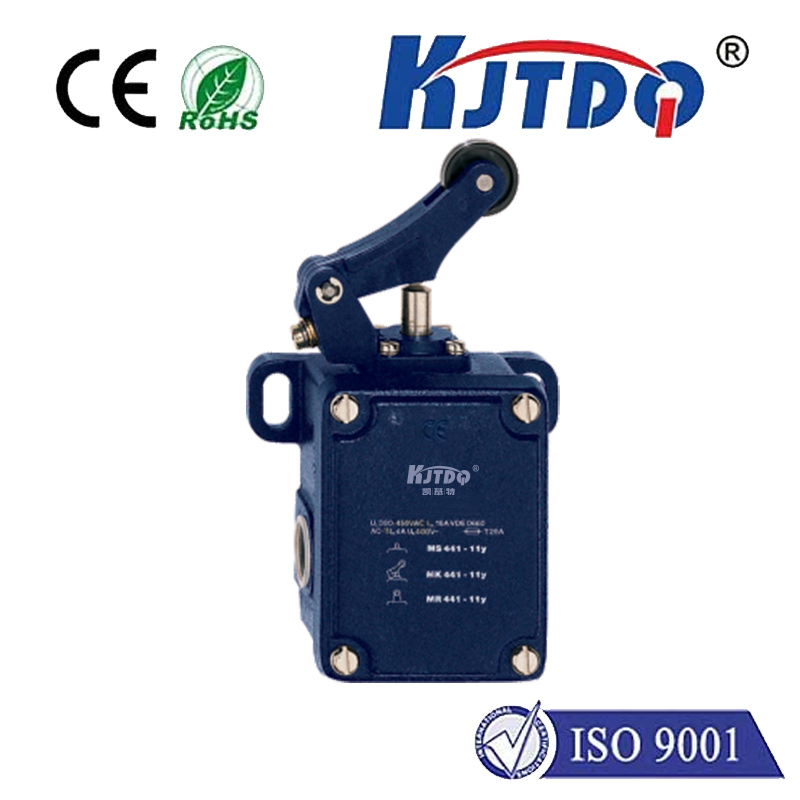
Installation begins with mounting the physical switches. Typically, you need one switch for each linear axis (X, Y, and Z). Choose a location near the end of each axis's travel that is mechanically sound and easy to access. Common choices are inductive proximity sensors for non-contact detection or mechanical lever-arm limit switches. Ensure they are wired correctly to your breakout board, usually connecting to dedicated input pins. The wiring configuration (normally open or normally closed) must match your Mach3 settings for safety; a normally closed circuit is often preferred as a broken wire will trigger a fault.
Configuring Mach3 software is the next crucial phase. Navigate to "Config" > "Ports and Pins." Under the "Input Signals" tab, you will find entries for "Home X," "Home Y," and "Home Z." Assign the correct port and pin number that corresponds to your breakout board connections. You must also check the "Active Low" box if your switch activates by pulling the signal to ground, which is common. Incorrect pin assignment or active state is a primary source of homing failures.
The "Motor Home" settings under the "Motor Tuning" menu dictate the homing behavior. Here, you set the search velocity (the fast speed at which the axis moves to find the switch), the latch velocity (a slower speed for precise engagement after the initial trigger), and the direction the axis moves towards the switch. A typical sequence involves the axis moving in the positive direction until it hits the switch, backing off slowly, and then re-engaging at a slow speed to latch onto the exact trigger point. Testing this with the emergency stop handy is advised.
A frequent challenge is the machine moving in the wrong direction during homing. This is fixed by reversing the "Home Dir" setting for that axis. Another issue is the switch not being recognized; double-check wiring, pin assignments, and the "Active Low" setting. For enhanced accuracy, some users employ a two-stage homing process with both a home switch and a separate index pulse from the motor encoder, though this is more advanced.
Proper home switch setup directly impacts workflow efficiency. It enables safe automation, allows for the use of tool length probes and touch-off plates relative to a fixed home, and is essential for running G-code programs reliably across multiple job sessions. Taking the time to correctly install and calibrate your Mach3 home switches is not just a technical task—it's an investment in your machine's consistency, safety, and overall capability, paving the way for more complex and precise projects.