Проверка
Проверка
Проверка
Проверка
Проверка
Проверка
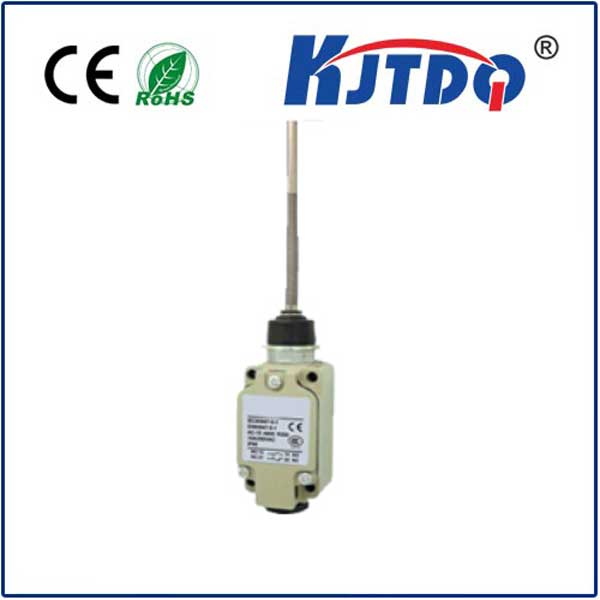
If you own a MakerBot 3D printer, you might have encountered issues with the limit switch. This small but crucial component is responsible for telling the printer when the print head or build plate has reached its home position. When it fails, your printer may not start correctly, produce errors, or even cause print failures. Understanding how to diagnose and fix limit switch problems can save you time and frustration.
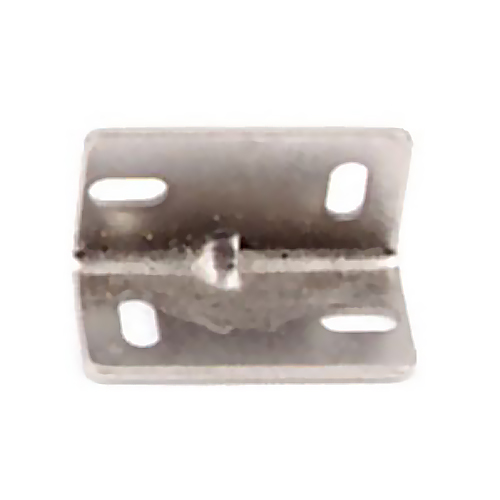
First, let's clarify what a limit switch does. In a MakerBot printer, limit switches are typically mechanical sensors placed at the ends of the X, Y, and Z axes. They act as safety mechanisms, ensuring the printer stops moving before it hits the physical limits of its frame. When the switch is triggered, it sends a signal to the printer's control board, indicating that the axis has reached its home position. If the switch is faulty, misaligned, or obstructed, the printer may not calibrate properly, leading to errors like "Limit Switch Error" or "Homing Failed."
Common symptoms of a faulty limit switch include the printer failing to home, erratic movements during startup, or repeated clicking sounds. Before assuming the switch is broken, check for simple issues. Ensure there is no debris, such as dust or filament scraps, blocking the switch. Gently clean the area around the switch with compressed air or a soft brush. Also, inspect the switch's physical condition—look for visible damage, loose wires, or signs of wear.
Next, verify the switch's alignment. Over time, vibrations from printing can cause the switch to shift slightly. Make sure it is securely mounted and positioned correctly so that the printer's moving parts trigger it at the right moment. You can manually test the switch by gently pressing it with a tool (while the printer is off) and listening for a click. If it doesn't click or feels sticky, it might need replacement.
Wiring issues are another common culprit. Examine the cables connecting the limit switch to the control board. Look for frayed wires, loose connections, or corrosion. If possible, use a multimeter to test the switch's continuity. When the switch is pressed, it should show continuity; when released, it should not. If the readings are inconsistent, the switch may be defective.
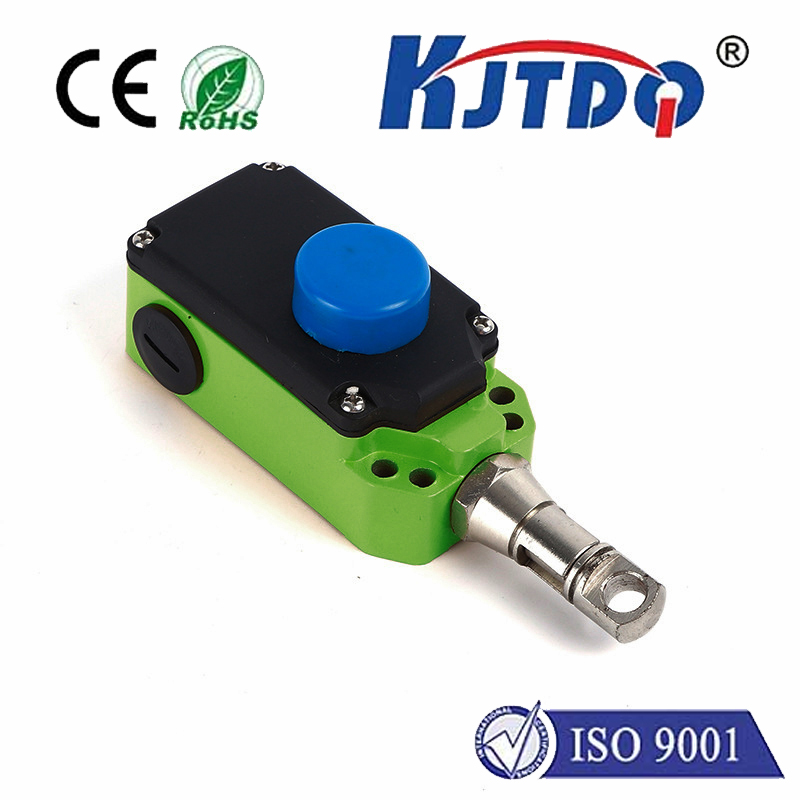
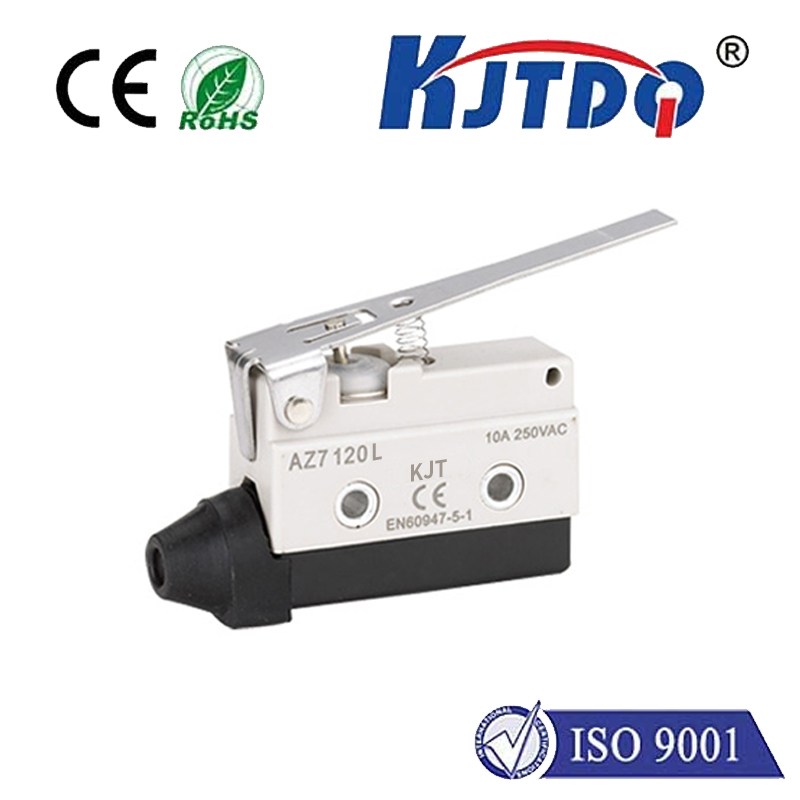
If cleaning and testing don't resolve the problem, you may need to replace the limit switch. MakerBot sells official replacement parts, but compatible switches are also available from third-party suppliers. When replacing, ensure the new switch matches the specifications of the original. Turn off and unplug the printer before starting. Carefully disconnect the old switch, install the new one, and secure the wiring. After replacement, run a calibration test to confirm everything works.
In some cases, software or firmware issues can mimic limit switch problems. Update your MakerBot firmware to the latest version, as updates often include bug fixes. Also, check your slicing software settings to ensure they align with your printer's configuration. Resetting the printer to factory settings might help, but back up your profiles first.
Preventive maintenance can reduce limit switch failures. Regularly clean your printer, especially around moving parts and sensors. Avoid exposing the printer to excessive dust or humidity, which can affect electronic components. Periodically check all connections and tighten any loose screws. By taking these steps, you can extend the life of your limit switch and ensure smoother printing sessions.
Remember, while limit switch issues can be annoying, they are usually fixable with basic troubleshooting. Don't hesitate to consult MakerBot's official support resources or community forums for guidance. With patience and careful attention, you can get your printer back to producing high-quality prints in no time.