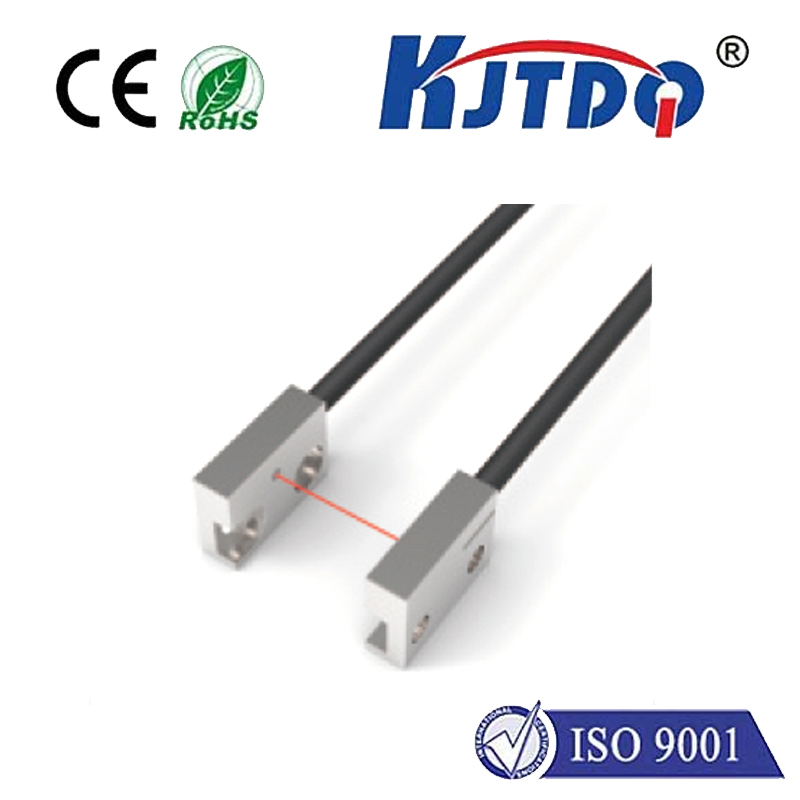
Ever installed a photoelectric proximity sensor only to be baffled by inconsistent detection or phantom signals? You’ve likely encountered the critical step often overlooked in the rush to deployment: properly teaching the sensor. This fundamental configuration process is not just a box to tick; it’s the cornerstone of achieving reliable, long-term performance from these versatile detection workhorses. Understanding how and why to effectively “teach” your photoelectric sensor is paramount for engineers, technicians, and automation specialists aiming for seamless operation in diverse applications, from packaging lines to robotic workcells.
Why “Teaching” Your Sensor Isn’t Optional
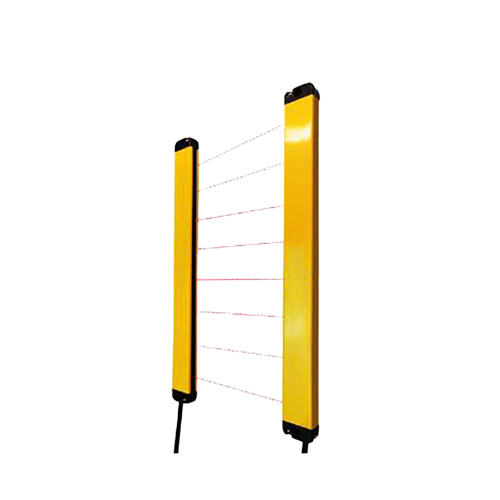
Photoelectric sensors, leveraging the photoelectric effect where light striking a surface generates an electrical signal, excel at non-contact object detection. They emit an infrared, visible red, or laser light beam; a photodiode or phototransistor then detects either the presence of reflected light (diffuse or reflective types) or the interruption of a transmitted beam (through-beam). However, environmental variables significantly impact performance:
This is where sensor teach-in becomes indispensable. Teaching configures the sensor’s electronics to recognize the specific difference between the “target present” and “target absent” states in its actual operating environment. It essentially calibrates the sensor’s sensitivity threshold dynamically.
Demystifying the Teach-In Process
While specifics vary slightly by manufacturer and sensor type (diffuse, retro-reflective, through-beam), the core principle of the teach-in procedure remains remarkably consistent:

Preparation & Mounting: Securely mount the sensor and its reflector (if using retro-reflective) or emitter/receiver pair (for through-beam) in the desired operational positions. Ensure the optical path is clear of obstructions during setup. Power on the sensor.
Initiating Teach Mode: Locate the teach button on the sensor body or access the function via a connected controller/software. Often, pressing and holding a button initiates the mode, typically indicated by an LED changing state (e.g., flashing).
Capturing the “Background” State: With the detection zone clear (no target present), actuate the teach command (e.g., release the button). The sensor measures and records the current light level (or signal strength) reaching its receiver. This establishes the baseline or “Target Absent” condition. For diffuse sensors, this includes any ambient light and reflections from the background.
Capturing the “Target” State: Place the desired target object within the specified sensing range and directly in the light beam’s path. Actuate the teach command again. The sensor now measures the light level with the target present. This establishes the “Target Present” condition (a significant change for through-beam, a specific level of reflection for diffuse/reflective).
Confirmation & Locking: The sensor calculates an optimal switching threshold based on the captured “absent” and “present” values. An LED often indicates successful completion (e.g., solid green). The sensor exits teach mode and is now operational with calibrated settings.
Beyond the Basics: Advanced Teach Techniques
Modern photoelectric sensors offer sophisticated teach-in variations to tackle complex scenarios:
Troubleshooting Common Teach-In Pitfalls
Even a seemingly simple process can go astray. Common issues and solutions include:
The Critical Advantage of Proficient Teaching
Mastering the photoelectric proximity sensor teach-in process is more than just a procedural step; it’s an investment in operational reliability. By dynamically calibrating the sensor in situ, you account for the unique optical characteristics of your application – the specific target, the background, the ambient light levels. This tailored calibration minimizes false positives and negatives, ensures consistent detection across varying targets (within sensor capability), and maximizes the sensor’s operational lifespan by preventing it from working at the edge of its sensitivity range. In the fast-paced, demanding world of industrial automation, **taking the time to teach correctly is the definitive shortcut to achieving
