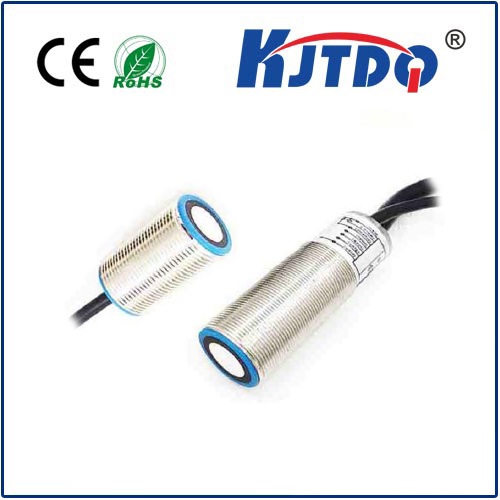
infrared temperature sensor laser
- time:2025-09-14 03:20:59
- Нажмите:0
Beyond the Dot: Demystifying Infrared Temperature Sensors & Their Guiding Lasers
That little red dot you see isn’t taking your temperature – it’s showing you where the real magic is about to happen. Infrared (IR) temperature sensor lasers represent a fusion of powerful non-contact measurement technology with a simple, yet indispensable, targeting aid. They’re ubiquitous tools, found in industries from manufacturing to food service, and increasingly in consumer devices. But how do they actually work? What’s the laser really for? Let’s peel back the layers.
The Core: Infrared Thermometry Explained
At its heart, an infrared temperature sensor has nothing to do with lasers for measurement. It operates on a fundamental principle: all objects with a temperature above absolute zero (-273.15°C) emit infrared radiation. This radiation is a form of electromagnetic energy invisible to the naked eye. Crucially, the intensity and wavelength distribution of this emitted IR energy are directly related to the object’s surface temperature.
The sensor contains an optical lens that collects this emitted IR radiation and focuses it onto a specialized detector. This detector, often a thermopile or pyroelectric sensor, converts the incoming IR energy into an electrical signal. Sophisticated electronics within the sensor then process this signal, applying algorithms that account for the sensor’s calibration and the target material’s emissivity (more on that later), to calculate and display the temperature.
So, What’s the Laser For? The Crucial Role of Targeting

This is where the laser comes in. The primary and only function of the laser integrated with an infrared temperature sensor is aiming. Think about it: you’re pointing a handheld device at an object several feet, or even meters, away. How do you know exactly which spot you’re measuring? Especially when the sensor’s field of view (the cone-shaped area from which it gathers IR energy) might be quite small at a distance.
- Precision Targeting: The laser dot provides a highly visible, precise point that shows the center of the instrument’s measurement spot. This is invaluable for measuring small components, specific areas on machinery, or ensuring you’re not accidentally measuring a hot bolt next to a cooler pipe.
- Field of View Visualization: Most IR thermometers have a specification called Distance-to-Spot (D:S) ratio. For example, a 12:1 ratio means that at 12 inches away, the measurement spot is about 1 inch in diameter. The laser helps visually confirm what area is likely being measured at a given distance.
- Safety Reminder: The visible laser dot also serves as a constant, intuitive indicator that the device is active and pointed at something, reinforcing the concept of non-contact measurement.
Crucially: The laser light itself plays absolutely no role in determining the temperature. It operates in the visible spectrum (usually red, sometimes green for better visibility), while the sensor detects invisible, longer-wavelength infrared radiation. They are entirely separate optical paths.
Understanding Limitations and Key Concepts
While incredibly useful, IR thermometers aren’t magic wands. Understanding their limitations is key to accurate use:
- Emissivity Matters: Different materials emit infrared radiation with varying efficiency. Shiny, polished metals (like aluminium or copper) have low emissivity – they reflect ambient IR radiation well but emit their own poorly. This can lead to significant under-readings. Dull, oxidized, or non-metallic surfaces (like asphalt, skin, or painted objects) typically have high emissivity and are easier for IR sensors to measure accurately. Many industrial-grade IR sensors allow you to adjust the emissivity setting to match the material being measured – a critical step for reliable results.
- Measuring Surface Temperature Only: IR sensors only detect the temperature at the surface of the object. They cannot “see” inside or measure internal temperatures. For liquids in containers, you’re measuring the container’s surface temperature, which might not match the liquid’s actual temperature.
- Obstructions and Environment: Smoke, steam, dust, fog, or even a dirty lens on the sensor can scatter or absorb IR radiation, leading to inaccurate readings. Measuring through windows or transparent barriers will typically give the temperature of the barrier, not the object behind it.
- Reflections: Be wary of highly reflective surfaces. The sensor might pick up reflected IR radiation from a nearby hot (or cold) source instead of the true surface temperature of the target. Positioning the sensor perpendicular to the target surface minimizes reflection errors.
- Spot Size: As mentioned earlier, the measurement spot size increases with distance. At long ranges, you might average the temperature of a large area, potentially missing critical hot spots. Always check the D:S ratio.
The Diverse Applications: Where Laser-Guided IR Sensors Shine
The non-contact nature, speed, and relative safety of these sensors make them indispensable across countless fields:
- Industrial Maintenance & Engineering: Predictive maintenance is a huge application. Quickly scanning electrical panels for hot connections, motor bearings, steam traps, or overheating gearboxes allows technicians to spot potential failures before they cause costly downtime. Checking furnace linings, boiler tubes, and HVAC ductwork is routine.
- Automotive: Diagnosing cooling system issues, checking exhaust manifolds and catalytic converters, assessing brake rotor temperatures, or verifying AC system performance.
- Food Safety & Processing: Monitoring cooking surfaces, grills, fryers, food holding/storage temperatures, and checking refrigerated display cases efficiently without contamination risk. Critical for HACCP compliance.
- Building Inspection & Energy Auditing: Finding heat leaks around windows, doors, and insulation gaps; detecting moisture problems hidden behind walls (often indicated by temperature differentials); assessing HVAC performance.
- Здравоохранение: Quickly screening individuals for fever (especially in public health scenarios), though clinical-grade devices have specific requirements. Monitoring skin temperature for specific therapeutic or diagnostic purposes under guidance.
- Electronics: Troubleshooting overheating components on circuit boards, power supplies, or during product development.
- Laboratories & Research: Providing non-invasive temperature monitoring in experiments where contact probes might interfere.
Choosing the Right Tool: Types and Considerations
IR temperature sensors come in various forms:
- Handheld Pistol-Grip: The most common type, offering versatility and portability. Features vary greatly in accuracy, D:S ratio, temperature range, emissivity adjustment capabilities, data logging, and display options.
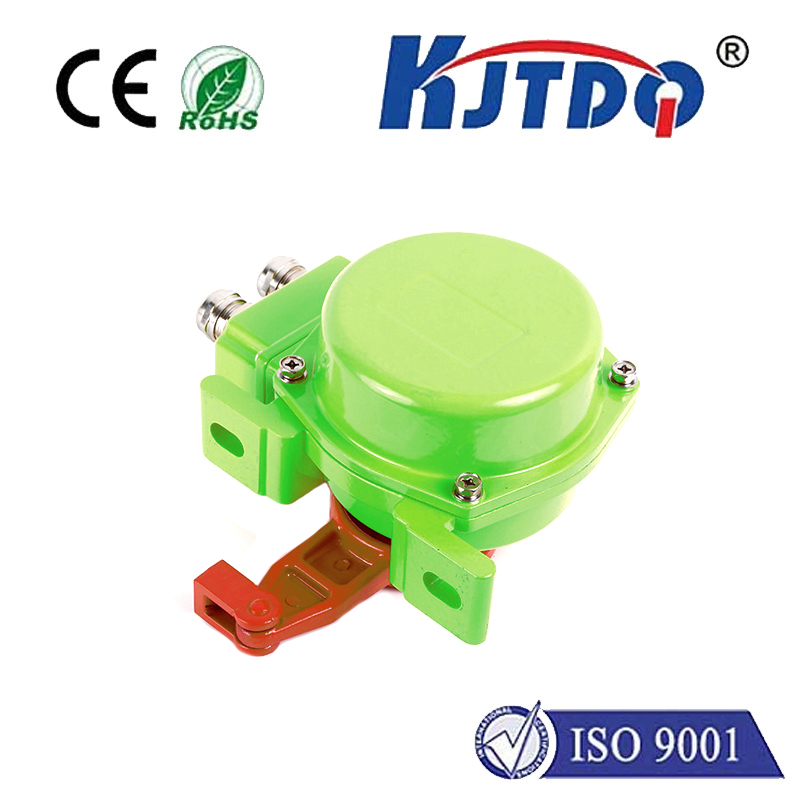
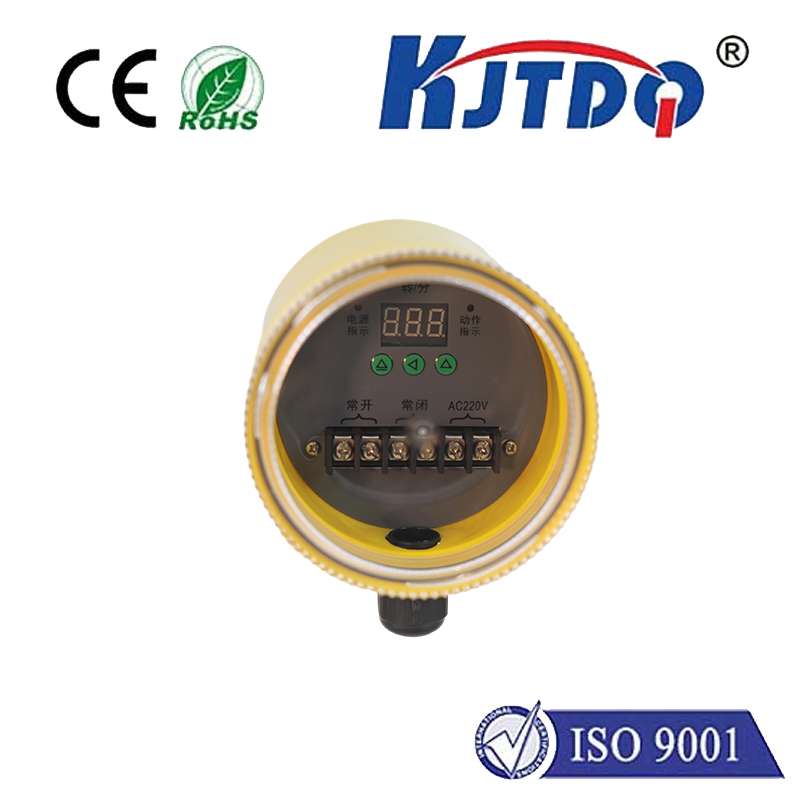
- Fixed-Mount: Permanently installed sensors for continuous process monitoring in manufacturing (e.g., monitoring molten plastic, metal, glass, or moving webs).
- Infrared Thermometer “Guns”: Simpler, often lower-cost versions popular in home use or basic industrial tasks. May lack features like adjustable emissivity.
Key selection factors include:
- Required Temperature Range: From sub-zero cryogenics to molten metal furnaces.
- Necessary Accuracy: Typically ±1-2% of reading or ±1-2°C for better industrial models.
- Optical Resolution (D:S Ratio): Higher ratios (e.g., 50:1) allow accurate measurement of small targets from further away.
- Emissivity Adjustment: Essential for measuring diverse materials.
- Response Time: How quickly the sensor reads and updates.
- Laser Type: Single dot, dual-crosshair lasers (for better visualizing spot size), or no laser (common in fixed-mount).
- Durability & Environment:ИП