photoelectric sensor board kit
- time:2025-09-10 20:53:58
- Нажмите:0
Dive Into DIY Sensing: Your Ultimate Photoelectric Sensor Board Kit Guide
Tired of complex, industrial sensors that require bulky controllers and a steep learning curve? Imagine adding precision object detection, distance measurement, or material analysis to your next project effortlessly. Photoelectric sensor board kits unlock this potential, transforming intricate optical sensing technology into an accessible, hands-on tool for everyone from curious beginners to seasoned engineers.
These ingenious kits demystify the core principles of photoelectric sensing by providing you with the essential components on a ready-to-use circuit board. Instead of wrestling with complex wiring diagrams or sourcing sensitive optical components individually, you get a pre-assembled or easy-to-assemble module. This empowers you to focus on the exciting part: integrating light-based sensing into robotics, automation projects, interactive art installations, security systems, and countless other applications.
What Exactly is Inside a Photoelectric Sensor Board Kit?
At its heart, a typical photoelectric sensor board kit integrates two fundamental components:

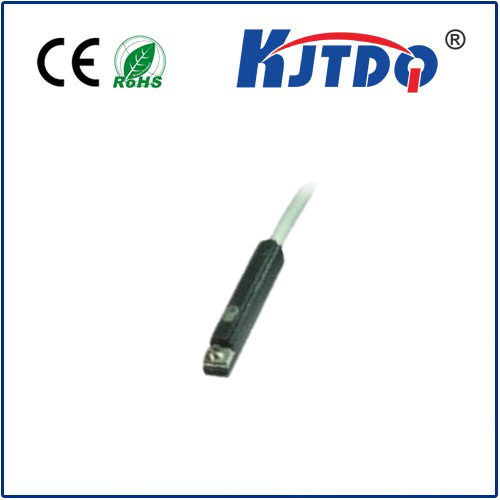
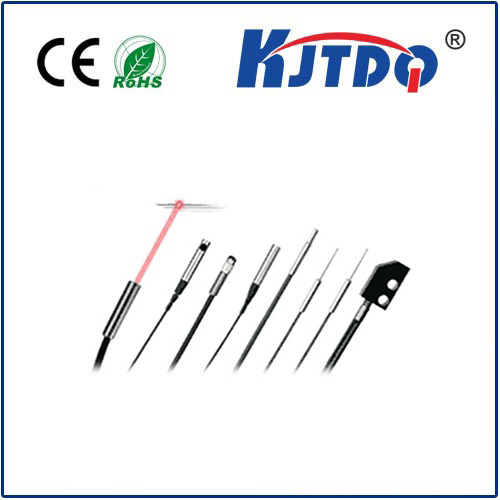
- The Photoelectric Sensor: This usually consists of an infrared (IR) emitter (like an IR LED) and a photodetector (commonly a phototransistor or photodiode). Some kits might feature a visible light emitter and detector for specific applications. The emitter sends out a beam of light, and the detector senses the presence or absence of that light, or sometimes its intensity.
- The Supporting Circuit Board: This isn’t just a mount. It incorporates vital supporting circuitry:
- Driver Circuitry: Provides the correct voltage and current to power the emitter efficiently.
- Signal Conditioning: Amplifies and processes the often tiny electrical signal generated by the photodetector. This could include amplification, noise filtering, and threshold adjustment.
- Output Stage: Converts the processed signal into a usable output. This might be:
- Digital Output: A simple HIGH/LOW signal indicating if an object is detected (or not) based on a predefined threshold. Perfect for basic object presence/absence detection.
- Analog Output: A continuously varying voltage proportional to the received light intensity. Essential for distance measurement, detecting reflectivity variations, or measuring translucency.
- Adjustment Potentiometers: Many kits include potentiometers (pots) allowing you to fine-tune the emitter’s intensity or the detection sensitivity/threshold.
- Power Management: Regulators and capacitors to ensure stable operation from a common DC source (like 5V from an Arduino or a battery).
- Connectors: Pins or headers (often breadboard-compatible) for easy connection to microcontrollers (Arduino, Raspberry Pi, PIC, etc.) or other circuits.
Why Choose a Kit Over Building from Scratch? (Key Advantages)
The benefits of opting for a dedicated sensor board kit are compelling:
- Accelerated Development: Skip the fuss of designing low-level circuitry. Get straight to prototyping your sensing application.
- Simplified Integration: Breadboard-friendly pins and standard interfaces (like simple GPIO for digital, or ADC for analog) make connecting to microcontrollers incredibly straightforward.
- Reliability & Calibration: Pre-engineered boards ensure stable operation and often come pre-calibrated or easily calibratable (via pots), saving significant engineering time and frustration.
- Built-in Signal Processing: Enjoy clean, robust output signals directly usable by your microcontroller, thanks to the onboard amplification and conditioning.
- Cost-Effectiveness: Purchasing individual components in small quantities can be expensive and time-consuming. Kits bundle everything you need economically.
- Ideal for Education: They provide a tangible platform to understand the principles of photoelectric sensing, signal conditioning, and digital/analog interfacing.
- Многогранность: Configure the sensor for reflective, through-beam, or retro-reflective modes simply by how you position it relative to an object and the target or reflector.
Getting Started: Your First Project
Unboxing your photoelectric sensor board kit is the start of the adventure. Here’s a simplified workflow:
- Assemble (if required): Some kits are fully assembled, others might need simple soldering of headers.
- Power Up: Connect the board to a suitable DC power source (e.g., 5V from Arduino’s 5V pin and GND).
- Connect Output: Wire the digital output pin (often labelled “OUT” or “DO”) or analog output pin (“AO”, “SIG”, or “OUT”) to your microcontroller.
- Fine-Tune (Crucial Step): Use the onboard potentiometers:
- Adjust the sensitivity (or threshold) pot to define the point at which the digital output triggers.
- If available, adjust the emitter intensity pot to control the strength of the IR beam (useful for optimizing range or reducing power).
- Write Code (Simple Example): For an Arduino sensing digital output:
void setup() {
pinMode(2, INPUT); // Connect sensor DO to pin 2
Serial.begin(9600);
}
void loop() {
if (digitalRead(2) == HIGH) { // Object detected (logic depends on kit)
Serial.println("Object Detected!");
} else {
Serial.println("No Object");
}
delay(100);
}
For analog output (distance/reflectivity):
void setup() {
Serial.begin(9600);
}
void loop() {
int sensorValue = analogRead(A0); // Connect sensor AO to pin A0
Serial.println(sensorValue);
delay(100);
}
- Test & Iterate: Experiment with different objects, distances, and ambient light conditions. Observe how the output changes and refine your threshold or code logic.
Unlocking Diverse Applications: Beyond Simple Detection
The true power of these kits lies in their adaptability. Here’s how they shine:
- Object Counting: Monitor items on a conveyor belt, track people/objects passing through an entryway.
- Position Sensing: Detect the presence or absence of an object at a specific point (e.g., end-of-travel limit switch).
- Line Following Robots: Read contrast differences on the ground using reflective sensing.
- Liquid Level Detection: Sense liquid presence in translucent containers.
- Tachometers / Speed Sensing: Count rotations per minute using a slotted disk.
- Security Systems: Create simple intrusion detectors triggered by beam interruption.
- Interactive Art: Trigger lights, sounds, or animations when a person interacts with the sensor field.
- Smoke Detection (Proof of Concept): Detect reduced light transmission caused by smoke particles (requires careful calibration and safety considerations).
Choosing the Right Kit: Key Factors
With various kits available, consider these aspects:
- Sensor Type: Through-beam (separate emitter/receiver units) offers the longest range and highest reliability. Reflective (emitter and detector on the same board sensing bounced light) is very common and compact. Retro-reflective (single unit sensing light bounced off a dedicated reflector) is a good compromise.
- Output Type: Do you need a simple on/off signal (Digital Output) or a variable reading (Analog Output)? Many kits provide both.
- Adjustability: Look for kits with sensitivity and (ideally) emitter intensity potentiometers for maximum flexibility.
- Voltage Compatibility: Ensure the kit operates at a voltage your project uses (common: 3.3V or 5V).
- Form Factor & Mounting: Consider size, mounting holes, and connector type (headers, JST, etc.).
- **Documentation & Support