Ограничительный переключатель sculpfun
- time:2025-08-08 01:50:57
- Нажмите:0
Sculpfun Limit Switch: The Essential Guardian for Laser Engraving Precision & Safety
That sinking feeling. Your Sculpfun laser engraver hums along a complex path, meticulously etching your design onto wood, when suddenly – CRUNCH. The gantry slams forcefully into the end of its frame. The beautiful glass trophy blank shatters. Hours of work, valuable material, potentially even your machine’s delicate mechanics, all compromised in an instant. This devastating scenario is precisely what a Sculpfun limit switch is designed to prevent. It’s more than a simple component; it’s the unsung hero safeguarding your investment, ensuring reliability, and unlocking true professional results.
Understanding the Limit Switch: More Than Just a Stopper
Think of a limit switch as a vigilant sentry positioned at the boundaries of your engraver’s operational zone. Its core function is deceptively simple: to detect physical contact or proximity and send an immediate electrical signal to the controller when that boundary is reached. In laser engravers like Sculpfun models, these switches are typically placed at the very ends of the X-axis and Y-axis travel paths, and sometimes the Z-axis (depending on the model and configuration).
Imagine your car’s interior light turning on when you open the door – that’s essentially a simple limit switch in action. For your Sculpfun laser, when the moving gantry (carrying the laser head) physically touches or comes very close to the limit switch actuator, the switch “triggers.” This sends a critical message to the engraver’s brain (the controller board): “STOP! Maximum Travel Achieved.”

Why Your Sculpfun Laser Needs Limit Switches (The Non-Negotiable Benefits)
The implications of this simple detection mechanism are profound for laser engraving:
- Catastrophic Crash Prevention: This is the primary and most critical function. Without limit switches, there is nothing to stop the gantry once it completes its instructed movement. It will continue driving the motors, forcing the gantry assembly into the hard mechanical stops at high speed. This will cause damage – bent frames, stripped drive gears or belts, misaligned rails, detached laser tubes or modules, and potentially fried motor drivers or controllers. Limit switches are your primary defense against costly, often machine-ending, physical damage.
- Accurate Homing & Consistent Origin Point: Limit switches are fundamental for the homing operation. When you initiate the homing sequence (usually via your control software like LightBurn or LaserGRBL), the engraver deliberately moves each axis towards its respective limit switch. Upon triggering the switch, the machine knows exactly where that axis’s physical limit is. It then retracts slightly to establish a consistent, repeatable machine coordinate “home” position (often called “Machine Zero”). This precise homing is absolutely essential for:
- Reliable Job Setup: Ensuring the laser starts etching exactly where you told it to on the material.
- Repeatable Jobs: Running the same job multiple times with identical positioning.
- Utilizing Material Jigs/Fixtures: Accurate placement relative to fixed home positions.
- Software Boundary Enforcement: Once the machine knows its physical boundaries through homing, the control software can create a soft “work area.” The software actively prevents you from sending commands that would instruct the laser head to move beyond the physical limits detected by the switches. This adds a crucial layer of software protection against accidental jogging or programming errors that could lead to crashes.
- Operational Safety: While laser safety primarily involves the beam enclosure and interlocks, preventing violent mechanical failures through crashes enhances overall operator safety. Flying debris, sudden jolts, or damaged components presenting electrical hazards are real risks mitigated by limit switches. They contribute to a safer working environment.
- Enhanced Machine Longevity: By preventing the constant, jarring impacts against hard stops, limit switches significantly reduce wear and tear on the motors, drive belts/gears, linear rails/bearings, and the frame structure itself. This translates directly to a longer functional lifespan for your Sculpfun machine.
Integrating Limit Switches with Your Sculpfun: Considerations
While many modern Sculpfun laser modules (like the S series diode lasers) are designed with limit switch compatibility in mind, inclusion varies:
- Pre-Installed: Some higher-end kits or specific bundles might include pre-installed limit switches and the necessary wiring.
- Included but Not Installed: Many kits include the switches in the accessory box, requiring the user to install and wire them.
- Not Included: Basic kits may require you to purchase limit switches separately. Always check your specific Sculpfun model’s documentation or kit contents.
Choosing and Installing: Key Factors
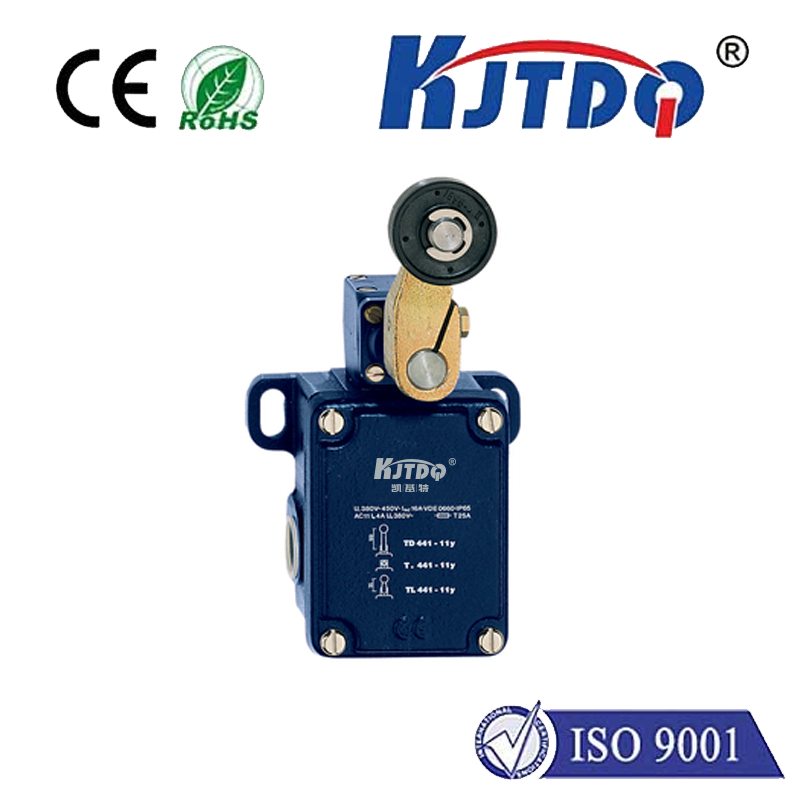
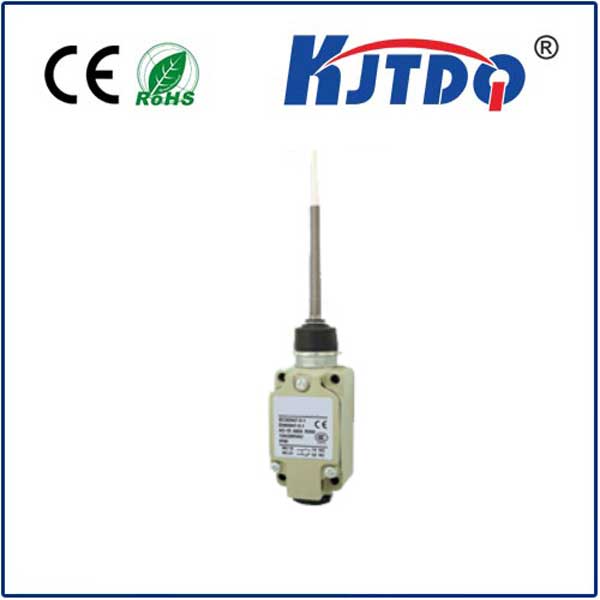
- Switch Type: Sculpfun lasers typically use mechanical microswitches – affordable, reliable, and require physical contact. Optical or magnetic proximity switches are less common due to complexity but offer contactless operation.
- Mounting: Requires careful positioning at the extreme ends of travel for each axis before the gantry hits the hard stop. Mounting brackets are often included or can be easily 3D printed.
- Wiring: Connecting the switches to the correct inputs on your Sculpfun controller board is crucial. Follow the wiring diagram provided in your Sculpfun documentation meticulously! Usually it involves connecting one wire to a specific “LIMIT X”, “LIMIT Y” (or “X-”, “Y-” for negative end) pin and a common ground (GND) pin. Incorrect wiring is a common source of problems.
- Software Configuration: After installation, your laser control software (LightBurn, LaserGRBL, etc.) needs to be configured to recognize the limit switches and set the correct homing behavior. This typically involves setting which pin corresponds to which axis and whether it triggers on high or low signal.
Common Limit Switch Issues and Troubleshooting
Even this robust system can encounter hiccups. Be aware of:
- Switch Not Triggering: Gantry crashes into the stop.
- Cause: Loose wiring connection, faulty switch, incorrect mounting (actuator not being pressed), debris blocking the actuator, incorrect software settings.
- Fix: Check wiring connections, test switch manually (listen for click), remount switch correctly, clean area, verify software pin settings.
- False Triggering/Safe Lock: Machine thinks a limit is hit prematurely and won’t move.
- Cause: Wiring short circuit (pins touching frame), damaged switch, switch stuck in triggered position, incorrect wiring causing constant “triggered” signal.
- Fix: Inspect wiring for shorts or damage, test/replace switch, ensure wiring matches diagram exactly.
- Inconsistent Homing: Machine struggles to find home or positions inconsistently.
- Cause: Loose switch mount causing switch position to shift, worn actuator on switch, electrical noise intermittently triggering the switch.
- Fix: Tighten mounting screws securely, replace worn switch, ensure wiring isn’t running alongside power cables (can induce noise), consider adding a small capacitor across the switch terminals (advanced).
Investing in Precision and Protection
The Sculpfun limit switch is far more than a minor add-on; it’s a **fundamental safety mechanism and