Ограничительный переключатель Shapeoko
- time:2025-08-07 00:05:09
- Нажмите:0
Unlock Precision & Safety: Shapeoko Limit Switch Mastery
Hear that dreaded crunch? It’s the sound no Shapeoko owner wants echoing from their workshop – the gut-wrenching moment your router carves into the machine’s own frame, ruining a project, potentially damaging precious components, and halting productivity. This nightmare scenario, and the constant fiddling with manual positioning, are precisely what Shapeoko limit switches are designed to prevent. More than just emergency bumpers, these unassuming electronic sentinels are fundamental to automating safety and unlocking repeatable precision in your CNC workflow. Mastering their implementation transforms your Shapeoko from a potentially temperamental tool into a reliable, confident machine.
The Core Function: Defining Your Machine’s Universe
At its essence, a limit switch is a simple sensor. Positioned strategically at the physical extents of each axis (X, Y, Z) on your Shapeoko, its job is clear: detect when the router carriage makes contact. This contact triggers an instantaneous signal to the control board (like a Carbide Motion board). Think of them as defining the absolute boundaries – the “walls” – of your machine’s working envelope. When a switch is triggered, the controller reacts decisively, typically performing an emergency stop (E-stop) to halt all motion immediately. This is the critical safety net, preventing the spindle or carriage from driving forcefully into the frame, stepper motors, or other hard stops.
Beyond Panic Stops: The Precision Power of Homing

While preventing catastrophic crashes is their most dramatic role, limit switches serve a second, equally vital purpose: enabling precise homing. “Homing” is the process where your Shapeoko automatically moves each axis to a known, repeatable starting position – the location of the limit switch itself. Here’s why this matters:
- Consistent Zero Points: Manually finding your workpiece zero (the X0,Y0,Z0 starting point for your toolpath) is tedious and prone to error, especially if the machine wasn’t parked exactly the same way last time. Homing ensures the machine always starts from an identical physical location relative to the switches.
- Work Coordinate Systems (WCS): By establishing a consistent machine home, software like Carbide Motion can accurately calculate work offsets. You tell the machine where your material is relative to the home position, and it calculates the paths perfectly. This is crucial for multi-operation jobs, fixture repeatability, or flipping material.
- Automatic Squaring: On Shapeoko models with dual motors driving a single axis (like the Y-axis on many), homing sequence involving limit switches helps ensure the gantry is properly squared before a job begins, enhancing overall accuracy.
Implementing Limit Switches on Your Shapeoko: Key Considerations
While incredibly valuable, adding limit switches requires careful planning and execution:
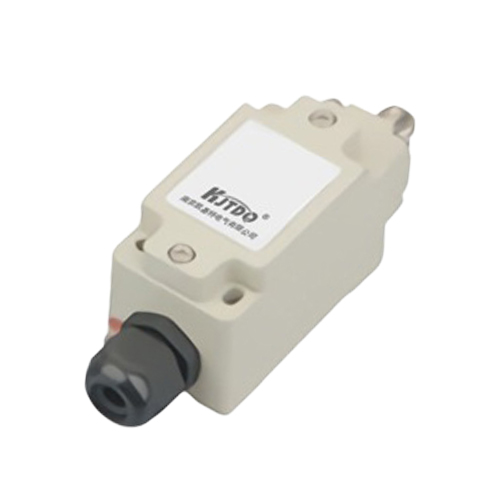
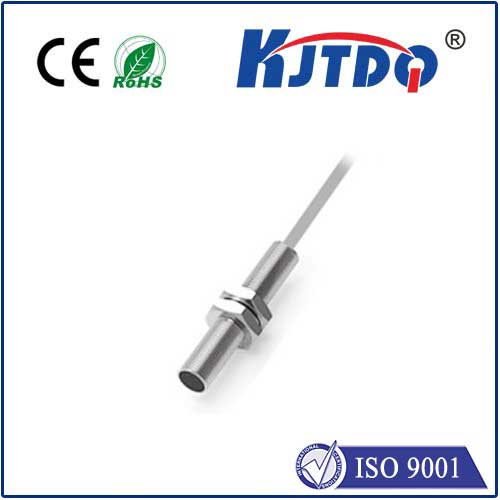
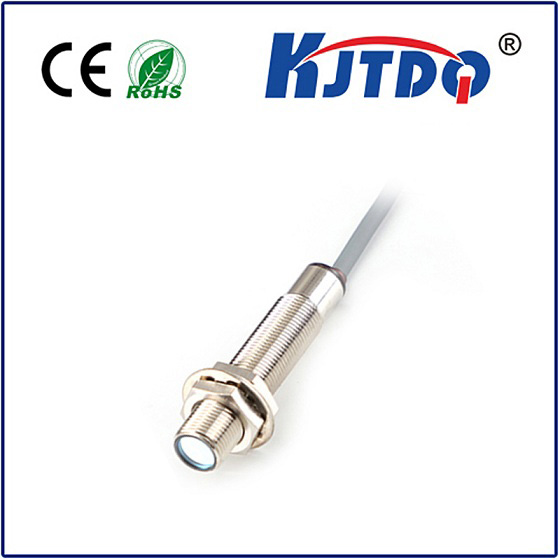
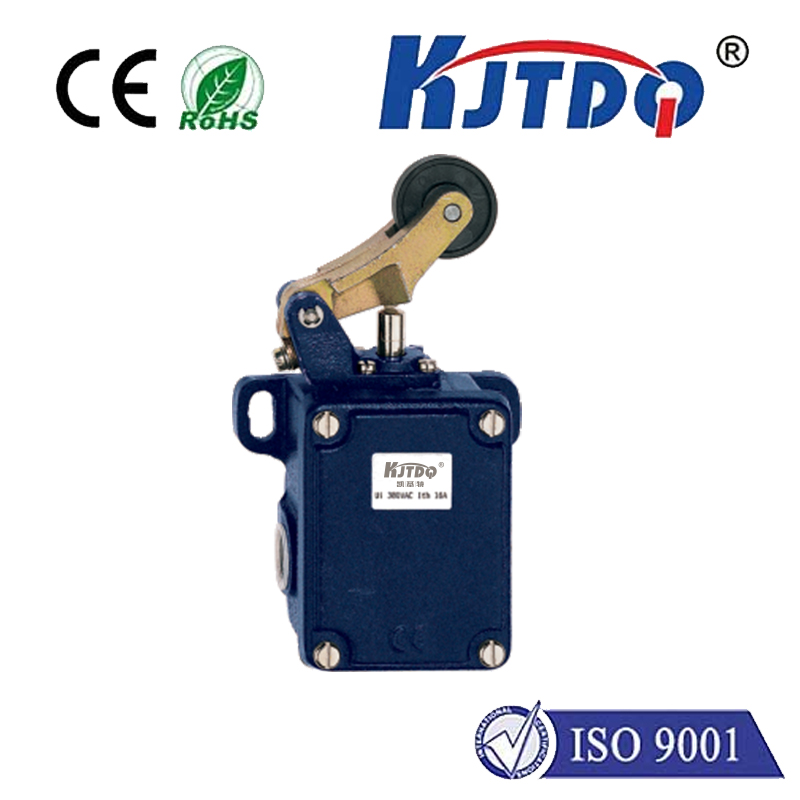
- Switch Types: The most common choices are:
- Mechanical Micro Switches: Affordable, simple, and durable. They have a physical lever or button that gets pressed. Requires precise mounting to ensure reliable contact.
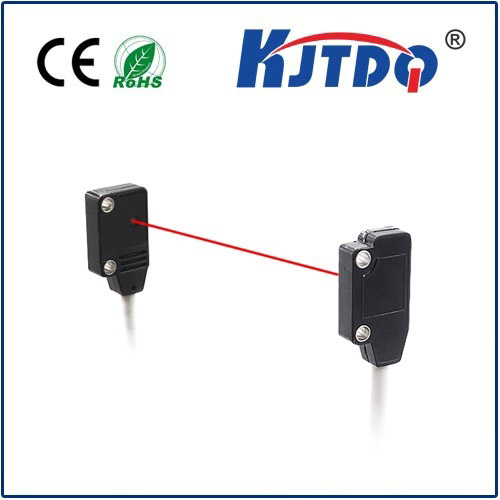
- Optical Sensors: Utilize a light beam broken by a flag. Non-contact operation eliminates physical wear and can be very precise. Slightly more complex to mount and wire.
- Magnetic (Hall Effect) Sensors: Triggered by the proximity of a magnet. Offer reliability and non-contact benefits similar to optical sensors. Require pairing with magnets mounted on the moving carriage.
- Wiring & Connectivity: Switches need to be wired correctly, typically in a Normally Open (NO) or Normally Closed (NC) configuration, back to specific pins on the control board. Proper cable management is essential to prevent snags. Using shielded cable can help prevent electrical noise interference.
- Firmware & Software Configuration: Your controller firmware (like GRBL) must be configured to recognize the limit switch signals and execute the correct homing routine (
$H command in GRBL). Software like Carbide Motion needs to be set up to utilize the homed position.
- Mounting: This is critical. Switches must be securely mounted at the absolute end of each axis travel, positioned so the moving part (carriage or spindle mount) contacts the switch before hitting any hard physical stop. Mounting brackets often need customization or 3D printing. Precision alignment ensures reliable triggering without false positives or missed hits.
- Dual Switches vs. Homing Only: Traditionally, machines use three switches: one at each positive end of X, Y, and Z (sometimes a fourth for the negative Z end). However, for honing primarily, you technically only need one switch per axis, strategically placed to define the home position. Some setups combine functions, using the same switch for both homing and as a limit stop on that end.
Calibration and Troubleshooting: Fine-Tuning for Perfection
Once installed, some calibration is needed:
- Homing Routine: Verify the machine correctly moves towards each switch, triggers it, backs off slightly (debounce), and precisely establishes the home position. Parameters like homing feed rate (
$23, $24, $25 in GRBL) and pull-off distance ($27) might need adjustment.
- Soft Limits: After homing, your control software knows the machine’s absolute travel limits. Activating soft limits (often via
$20=1 in GRBL) instructs the software to prevent any movement command that would try to exceed these known physical boundaries, adding an extra layer of protection even before a limit switch is physically triggered.
- Common Issues:
- False Triggers: Caused by electrical noise, loose wiring, or mounting that allows vibration to activate the switch. Check connections, secure mounting, ensure wiring isn’t bundled with power cables, and consider adding pull-up/down resistors if needed.
- Failure to Trigger: Misalignment, faulty switch, incorrect wiring (NC vs. NO), or incorrect firmware pin assignment. Test switches individually with a multimeter.
- Inconsistent Homing Position: Check switch mount rigidity, loose belts, or mechanical backlash. Ensure the homing pull-off distance (
$27) is sufficient for the switch type.
The Tangible Benefits: Why It’s Worth the Effort
Investing the time and effort into properly installing and configuring Shapeoko limit switches yields significant returns:
- Dramatically Reduced Crash Risk: Protect your investment in the machine, spindle, workpiece, and expensive bits from expensive and frustrating collisions.
- Enhanced Precision & Repeatability: Achieve consistent, accurate starting points for every job, leading to better part quality and reliable multi-operation machining. Homing makes setup significantly faster and less error-prone.
- Increased Workflow Efficiency: Less time spent manually positioning the machine or diagnosing crash damage means more time spent creating.
- Foundation for Automation: Reliable homing is essential for more advanced techniques like tool changers or integrating probing systems.
- Peace of Mind: Knowing your machine has a critical safety system allows you to focus on design and machining, not constantly worrying about over-travel accidents.
Integrating Shapeoko limit switches isn’t just about adding safety features; it’s a fundamental upgrade that elevates your machine’s capability, precision, and reliability. By understanding their dual role in emergency protection