Переключатель CNC
- time:2025-08-04 12:50:26
- Нажмите:0
CNC Homing Switches: The Unsung Heroes of Precision Machining
Imagine drilling two perfectly aligned holes. Now, imagine repeating this precision thousands of times across a complex metal part. This relentless consistency, the bedrock of modern CNC machining, hinges on a seemingly simple yet absolutely critical process: homing. And at the heart of this process lie the CNC homing switches – unassuming components wielding immense power over your machine’s accuracy and repeatability.
What Are CNC Homing Switches and Why Do They Matter?
In essence, CNC homing switches are specialized sensors strategically positioned at the known limits of each axis on a CNC machine (typically X, Y, Z, and sometimes rotational axes A, B, or C). Their fundamental role is to provide the machine controller with a definitive, fixed reference point. After power-up, or following an unexpected event like an E-stop or power loss, the machine has no inherent knowledge of where its cutting tool or table currently resides in physical space. This is where the homing sequence, triggered by these switches, becomes indispensable.
The homing routine involves the machine slowly moving each axis in a predetermined direction (often towards the negative limit) until the carriage physically contacts or triggers the homing switch for that axis. Activating this switch sends a clear electrical signal to the controller, declaring: “This is the known reference position!” The controller then records precise motor encoder counts associated with this exact location. Establishing this absolute datum point is the non-negotiable first step before any productive machining can occur. Without it, the machine is effectively lost, risking dangerous crashes or costly scrap parts. Consistent, repeatable homing ensures that every program run starts from the exact same “home” position, guaranteeing that toolpaths are executed relative to a stable and known coordinate system origin.

Types of Homing Switches: Mechanical, Optical, and Beyond
Homing switches come in various flavors, each with its advantages and considerations:
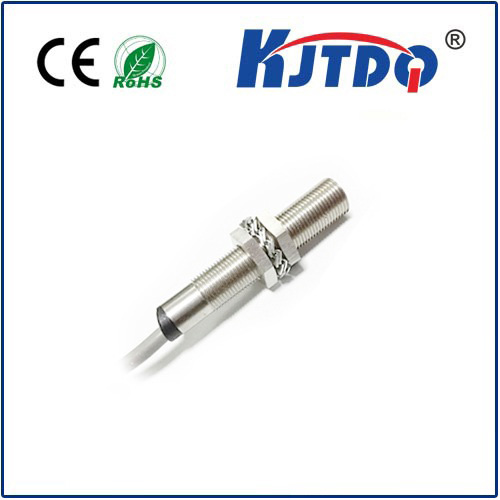
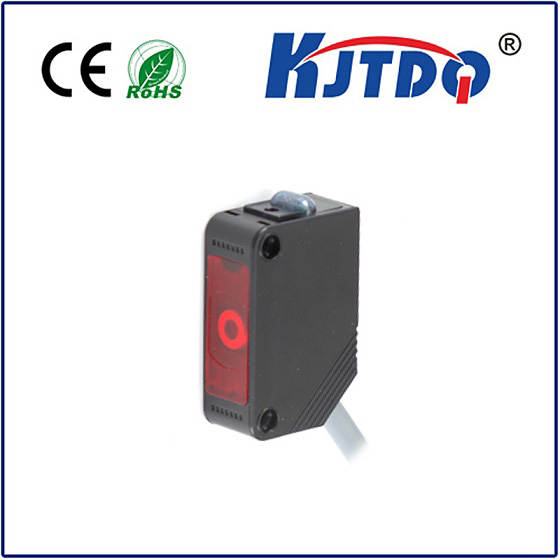
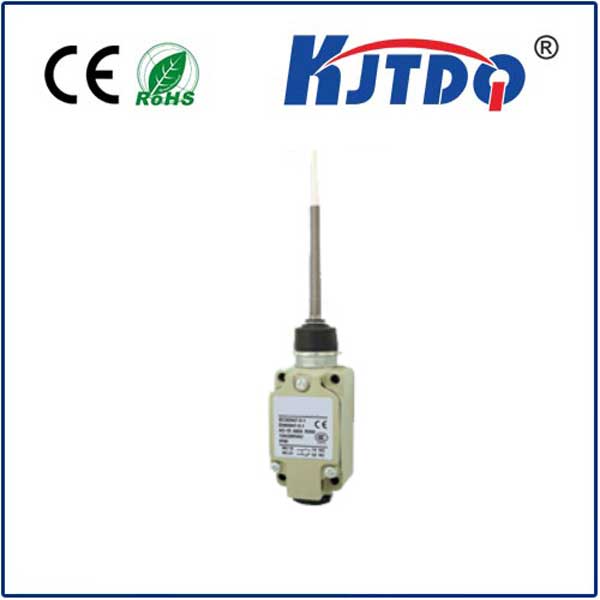
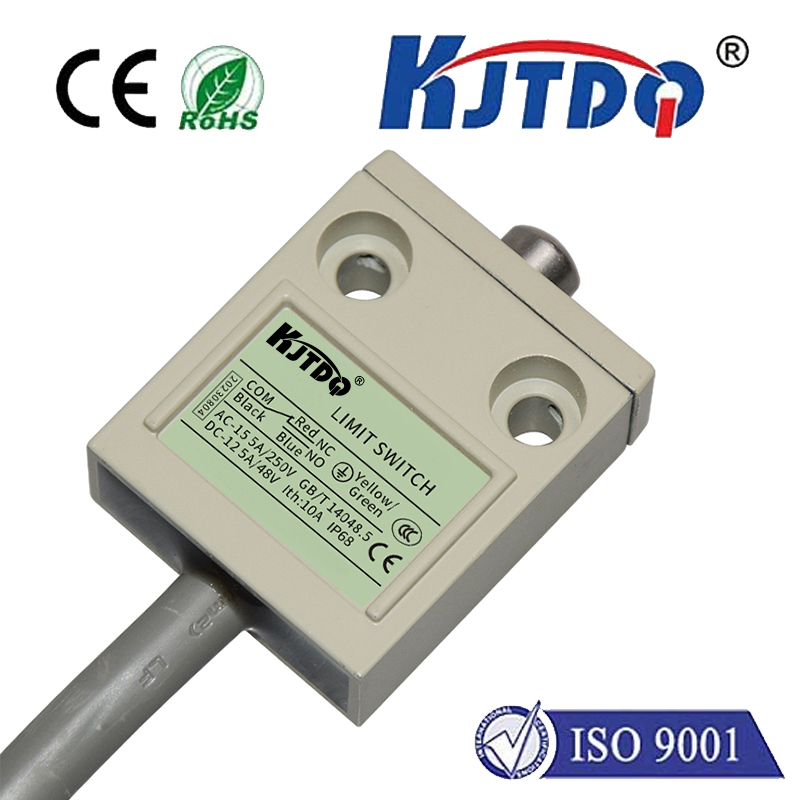
- Mechanical (Micro) Switches: These are the most common and economical type. They feature a physical plunger or lever. When the machine component makes contact, it physically moves the plunger, closing (or opening) an electrical circuit to signal the home position. Pros include simplicity, robustness, and low cost. Cons can include eventual mechanical wear over time, potential for bounce (multiple signals), and requiring physical contact, which might impart slight shock.
- Best for: General workshop environments, cost-sensitive applications, machines where slight contact shock is acceptable.
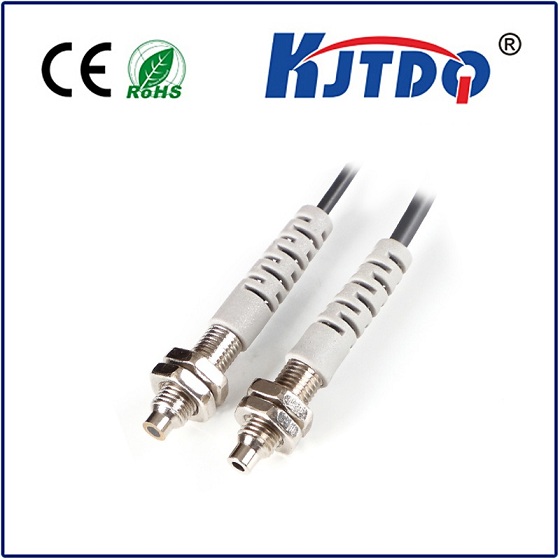
- Proximity Switches (Inductive/Capacitive): These non-contact sensors detect the presence of a metal target (like a small tab on the moving axis) without physical touch. Inductive types sense ferrous metals, capacitive sense non-ferrous or materials with different dielectric constants. Pros include long lifespan (no moving parts to wear out), immunity to dirt/dust (within limits), and very fast response times. Cons include potentially higher cost and needing a specific target material/shape.
- Best for: High-cycle applications, clean environments, avoiding physical contact wear.
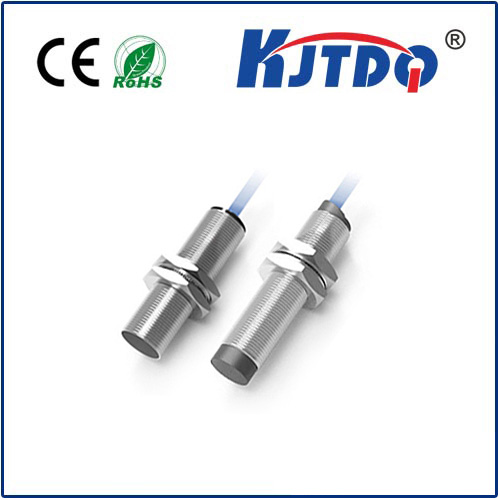
- Optical Switches: Utilizing a light beam (often infrared) between an emitter and receiver, or a reflective sensor. The beam is interrupted by a flag on the moving axis. Pros include incredibly fast response and precise triggering. Cons include sensitivity to contamination (oil, coolant mist, dust can block the beam) and potential misalignment issues.
- Best for: Clean environments (like electronics manufacturing), applications demanding the highest triggering speed.
- Hall Effect Switches: Detect changes in magnetic fields using a Hall effect sensor. A magnet mounted on the moving axis triggers the switch when it passes close by. Pros include contactless operation, resistance to environmental contaminants, and durability. Cons include cost and needing a magnet mounted precisely.
- Best for: Environments with significant dust, oil, or vibration.
The Homing Sequence: Step by Step
Understanding the homing sequence clarifies the switches’ role:
- Command: Operator initiates “Home All Axes” or the controller auto-homes on startup.
- Slow Seek: Each axis motor begins moving slowly in its designated homing direction (e.g., X-).
- Switch Trigger: The moving component contacts or passes the trigger point for its homing switch.
- Signal Sent: The activated switch sends an electrical signal to the CNC controller.
- Deceleration/Stop: Upon receiving the signal, the controller instructs the axis motor to slow down rapidly or stop precisely.
- Reverse and Index (Optional): Often, the controller will command the axis to move slowly away from the switch for a very short, predefined distance. This moves off the potentially noisy switch activation point.
- Position Capture: During this slow reverse move, the controller precisely monitors the motor encoder feedback. When the exact pulse associated with the programmed home offset is reached, it captures this position as the machine’s absolute zero reference for that axis.
- Completion: The axis is now “homed”. The process repeats for all other axes. Only then is the machine ready for accurate positioning.
The Critical Impact on Precision and Repeatability
The importance of reliable homing cannot be overstated. It directly impacts:
- Accuracy: If the home position shifts or is incorrectly detected, every subsequent coordinate in your G-code program will be offset by that error. This leads to dimensional inaccuracies in the finished part.
- Repeatability: Consistent homing ensures that multiple runs of the same program start from the exact same point, producing identical parts run after run. This repeatability is paramount for volume production.
- Safety: Homing prevents the machine from moving beyond its physical limits and potentially crashing into end stops or other components at high speed. It defines the safe working envelope.
- Toolpath Fidelity: Complex 3D toolpaths rely entirely on the precise relationship between the machine’s coordinate system and the workpiece coordinate system (G54, G55, etc.). A solid home reference anchors this relationship.
- Recovery: After an E-stop or power interruption, precise re-homing is essential to safely resume operations without repositioning the workpiece or risking a collision. The machine regains its spatial awareness.
Best Practices and Troubleshooting Tips
To ensure your homing switches perform flawlessly:
- Routine Inspection: Visually check switch alignment, mounting security, and condition of mechanical plungers or targets. Look for damage or excessive buildup of chips/coolant.
- Regular Cleaning: Keep switches and their trigger targets free of debris, oil, and coolant. This is crucial for optical and proximity sensors.
- Verify Function: Occasionally observe the homing cycle. Does each axis move smoothly to its switch, decelerate correctly, and stop consistently? Listen for unusual sounds.
- Symptom Recognition: Common issues signal switch problems:
- Axis fails to home: Switch not triggering (failed switch, broken wire, dislodged target, dirt), misalignment, controller issue.
- Axis homes inconsistently: Loose switch/target, mechanical switch wear/bounce, intermittent connection, electrical noise.
- Axis crashes into limit: Failed homing switch (machine seeks but never finds reference), faulty deceleration control.
- Machine coordinates drift: Slight slippage in the encoder/motor coupling, switch slightly shifting, dirty targets affecting non-contact sensing.
- PID Tuning: While primarily related to servo motor movement, a poorly tuned PID loop can sometimes cause overshoot or oscillation during the homing