Ограничительный переключатель Xtool D1
- time:2025-08-03 01:56:08
- Нажмите:0
Xtool D1 Limit Switch: Your Laser’s Essential Guardian for Precision and Safety
Imagine this: your Xtool D1 laser cutter is humming along, meticulously etching a complex design into wood. Suddenly, a jolting noise disrupts the rhythm – the laser head crashes violently against the frame. Damage to the machine, a ruined work piece, and potentially a dangerous situation… This chaotic scenario is precisely what the unassuming Xtool D1 limit switch is designed to prevent. Far from being just another component, these small sensors are silent sentinels, fundamental to the safety, accuracy, and longevity of your laser engraving and cutting operations.
What Exactly is a Limit Switch, and Why Does Your Xtool D1 Need It?
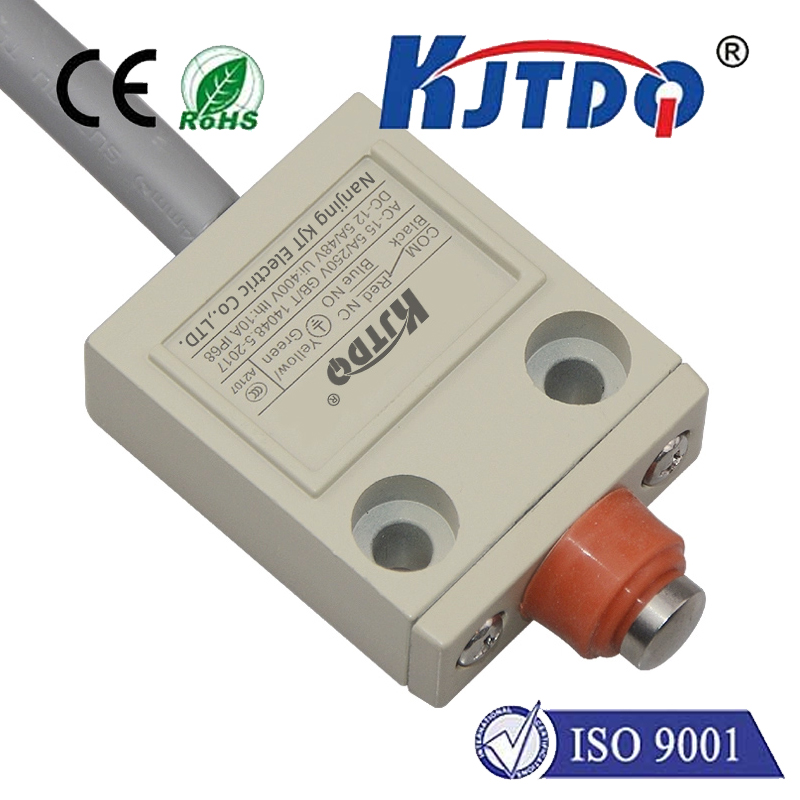
At its core, a limit switch is a simple electromechanical device. Positioned strategically at the physical boundaries of the Xtool D1’s moving axes (typically on the X and Y axes), its primary function is detecting when the laser head has reached the end of its allowable travel range. Think of it as an intelligent bumper or boundary marker.
Here’s the critical process:

- Movement: The laser head moves along its rail.
- Contact: As the head nears the physical end of its travel, it contacts the actuator (a small lever or plunger) on the limit switch.
- Signal: This contact causes the switch to change its electrical state – essentially flipping from “open” to “closed” or vice-versa.
- Control System Action: The Xtool D1’s control board receives this signal instantly. Recognizing it as a “limit reached” command, the board immediately stops sending movement commands to the affected axis motor.
- Homing: Crucially, during the startup “homing” sequence, the machine deliberately drives the laser head towards the limit switches. When contact is made, it provides an absolute reference point. The controller then knows exactly where “zero” is for that axis. This is vital for positional accuracy – ensuring the laser knows precisely where it is on the bed relative to your design file.
Without these switches, the laser head could overshoot the intended boundaries under several circumstances:
- Homing Failure: The machine wouldn’t know where “home” is, leading to misalignment and inaccurate cuts/engravings from the very start.
- Software Glitches or G-Code Errors: An erroneous command could send the head flying beyond its mechanical limits.
- Mechanical Malfunctions: A slipping belt or motor issue could cause unintended over-travel.
The consequences are severe: damaged belts, bent rails, misaligned gears, a dislodged laser head, or even permanent motor damage. The limit switch acts as the critical last line of defense.
Installation, Calibration, and Troubleshooting: Keeping the Guardian Alert
While Xtool D1 models typically come with limit switches pre-installed and configured, understanding their role is key, especially if you encounter issues or need replacements.
- Location: You’ll find them mounted at the far end(s) of the gantry frame for the Y-axis and on the moving carriage for the X-axis. They are positioned so the head carriage contacts them securely.
- Calibration/Testing: Proper homing relies on accurate switch positioning. When you initiate “Home” from the control software (LightBurn or XCS), the head should move towards each limit switch, tap it gently (activating it), and stop immediately. If it overshoots significantly, doesn’t stop, or doesn’t reach the switch, calibration may be needed. This often involves:
- Physically loosening the switch mount and adjusting its position minutely.
- Checking for physical obstructions preventing the head from reaching the switch.
- Verifying wiring connections to the control board are secure.
- Signs of Trouble: Pay attention to these red flags:
- Homing Failures: The machine errors out during homing, stating it can’t find a limit switch (e.g., “X-Axis Homing Failed”).
- Crashing: The head physically slamming into the frame at the end of travel.
- Inconsistent Origin: Your designs consistently start slightly off-position.
- Fine Position Jogs Not Working: When trying to move the head tiny amounts near the limit, it might refuse or act erratically.
Troubleshooting Steps:
- Visual Inspection: Check the switch for obvious physical damage, loose mounts, or debris blocking the actuator.
- Connection Check: Trace the wires from the limit switch to the control board. Ensure plugs are fully seated, and wires aren’t pinched or frayed.
- Manual Test: Carefully power off the machine. Use a multimeter (if comfortable) or gently press the actuator with a non-conductive tool while listening for a faint internal “click.” A working switch should audibly click and the multimeter should show a change in continuity when pressed/released. Always power off before touching internal components!
- Software Check: Verify the correct machine profile and settings are loaded in your laser software.
- Replacement: If faulty, replacement limit switches (often standard microswitches) are readily available. Ensure you get the correct type specified for the Xtool D1. Replacing involves unscrewing the old switch, plugging in the new one (matching wire colors/positions!), and securely mounting it. Post-replacement homing and test movements are crucial.
The Undeniable Benefits: Why Your Xtool D1 Relies on These Little Switches
The Xtool D1 limit switch delivers indispensable advantages:
- Повышение безопасности: This is paramount. Preventing the laser head from crashing protects you from potential flying debris or electrical hazards, and shields the machine from costly internal damage. It’s a fundamental safety interlock.
- Critical Precision: By defining the absolute home position for each axis, limit switches underpin the positional accuracy of every cut and engrave. Your designs land exactly where they should, consistently.
- Reliable Homing: The machine starts every job knowing its exact location, ensuring operations begin correctly and repeatably.
- Component Longevity: Preventing crashes significantly reduces wear and tear on belts, motors, bearings, rails, and the laser head assembly itself. This translates directly to a longer lifespan for your investment.
- Operator Confidence: Knowing a protective system is in place allows you to focus on design and execution without constant worry about unexpected mechanical failures.
Conclusion: Small Switch, Mighty Impact
The Xtool D1 limit switch exemplifies how a small, often overlooked component can be fundamental to a machine’s core functionality. It’s not merely a switch; it’s the cornerstone of machine safety, the enabler of pinpoint accuracy, and the guardian of your hardware’s long-term health. Understanding its role, ensuring it’s correctly installed and functional, and knowing how to troubleshoot it are essential aspects of responsible and successful Xtool D1 ownership. Respect these silent sentinels – they work tirelessly to keep your laser cutting safely and precisely on track.

