Ограничительный переключатель CNC
- time:2025-07-31 04:32:23
- Нажмите:0
The Unsung Heroes of CNC Safety: Mastering Limit Switches
That sickening crunch, the jarring halt, the frantic scramble to check for damage – anyone who’s run a CNC machine knows the moment an axis slams past its intended boundary. It’s costly, disruptive, and often preventable. At the heart of avoiding these disasters lie critical safety components: CNC Limit Switches. Far more than simple on/off triggers, these devices are the silent sentinels safeguarding your machine’s integrity, precision, and operational lifespan. Understanding their function, types, and maintenance is paramount for smooth, safe machining.
Defining the Purpose: Why Your CNC Needs Limits
Imagine driving a car without bumpers or guardrails. A CNC machine without limit switches operates similarly blind. Their primary mission is unequivocal: to prevent catastrophic axis overtravel. CNC machines have finite physical travel ranges dictated by their ball screws, linear guides, and overall frame structure. If the cutting head, table, or spindle attempts to move beyond these hard boundaries, severe mechanical damage is imminent – bent screws, dislocated carriages, broken mounts.
Limit switches act as pre-programmed physical barriers, strategically positioned at the extreme ends (and sometimes critical intermediate points) of each axis travel path. When the machine’s moving part contacts the switch actuator, it sends an immediate emergency stop signal (E-stop) to the CNC controller. This halts all motion instantly, preventing collision and protecting valuable components. This isn’t just about avoiding crashes; it’s about preserving the machine’s calibration and long-term accuracy.

Beyond Travel Limits: Multifaceted Guardians
While overtravel prevention is their most dramatic role, CNC limit switches serve several other essential functions:
- Establishing Machine Zero (Homing/Reference): After power-up, the machine needs to know its absolute starting position in physical space. Homing sequences involve the machine deliberately moving each axis slowly towards its positive or negative limit switch. Upon contact and signal activation, the controller records this precise location as the machine’s reference point (Machine Zero or Home Position). Consistent and accurate homing is fundamental for executing programs correctly, as all subsequent coordinates are relative to this established zero point.
- Position Verification: In some complex setups or for safety interlocks (like guarding), limit switches can verify a component is in the correct position before allowing certain operations to proceed (e.g., confirming a tool changer door is closed, a tailstock is retracted, or a rotary table is locked).
Common Types: Choosing Your Sentry
Different machine needs demand different switch technologies. The main contenders are:
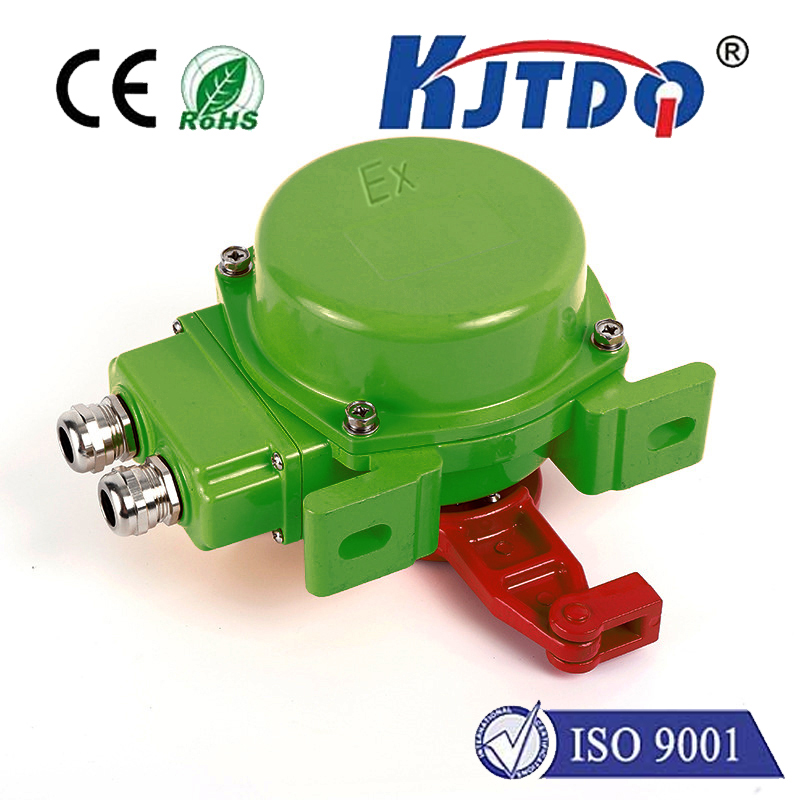
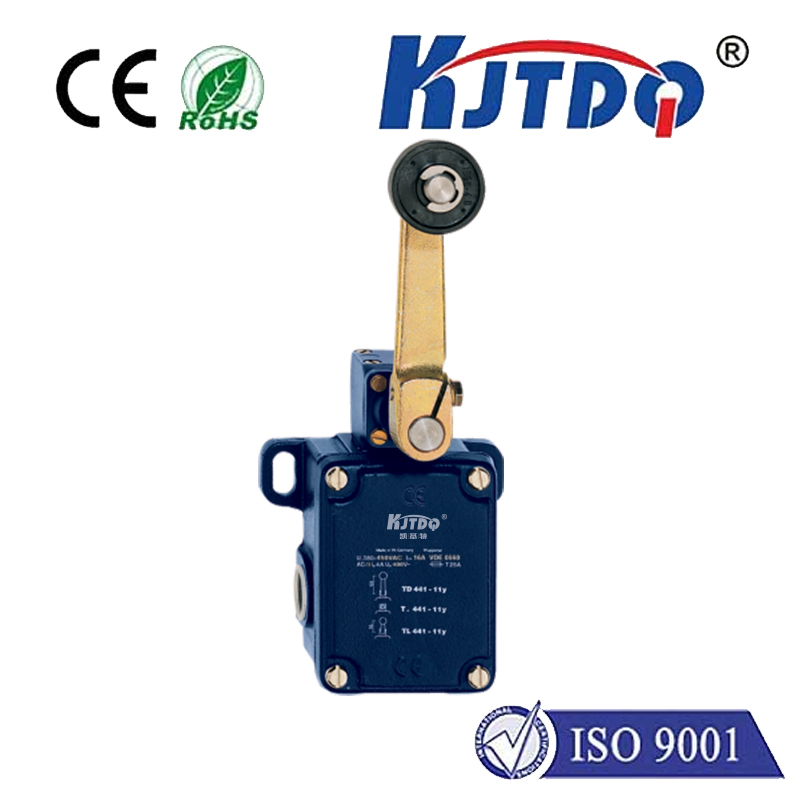
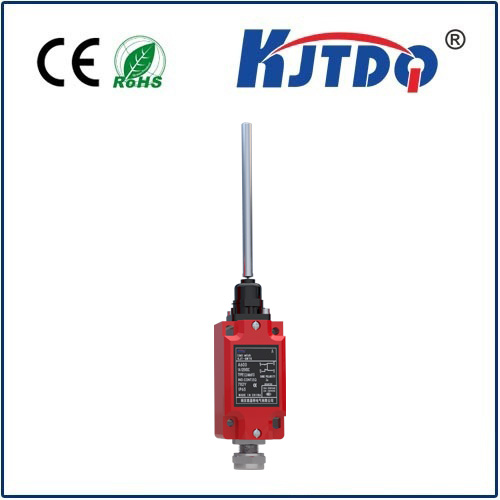
- Mechanical Lever Switches: These are the classic, often rugged switches featuring a physical lever arm. When the moving machine part contacts and depresses the lever, internal contacts physically open or close, sending the signal. They are generally cost-effective, durable, and unambiguous in operation. However, the mechanical contact means they can wear over time and their actuation requires direct physical force.
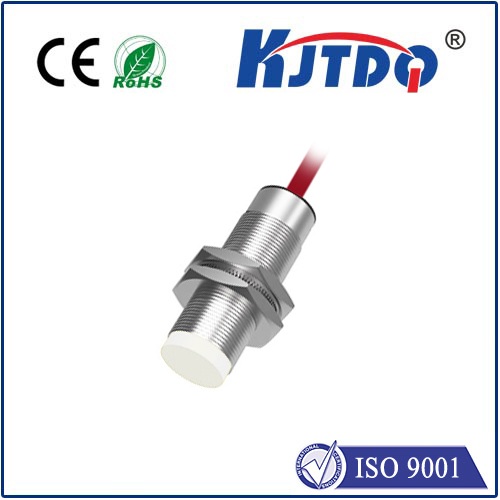
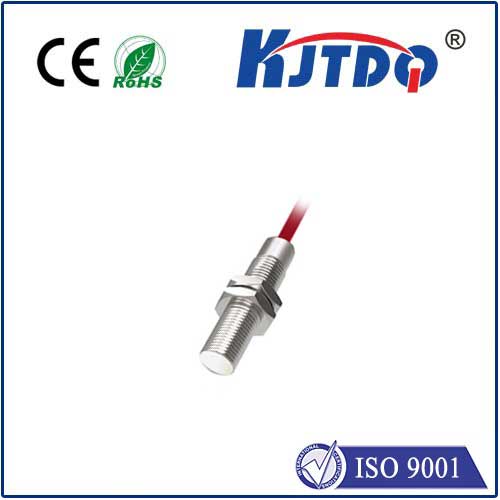
- Proximity Switches (Inductive, Capacitive, etc.): These offer contactless operation. Inductive prox switches detect metallic targets, capacitive detect almost any material. They generate a signal when the target enters their sensing field without physical touch. This leads to longer lifespan (no moving parts to wear), faster response times, and suitability for dirty or wet environments. They require precise installation relative to the target but are highly reliable. Look for shielded vs. unshielded variants depending on mounting constraints.
- Optical Switches/Photoelectric Sensors: Using light beams (visible or infrared) and receivers, they detect interruption of the beam. Commonly used where contact is impossible or detection needs to occur at a distance. Can be susceptible to contamination blocking the beam. Photoelectric sensors are often found detecting part presence on pallets or guarding positions.
- Magnetic Switches (Reed Switches): Activated when a magnet comes within close proximity. Used in some specialized applications, often for non-critical position verification where very simple actuation is needed.
Inductive proximity switches are arguably the most common today due to their reliability and contactless nature, especially on newer CNC machines.
Spotting Trouble: Symptoms of Failing Limit Switches
A malfunctioning limit switch is not a minor inconvenience; it’s a critical fault. Be vigilant for these warning signs:
- Inconsistent or Failed Homing: The machine errors out during the homing sequence, struggles to find the reference point, or exhibits axis drift after homing. This is often the first and most common symptom.
- False Tripping: The machine alarms out with an “overtravel” error even when the axis is nowhere near its physical limit. This suggests a faulty switch sending an erroneous signal.
- Ignoring Physical Contact: The machine physically hits the limit switch but continues trying to move, indicating the switch isn’t sending the stop signal. This is highly dangerous and requires immediate shutdown!
- Axis Stuttering or Refusing to Move: In some control configurations, a problem with the homing switch circuit can prevent an axis from moving at all.
- Erratic Tool Changes or Operation Halts: If switches are used for position verification (e.g., tool changer doors), failure can disrupt automated sequences.
Essential Maintenance: Keeping Your Limits Reliable
Proactive care prevents costly downtime and potential damage. Incorporate these practices:
- Regular Inspection: Visually check switches and their actuators for signs of physical damage, corrosion, excessive buildup of coolant, chips, or dust. Ensure mounting brackets are secure.
- Cleaning: Keep the switch actuation areas and sensing faces (for prox/optical switches) clean. Use compressed air or a soft brush – avoid harsh solvents unless specified by the manufacturer. Contamination is a major cause of failure, especially for optical and some proximity sensors.
- Electrical Checks: Periodically (or when suspect), verify switch operation using a multimeter to check for proper voltage changes or continuity opening/closing during actuation. Consult the machine wiring diagram. Test emergency stop functionality safely.
- Actuator Alignment: Ensure the target (dog, cam, or flag) that triggers mechanical or proximity switches consistently engages the switch correctly without over-stressing it. Misalignment leads to unreliable signaling or premature wear.
- Lubrication (Mechanical Switches): If specified by the manufacturer, apply a minimal amount of appropriate lubricant to moving parts to prevent sticking. Avoid over-lubrication attracting grime.
- Listen: Sometimes a failing mechanical switch might make an unusual click or feel sticky when manually actuated.
Conclusion: The Foundation of Confident Machining
CNC limit switches operate quietly in the background, asking for little but giving essential protection. They are non-negotiable safety infrastructure. By understanding their critical roles – preventing destructive crashes, enabling precise homing, and verifying positions – you appreciate their value. Choosing the right type, recognizing failure signs early, and implementing simple, consistent maintenance routines ensure these vital components perform flawlessly. Investing time in your CNC limit switches translates directly into reduced machine damage risks, minimized unplanned downtime, enhanced operator safety, and sustained machining accuracy. Don’t let these unsung heroes become the reason your operation grinds to a costly halt. Treat them with the respect and care that foundational safety systems demand.