capacitive proximity sensor arduino
- time:2025-07-03 00:12:09
- Нажмите:0
Unleash Touch-Free Magic: Capacitive Proximity Sensing with Arduino
Imagine controlling devices with just a wave of your hand, detecting objects without physical contact, or creating interfaces that feel truly futuristic. This is the captivating world of capacitive proximity sensing, made remarkably accessible by the versatile Arduino platform. Forget bulky mechanical switches or complex setups; capacitive sensors harness subtle electrical principles for elegant, non-contact detection. This guide dives into how you can effortlessly integrate this technology into your next Arduino project.
Beyond Simple Touch: How Capacitive Proximity Works
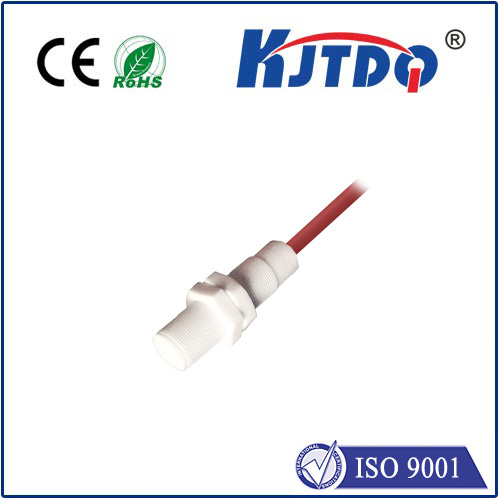
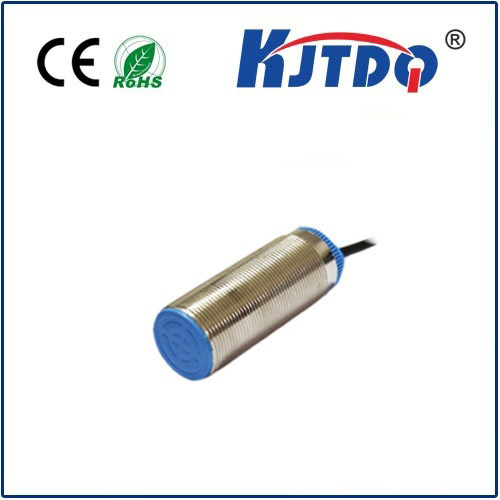
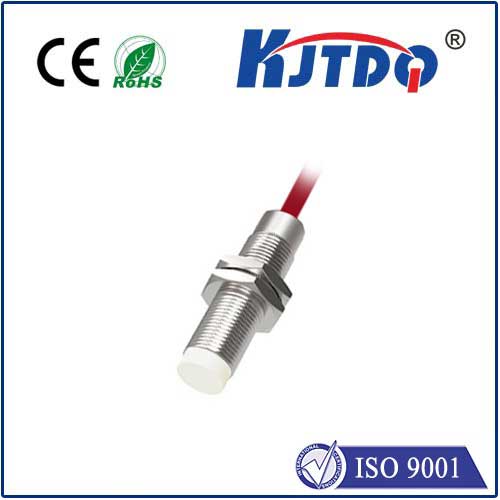
Capacitance is the ability of a system to store an electrical charge. A capacitor, at its simplest, consists of two conductive plates separated by an insulator. A конденсаторный датчик приближения cleverly exploits this concept. One “plate” is your sensor electrode (often a simple piece of metal, copper tape, or even conductive paint). Your hand, body, or any conductive object acts as the other “plate,” while the air (or other non-conductive material) between them is the insulator.
When an object enters the sensor’s electric field – the invisible region around the electrode – it alters the capacitance of this invisible capacitor formed between the electrode and the object (relative to ground). This change is incredibly subtle, especially when the object isn’t physically touching the electrode but merely approaching it. The core challenge for Arduino is reliably detecting these faint changes.
Why Arduino is the Perfect Partner
Arduino shines as the brains behind capacitive sensing projects for several compelling reasons:

- Analog Input Pins: Essential for reading the gradual changes in capacitance that occur during proximity detection, differentiating it from simple touch on/off.
- Precision Timing: Key libraries rely on the Arduino’s ability to perform high-resolution timing measurements to detect capacitance shifts.
- Processing Power: Easily handles the calculations needed to interpret sensor readings, apply filtering, and trigger actions.
- Simplicity & Community: Its accessible programming environment and vast online support make implementing relatively complex concepts like capacitive sensing achievable for beginners and experts alike.
- Многогранность: Connect sensors to pins, integrate with displays, motors, lights, or communicate with other devices seamlessly.
Building Blocks: Hardware & Key Libraries
While you could build capacitive sensing circuits from scratch using resistors and the Arduino’s timing functions, dedicated libraries significantly simplify the process. Here’s what you need:
- Arduino Board: An Uno, Nano, Leonardo, or most common variants with available digital pins will work.
- Sensor Electrode: Copper tape/flashing, aluminum foil, a piece of PCB, conductive thread, or even a large metal object. Surface area generally increases sensitivity and range.
- Resistors (High-Value - Optional): Often needed for simpler library implementations (e.g., 1MΩ to 100MΩ) to create an RC circuit for timing measurements.
- Connecting Wires: To link your electrode and resistors to the Arduino.
- The Crucial Library: The CapacitiveSensor library by Paul Stoffregen (PauloCapacitiveSensor) is the de facto standard. It uses one digital send pin and one digital receive pin to create the sensing circuit, measuring how long it takes for the receive pin to change state. This timing is directly proportional to the capacitance. Another option is the Arduino Capacitive Sensing Library (CAP1188 not required), though it often requires high-value resistors.
Connecting the Dots: Basic Wiring
A common setup using the CapacitiveSensor library involves:
- Connect a large resistor (e.g., 10MΩ) between your chosen Arduino send pin (e.g., digital pin 4) and your sensor electrode.
- Connect your sensor electrode directly to your chosen Arduino receive pin (e.g., digital pin 2).
- (Optional) Connect a known value resistor between the receive pin and ground. This sets a baseline and can improve stability.
- Ensure the Arduino ground is connected to the ground reference of your project/environment. This improves noise immunity.
Bringing it to Life: The Code Essentials
Using the CapacitiveSensor library is straightforward:
# Включая
CapacitiveSensor capSensor = CapacitiveSensor(4, 2); // Send Pin 4, Receive Pin 2
void setup() {
Serial.begin(9600); // Start serial for monitoring readings
}
void loop() {
long sensorValue = capSensor.capacitiveSensor(30); // Get raw reading (30 samples for stability)
Serial.println(sensorValue); // Output the reading
// Threshold-based detection - Tune this value!
if (sensorValue > 500) {
// Object detected! Do something (e.g., turn on an LED)
digitalWrite(LED_BUILTIN, HIGH);
} else {
digitalWrite(LED_BUILTIN, LOW);
}
delay(10); // Small delay to prevent flooding serial
}
Key Steps Explained:
- Include Library:
# Включая
- Create Sensor Object:
CapacitiveSensor capSensor = CapacitiveSensor(sendPin, receivePin);
- Initialize: Start serial if debugging.
- Read Sensor:
long rawValue = capSensor.capacitiveSensor(numberOfSamples);
Higher samples average out noise but slow down response.
- Interpret: Print the raw value to monitor baseline and changes. The critical step is calibrating the
threshold
. Run the sensor without an object nearby to find its “idle” value, then observe values when an object approaches. Choose a threshold comfortably above the idle value.
- Act: Trigger actions (LEDs, relays, sounds, servo movements, serial messages) based on the threshold.
Tuning for Success: Calibration & Overcoming Noise
Getting robust proximity detection requires tuning:
- Baseline Calibration: Run your sensor in its intended environment without targets to determine the typical “no object” reading. This baseline can drift with environmental changes (humidity, temperature).
- Threshold Setting: Set your detection threshold above the baseline plus some margin to avoid false triggers. Example:
if (sensorValue > baseline + 300) {...}
. You might even dynamically adjust the baseline in code.
- Sensor Electrode: Larger electrodes increase range and sensitivity. Insulate them (e.g., tape, plastic coating) to prevent direct electrical contact or false touches. Grounding is critical! Shield wires or run them away from noise sources if possible. Ensure a good ground connection for the Arduino and your project.
- Sampling & Smoothing: Increasing the
numberOfSamples
in capacitiveSensor()
reduces noise but slows response. Implement software smoothing (like simple averaging or exponential moving averages) on the readings.
- Environmental Factors: Beware of humidity, conductive surfaces near the sensor, or strong electrical noise sources interfering with the delicate capacitive field.
Inspiring Project Ideas
The applications for Arduino capacitive proximity sensors are vast:
- Gesture Control: Create simple wave-to-activate interfaces for lamps, music players, or artworks.
- Non-Contact Switches: Build sleek, sealed interfaces perfect for damp environments, medical devices, or public installations.
- Presence Detection: Sense when a person approaches a display, cabinet, or piece of furniture to trigger lighting or information.
- Liquid Level Sensing: Detect the presence