Приближение датчиков Arti
- time:2025-06-17 00:49:56
- Нажмите:0
Arduino Proximity Sensor: Unlocking Distance Detection for Your DIY Projects
Opening Hook: Remember fumbling for the TV remote in the dark, waving it vaguely at the screen? Or wishing your robot could see a wall before bumping into it? The magic behind these interactions often boils down to a tiny, powerful component: the датчик приближения. When paired with the ubiquitous Arduino platform, these sensors become incredibly accessible, transforming complex detection into achievable DIY projects.
Understanding the Core Concept
At its heart, a датчик приближения is a device designed to detect the presence, absence, or distance of an object within its field of view without physical contact. This non-contact detection capability is crucial in countless applications, from touchless faucets and security systems to robotics and industrial automation. The term “Arti sensor proximity” strongly suggests a focus on utilizing these sensors specifically with Arduino microcontroller boards. Arduino’s simplicity, vast community support, and rich ecosystem of sensors and libraries make it the perfect starting point for exploring proximity sensing.
Why Arduino and Proximity Sensors are a Perfect Match

- Accessibility: Arduino lowers the barrier to entry for electronics and programming. Integrating a датчик приближения often requires just a few connections and readily available libraries.
- Многогранность: Arduino can interface with a wide array of sensor proximity technologies (IR, ultrasonic, capacitive, inductive), allowing you to choose the best one for your specific need – detecting a hand, metal, liquid, or an obstacle at varying distances.
- Experimentation: The platform encourages rapid prototyping. Connect a sensor, upload code, and immediately see the results. Tweak parameters, test different detection ranges, and iterate quickly.
- Cost-Effectiveness: Both Arduino boards and common proximity sensors are relatively inexpensive, making sophisticated detection projects achievable on a budget.
Key Proximity Sensor Technologies for Arduino
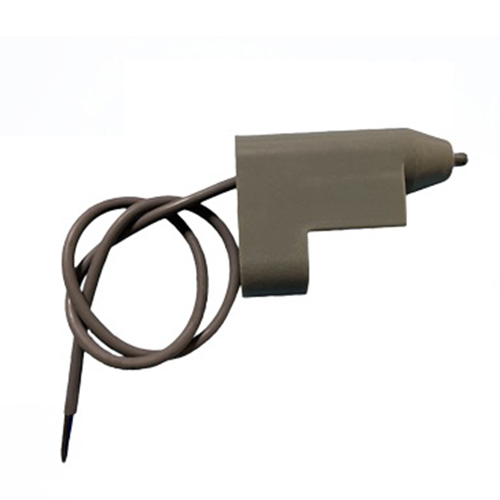
- Infrared (IR) Proximity Sensors:
- How They Work: Emit infrared light and measure the intensity reflected back. Closer objects reflect more light. Examples include simple obstacle avoidance modules.
- Arduino Integration: Typically provide an analog output voltage proportional to distance/detection strength or a simple digital “object present/absent” signal. Very easy to connect and use with
analogRead() or digitalRead().
- Pros: Cheap, simple, low power. Good for short-range detection (proximity sensing).
- Cons: Affected by ambient light and object color/reflectivity. Limited range (usually centimeters). Best For: Line following robots, detecting nearby objects, simple touchless interfaces.
- Ultrasonic Sensors (like HC-SR04):
- How They Work: Emit high-frequency sound pulses and measure the time taken for the echo to return. Distance is calculated based on the speed of sound.
- Arduino Integration: Require digital pins to trigger the pulse and listen for the echo. Libraries like
NewPing simplify coding, handling the timing calculations to provide distance in centimeters or inches. Crucial for accurate distance measurement.
- Pros: Good range (typically 2cm - 4m), relatively unaffected by light or color. Provides actual distance measurement, not just presence.
- Cons: Accuracy can be affected by temperature/humidity (sound speed varies). Surfaces that absorb sound (like soft fabrics) or are very small/angled can cause issues. Best For: Robot obstacle avoidance, parking sensors, level measurement, interactive installations.
- Capacitive Proximity Sensors:
- How They Work: Detect changes in an electrical field around the sensor. The presence of an object (especially conductive ones or human skin) alters this field.
- Arduino Integration: Can be more complex, sometimes requiring specific circuitry to generate and measure the field. Some modules provide a digital or analog output. Specialized libraries might be needed. Excellent for detecting touchless proximity, especially of humans.
- Pros: Can detect non-metallic objects (like hands, liquids) through thin non-conductive barriers (plastic, glass). Good for unique touchless interfaces.
- Cons: Generally more expensive than basic IR/ultrasonic. More complex circuitry may be needed. Detection range is usually very short (millimeters to a few centimeters). Best For: Touchless buttons, interactive art, water level detection through tank walls, presence detection.
Comparison of Common Arduino Proximity Sensors
| Особенности |
IR Proximity |
Ultrasonic (HC-SR04) |
Capacitive |
| Detection Principle |
Reflected IR Light |
Sound Wave Echo |
Electrical Field Change |
| Typical Range |
1-30 cm |
2 cm - 400 cm |
1-50 mm |
| Тип экспорта |
Analog/Digital |
Digital Pulse |
Analog/Digital |
| Cost |
$ |
$$ |
$\(-\)$$ |
| Affected By |
Ambient Light, Color |
Temperature, Surface Type |
Material Conductivity |
| Best Use Case |
Object Presence |
Distance Measurement |
Touchless Interfaces |
Project Inspiration: What Can You Build?
Integrating a датчик приближения with your Arduino opens a world of possibilities:
- Smart Parking Assistant: Use an ultrasonic sensor to measure distance to a wall in your garage and signal with LEDs or sounds when you’re close.
- Interactive Display: Trigger animations or sounds on a screen using a hidden IR or capacitive sensor when a hand waves nearby.
- Touchless Lamp Control: Build a desk lamp that turns on/off when you wave your hand over a capacitive sensor.
- Robot Navigation: Equip a mobile robot with IR or ultrasonic sensors to autonomously navigate, avoiding walls and obstacles with reliable proximity detection.
- Water Tank Monitor: Use a capacitive sensor placed outside a plastic tank to detect water level without direct contact.
- Intruder Alert System: Position IR beam sensors across a doorway or window to detect movement silently.
Choosing the Right Sensor Proximity Solution
Selecting the best sensor proximity for your Arduino project involves considering:
- Detection Range: How far away do you need to sense the object?
- Target Material: Are you detecting metal, plastic, liquid, or a human hand?
- Environment: Will there be strong ambient light (affects IR), high humidity/temperature variations (affects ultrasonic), or electromagnetic interference?
- Output Need: Do you require simple presence/absence detection (digital) or actual distance measurement (analog/digital pulse)?
- Interface Complexity: How comfortable are you with potentially more complex wiring or libraries?
Getting Started is Simple
- Choose Your Sensor: Pick one based on your project needs (e.g., HC-SR04 ultrasonic for distance).
- Connect: Wire the sensor’s power (usually 5V), ground (GND), and signal output to your Arduino following its datasheet/p